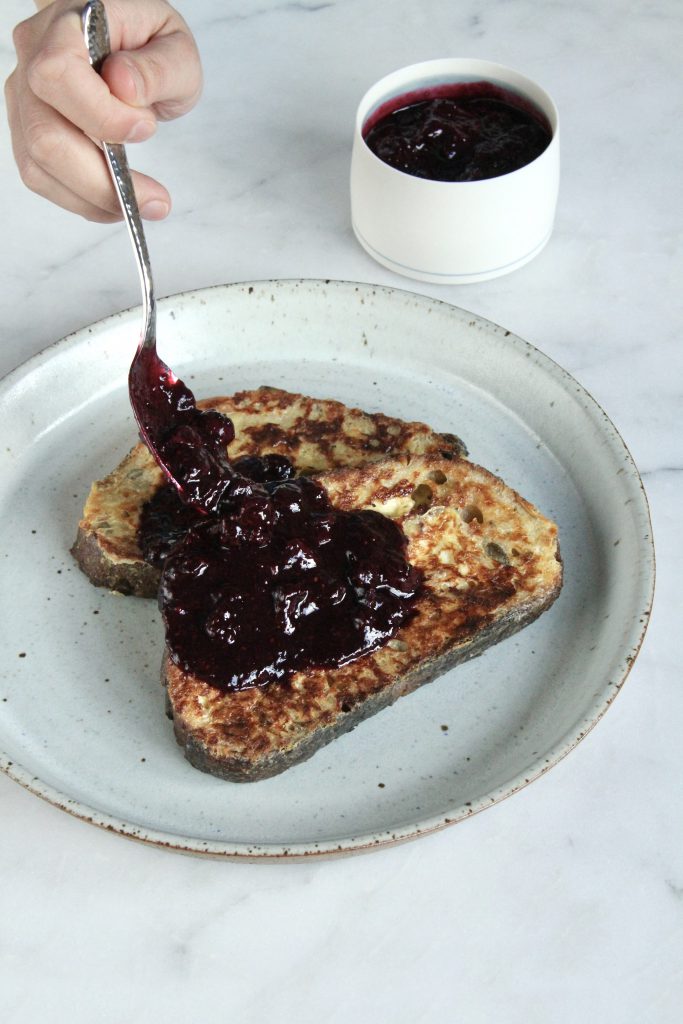
I love this recipe for using up bananas which are past their sell by date. Somehow, you can never quite have the right number of bananas. It’s either too few or too many. And whenever I have too many I either freeze them ready to make smoothies out of, or turn them into this lovely cake.
This originally was my mum’s recipe, but I’ve added a few twists which my mum has now incorporated herself. She used to use butter, but for speed and nutritional value, I switched it to extra virgin olive oil. At first she protested, then she baked her first loaf using it and was converted immediately, proclaiming how much easier it was in comparison to melting and cooling the butter. The recipe also happens to be so simple, and forgiving! If you don’t have some of the ingredients they’re easy to swap in and out, and you can change the flavour of your bread depending on what you have, or what you fancy. If you want something more fruity, substitute some of the seeds for dried fruits, or even fresh or frozen for a delicious burst of flavour.
I also use two different types of flour to help maximise the diversity of the foods I’m eating each week. Of course I won’t be having this every week, but when I do I’d like to think that I can still be good while being naughty. The same goes for the seeds. I use a wide variety and generally use a premixed packet and then add in whatever I think is missing.
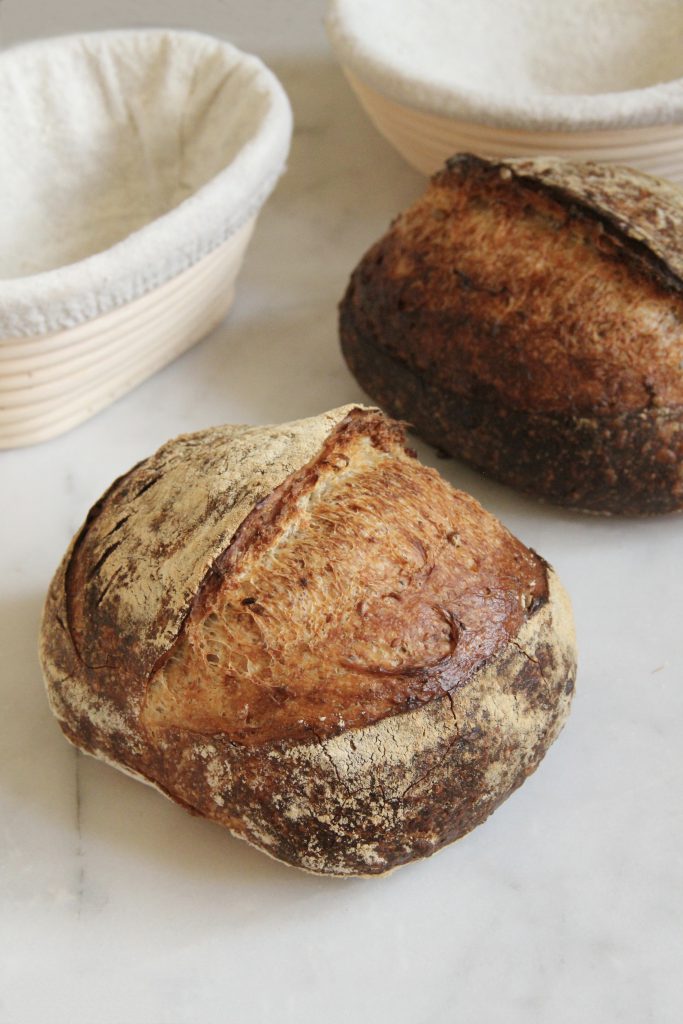
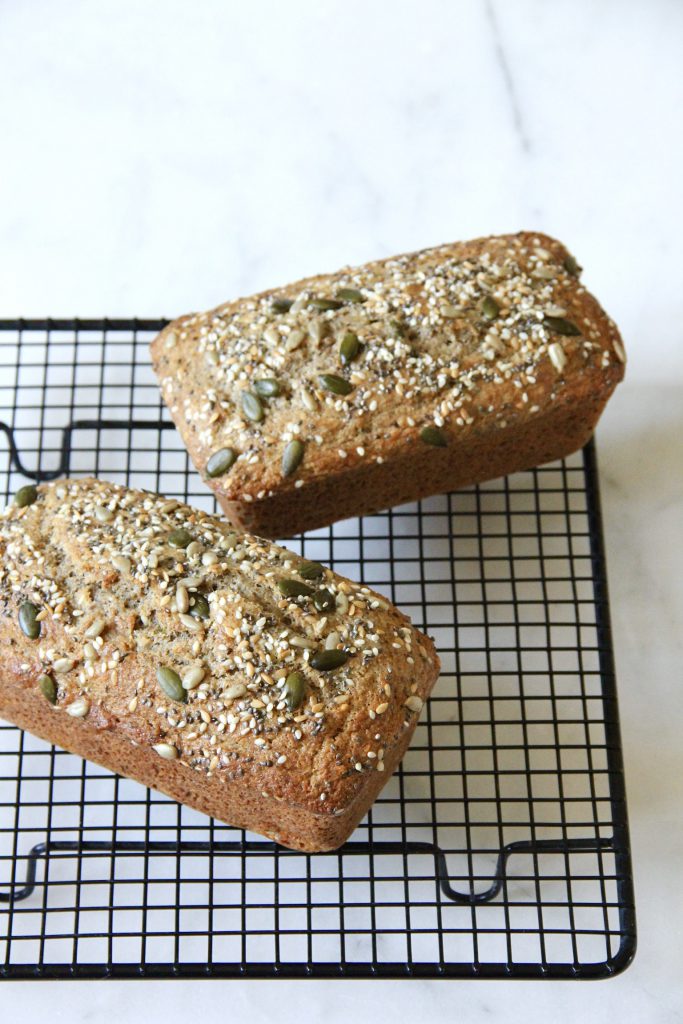
This recipe can easy be multiplied up according to how many bananas you have, but a word of caution. When using a 2lb tin or larger, the centre of the cake can sometime fail to rise due to the density and weight. This banana bread is not light and fluffy like a traditional sponge cake. It is loaded with fibre from seeds and whole grain flours which help increase the nutritional content of this treat. If multiplying up you can try baking in multiple small tins or in individual cupcake cases – just alter the timings so that a skewer inserted into the centre comes out clean. Anything beyond what you want to eat fresh can be frozen – I slice my loaf and freeze it so I can pull out a slice or two depending on how many I need.
Serves 8
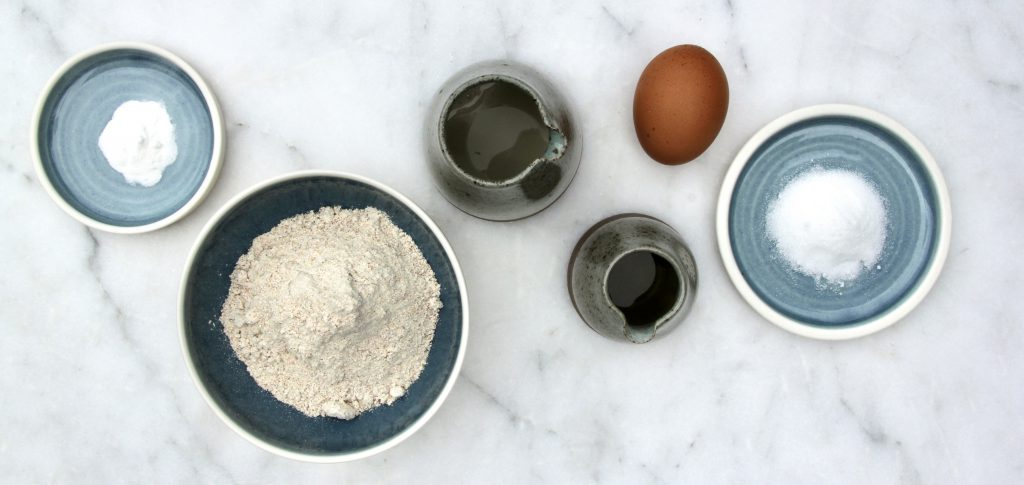
Ingredients
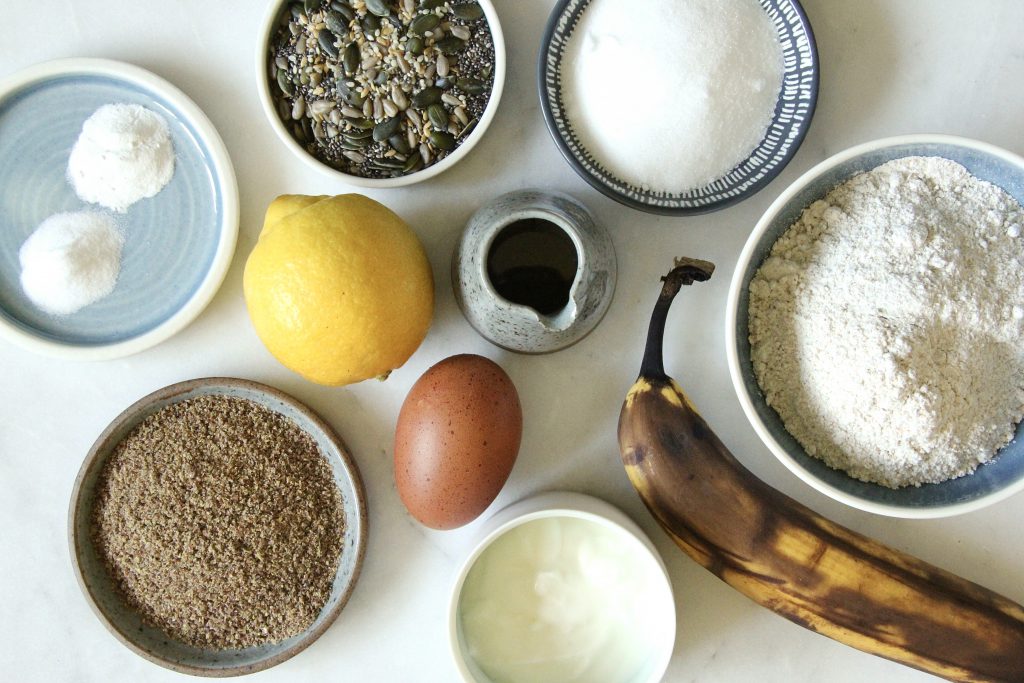
- 1 large ripe banana
- 80g dairy yoghurt (if using non-dairy add 10g extra fat)
- Zest and juice of 1/2 an unwaxed lemon
- 1/2 tsp vanilla paste or essence
- 50ml EVOO
- 1 large egg
- 60g rye flour
- 60g spelt flour
- 20g ground linseeds
- 1/2 tsp baking powder
- 1/2 tsp bicarbonate of soda
- 50g caster sugar
- 40g mixed seeds + extra for sprinkling over the top
Method
- Line a 1lb loaf tin and preheat the oven to 150°C fan/ 160°C convection
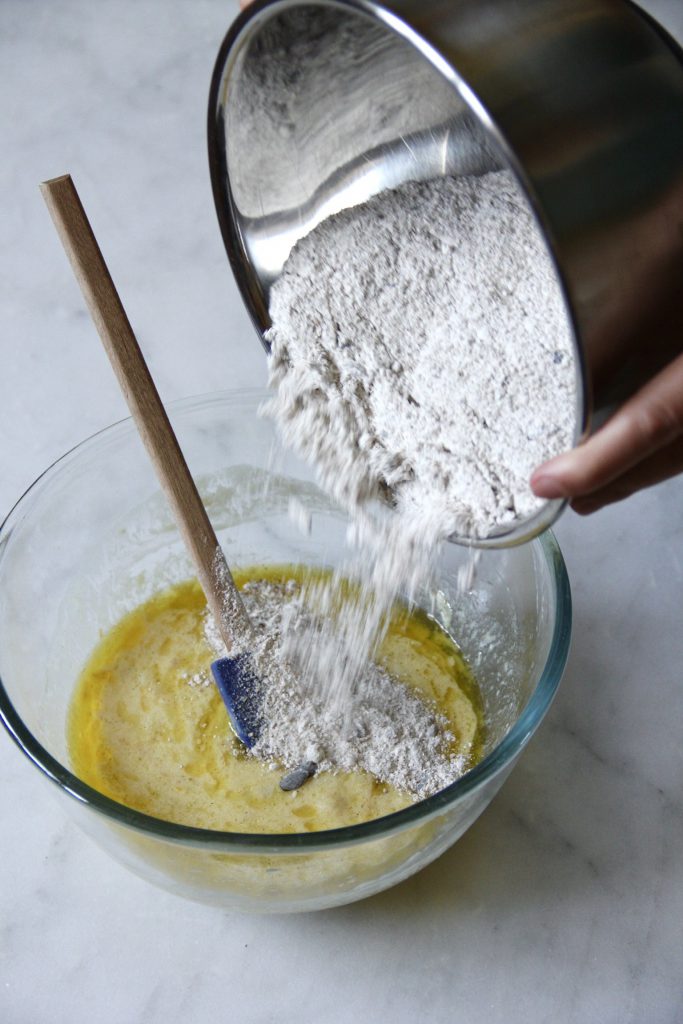
- Mash the banana with the yoghurt, followed by all the remaining wet ingredients.
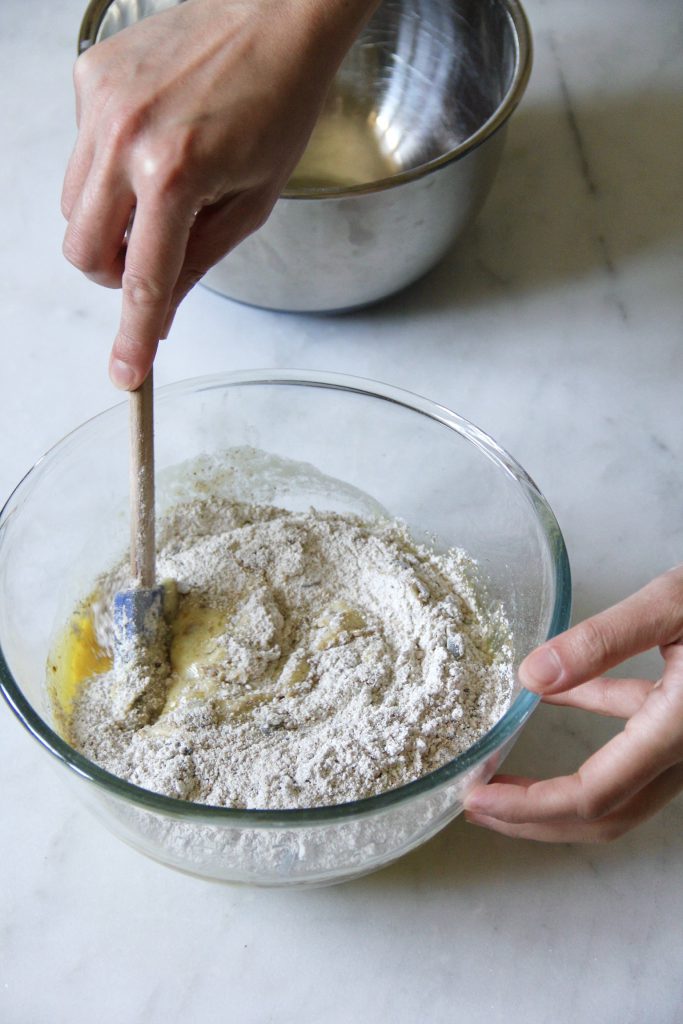
- Mix all the dry ingredients together. Then combine with the wet ingredients and mix till combined.
- Pour the mixture into the tin, sprinkle with seeds and bake for 35-40 minutes till a skewer inserted into the centre comes out clean.
- Remove from the oven and turn out onto a wire rack to cool.
Per serving: 208kcal/ 10.5g fat/ 6.8g saturated fat/ 18.5g carbohydrates/ 3.5g fibre/ 5.5g protein