Seeded Beetroot Cake

This recipe was inspired by a recipe by Nigel Slater which I started making after growing beetroots for the first time (and rather successfully I might add). We had so many beetroots to use up I had to try to find new recipes to use them in. I thought this recipe was so delicious and was an easy way to use the rapidly growing beetroots.

I decided to make my own version of this cake seeing as there is so much added free sugars in the original recipe. While sugar is sugar at the end of the day, swapping dates in the place of sugar doesn’t make this cake much healthier than the original, but it is a nice twist which adds a little extra fibre diversity into the mix.

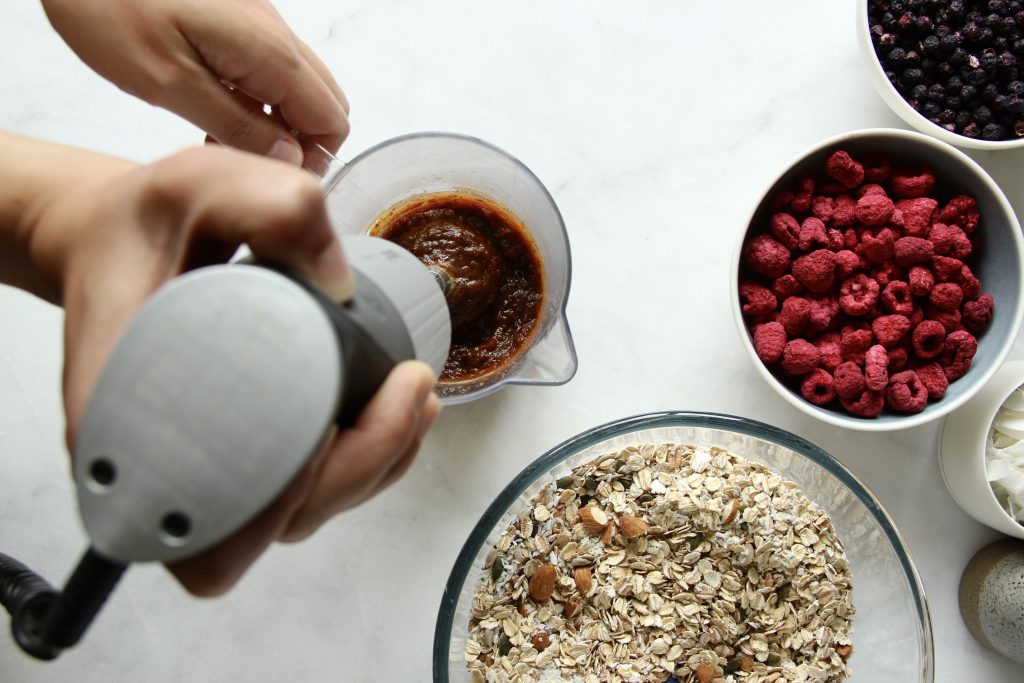
It’s also worth point out that while this recipe was going through the developmental stages I learnt that you cannot blend the dates directly with the oil as you would with water. It makes the most sticky mess and I almost gave up! So trust me on this one, blend with the water first and the mix in the oil at the end. That way there won’t be any frustrated cake tears.
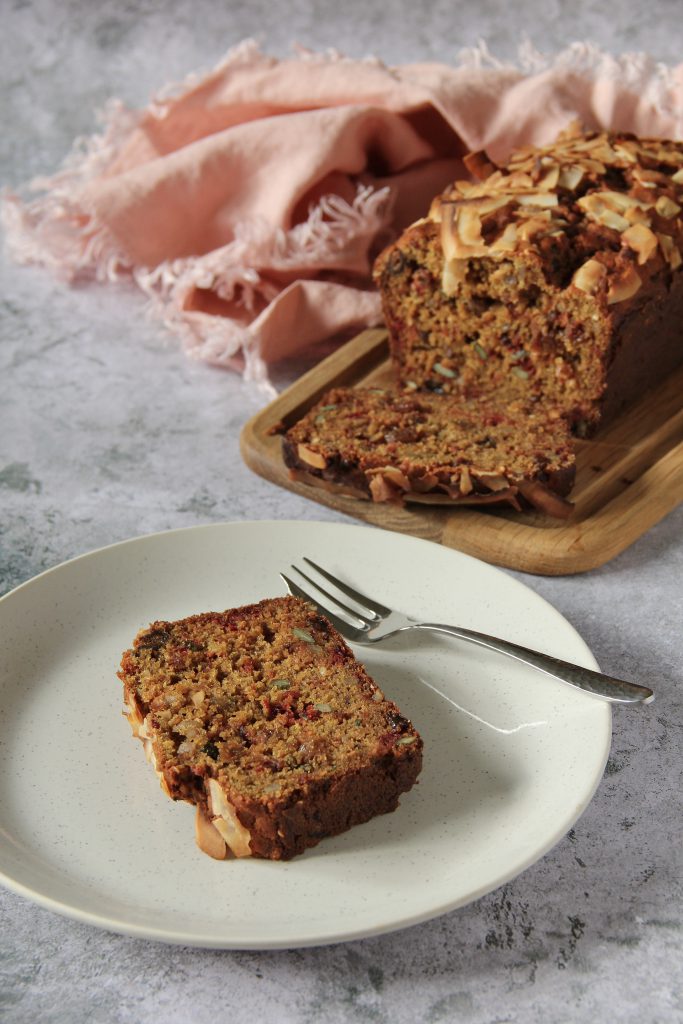
Serves 10

Ingredients

  • Butter or oil, for greasing
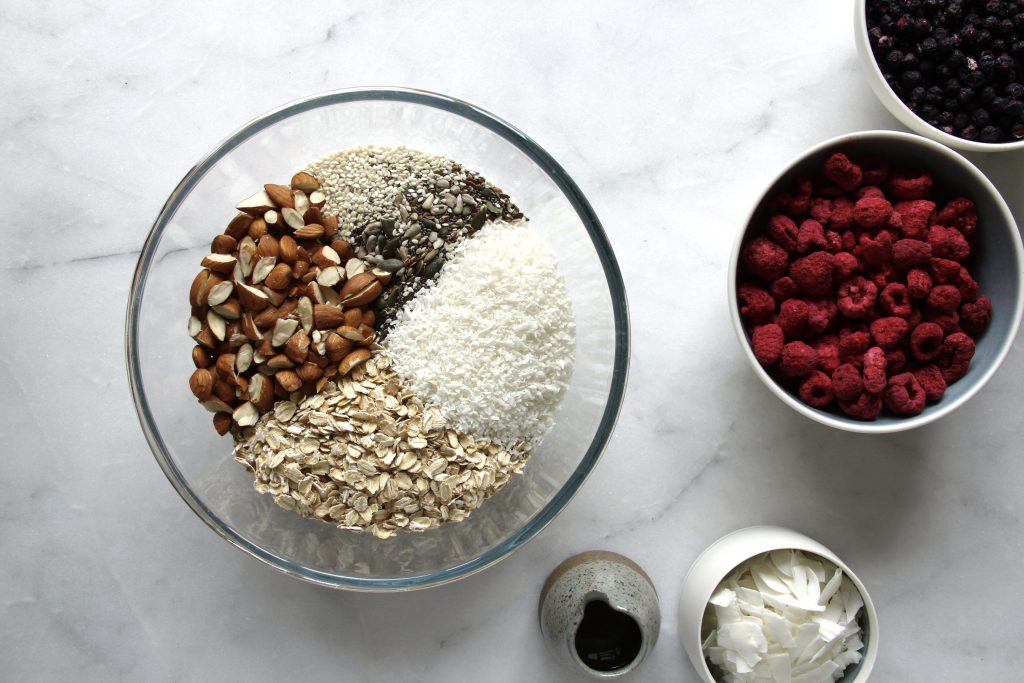
  • 125g dates
  • 2 eggs, separated
  • Zest and juice of half a lemon
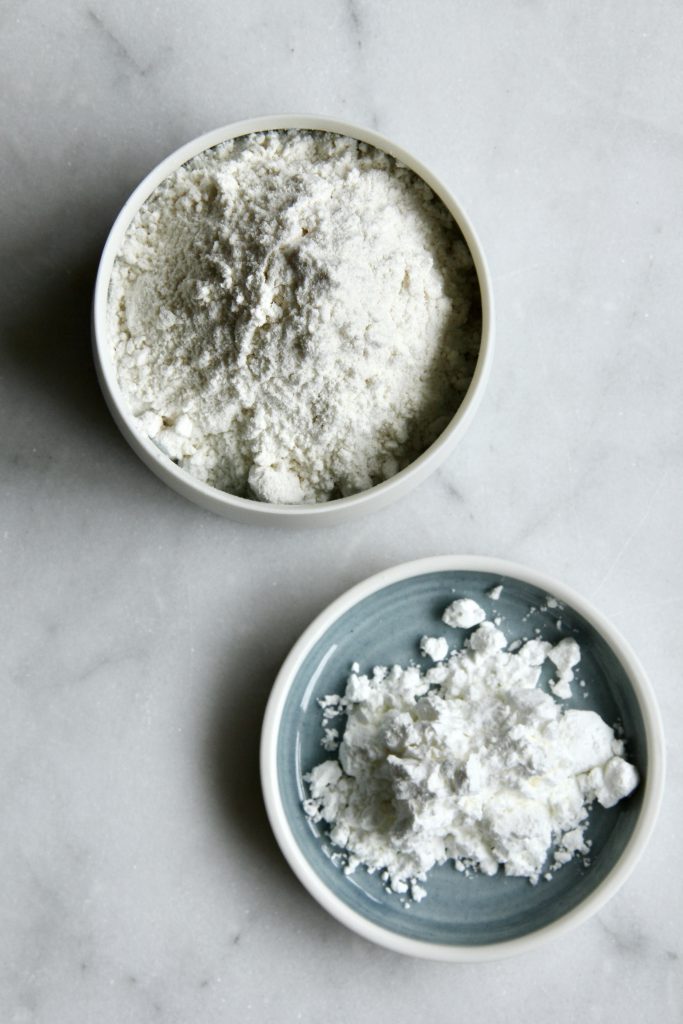
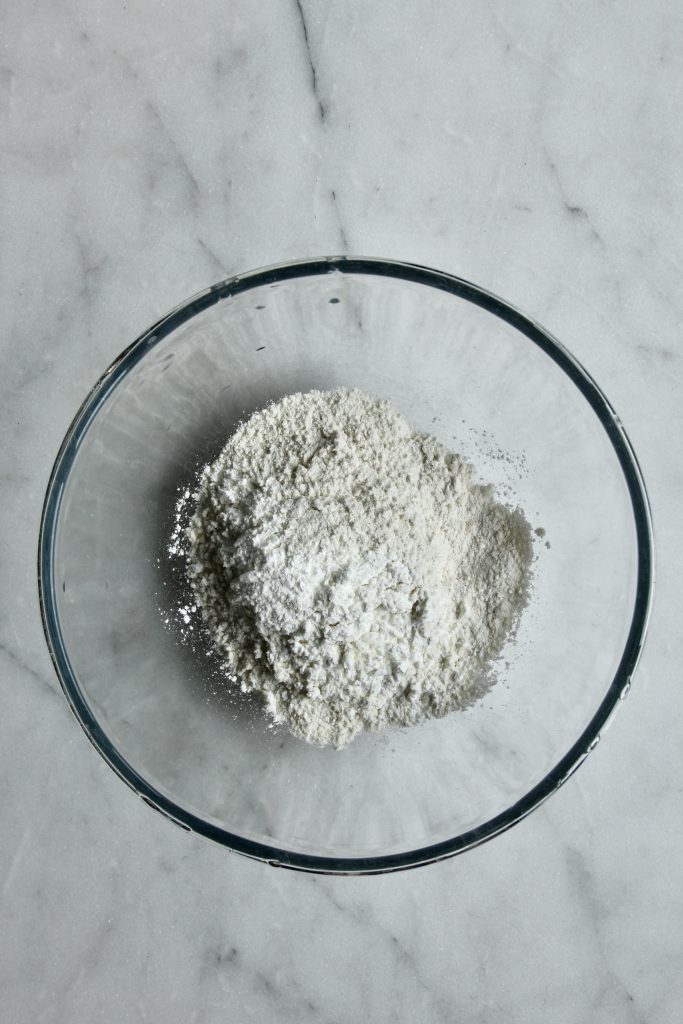
  • 180g self-raising flour
  • 1/2 tsp bicarbonate of soda
  • 1 tsp baking powder
  • 1/2 tsp ground cinnamon
  • 120ml extra virgin olive oil
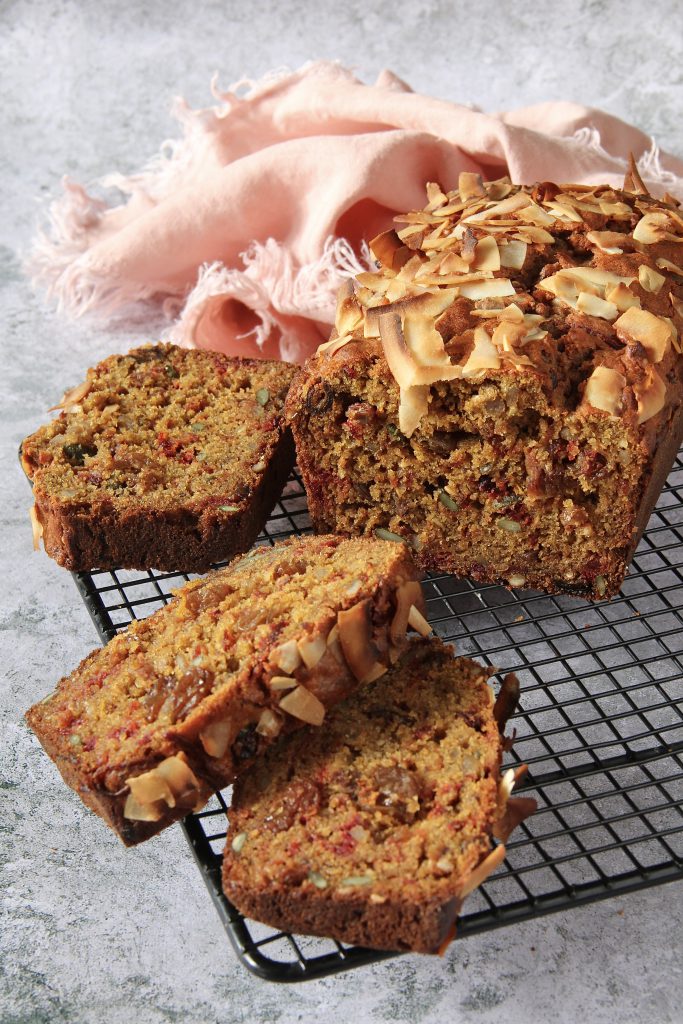
  • 170g/5oz raw beetroot, peeled and grated
  • 75g/3oz sultanas or raisins
  • 75g/3oz mixed seeds (such as sunflower, pumpkin and linseed)
  • 10g coconut flakes

Method

  • Preheat the oven to 180°C fan/200°C convection.
  • Line a 1lb bread tin with baking parchment and grease the sides lightly.
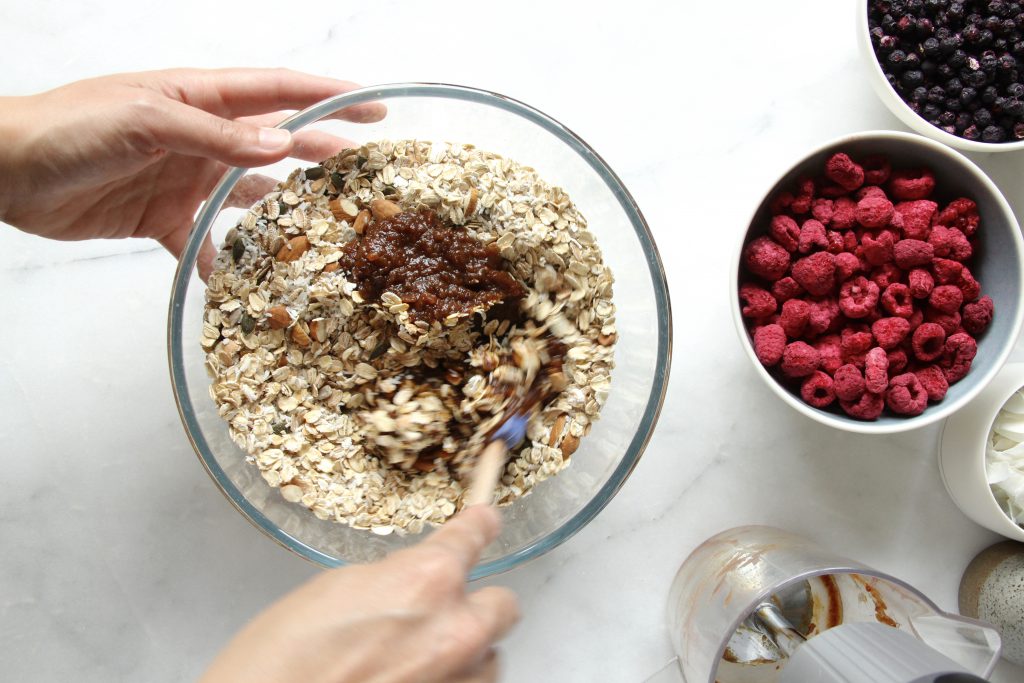
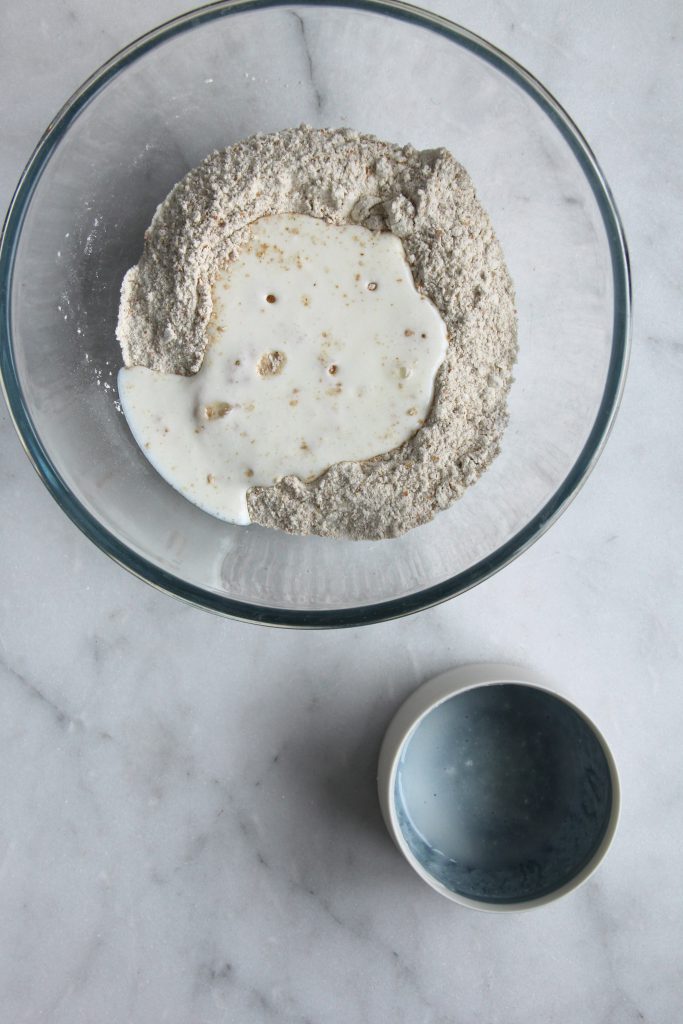
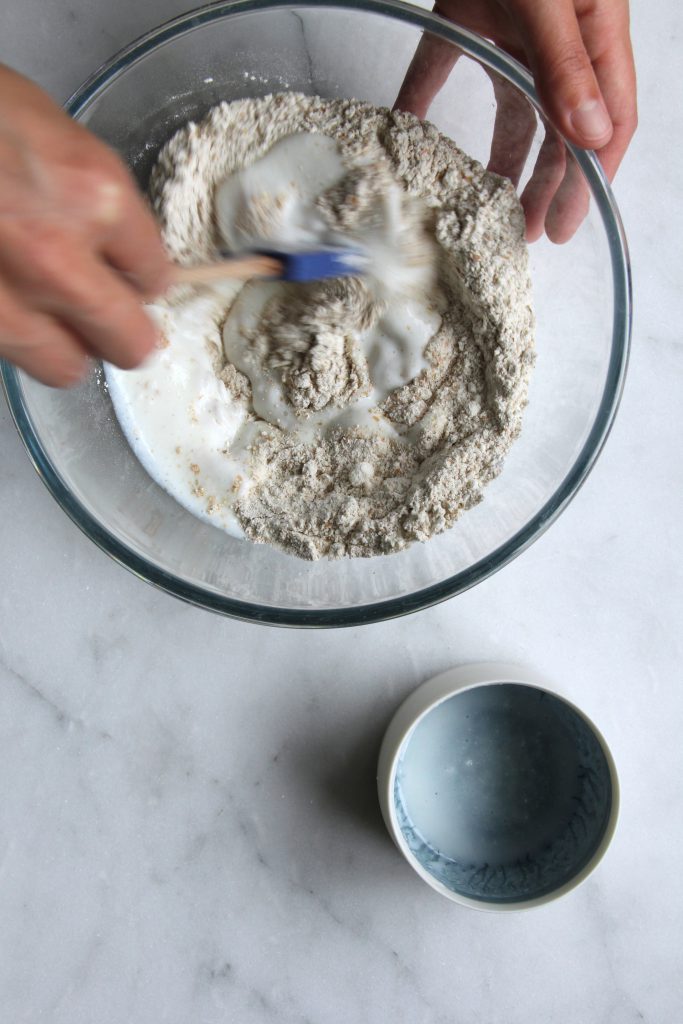
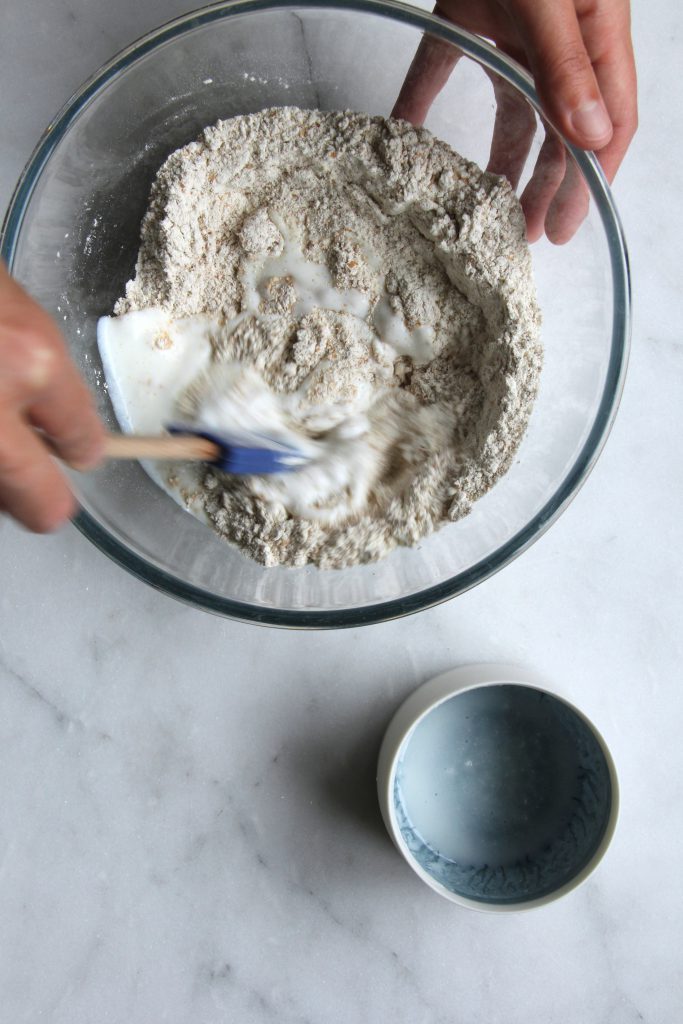
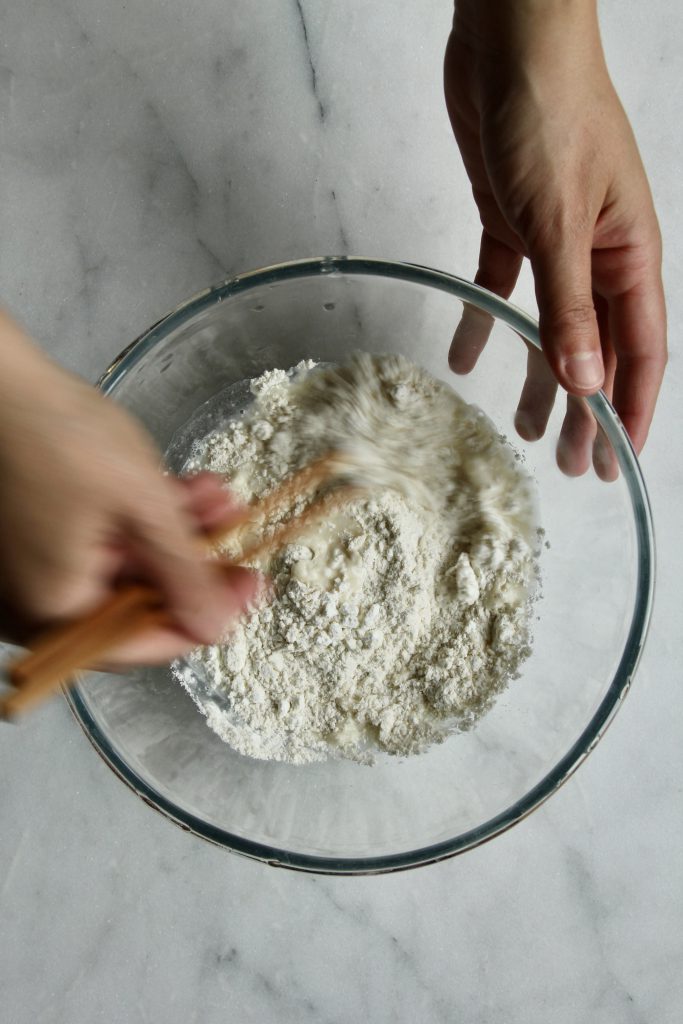
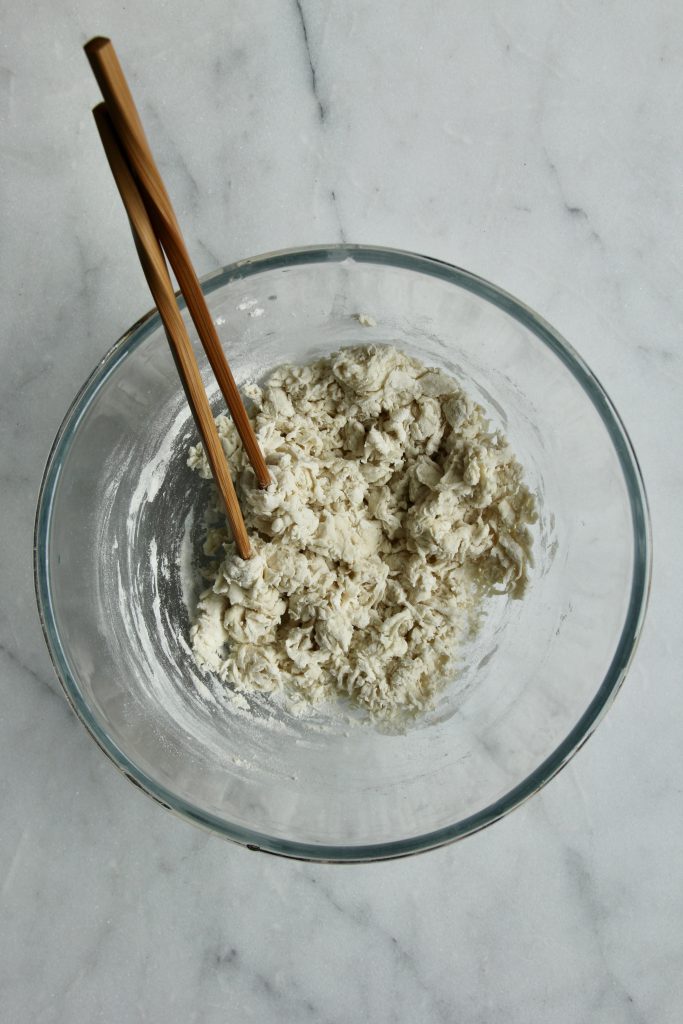
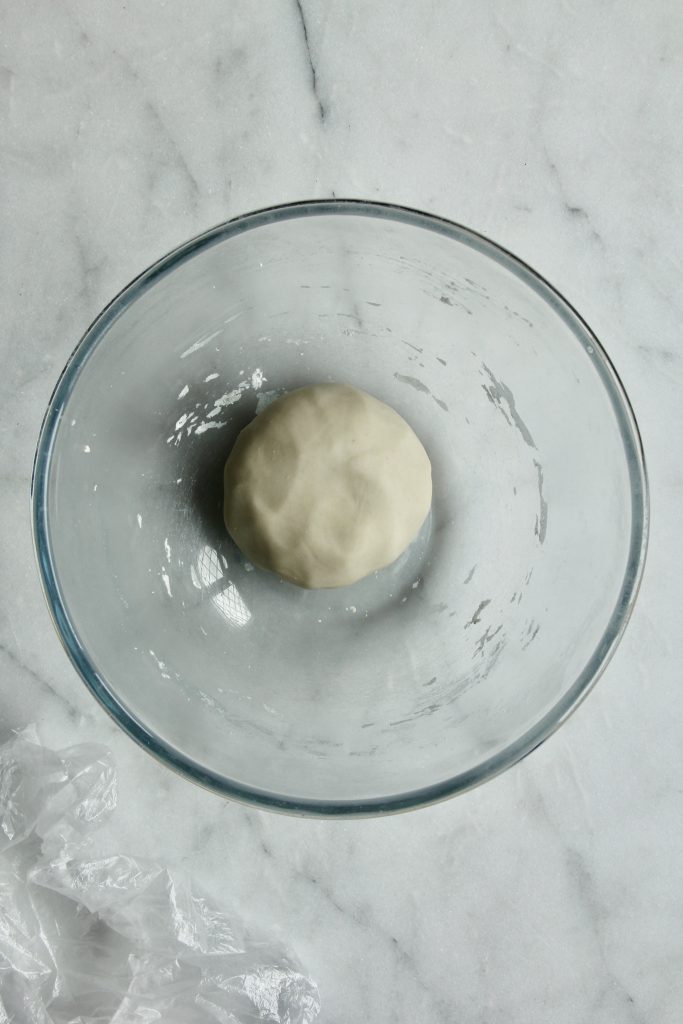
  • In a jug, blend the dates and 50ml boiling water to a thick paste consistency. Add the egg yolks and lemon juice and mix before adding the oil and grated beetroot.
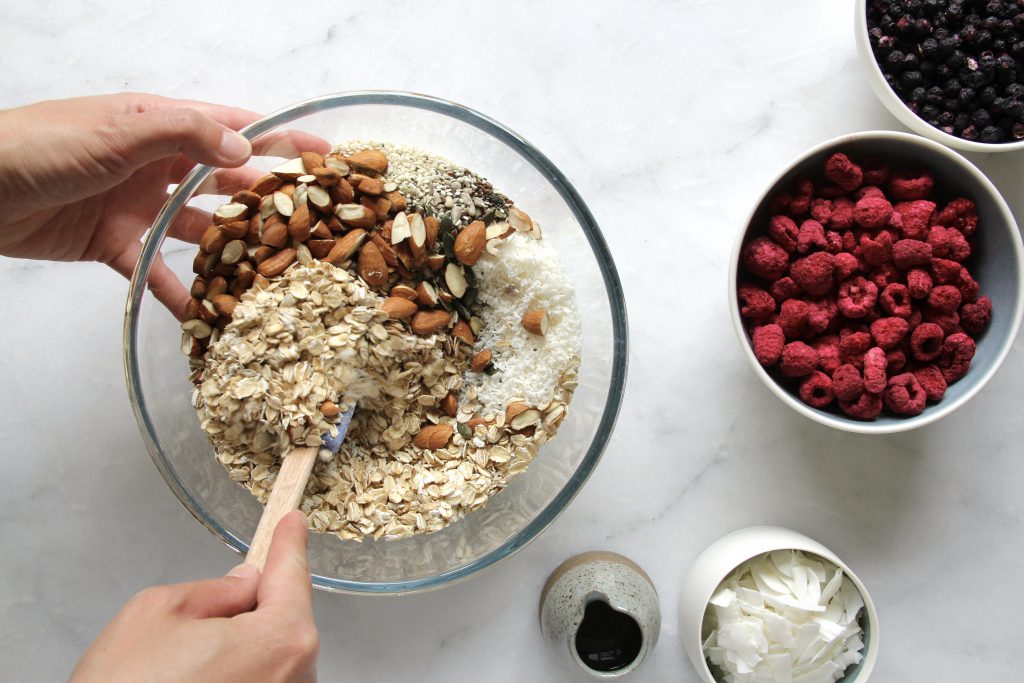
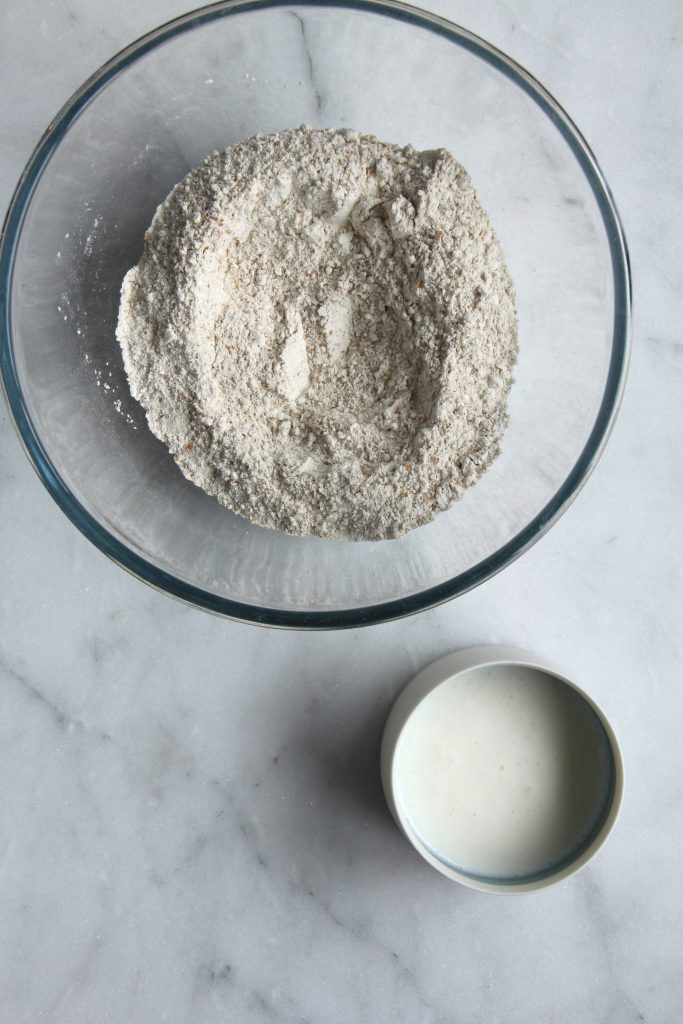
  • In a separate bowl, sieve the flour, bicarbonate of soda, baking powder and cinnamon together. Add the lemon zest, sultanas and seeds, mixing to evenly disperse them.
  • In a clean bowl, beat the egg whites to a soft peak consistency.
  • Mix the beetroot mixture with the dry ingredients, mixing to a batter before gently folding the egg whites in.
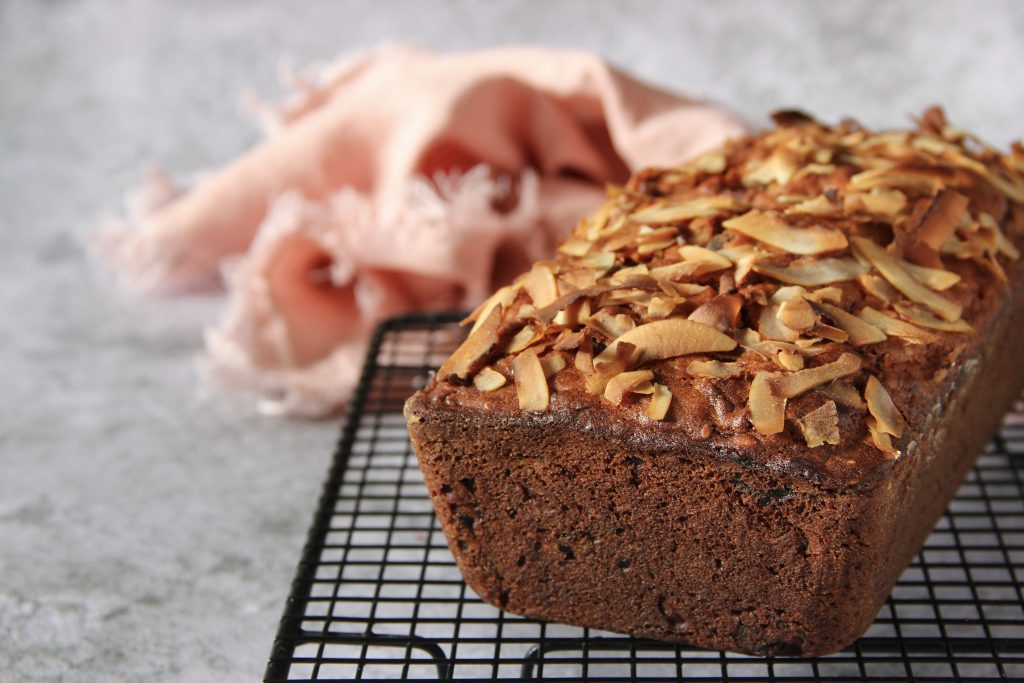
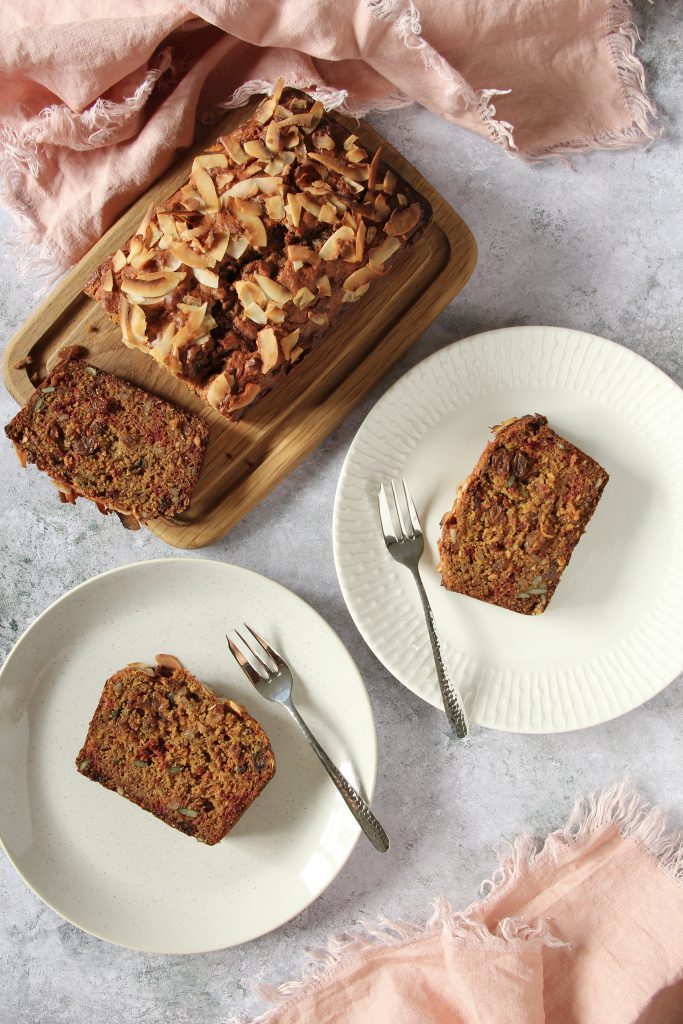
  • Pour into the lined tin, top with coconut flakes and bake for 40-45 minutes, covering with foil after 20 minutes. The cake is cooked when a skewer inserted into the middle of the cake comes out clean.
  • Leave to cool in the tin for 20 minutes before turning out onto a wire rack to cool completely.

Per slice: 291kcal/ 16.6g fat/ 2.9g saturated fat/ 28.9g carbohydrates/ 2.8g fibre/ 5.8g protein

Sourdough Crackers

Sourdough crackers which use up all the left over sourdough discard, meaning that between each preparation of the leaven for baking, the discarded sourdough starter can be turned into their own item and reduce food waste. Simply store all the unused starter in a clean container in the fridge, topping it up as you make more starter. You can keep adding starter for around 2 weeks to save up enough to make these crackers.

Another great thing about this recipe is that it’s so forgiving, you can use whatever flours you happen to have in your cupboard. This way you can increase the fibre diversity for your weekly tally by using different grains such as spelt, rye or wholegrain flours. Some flours absorb more water than others, and depending on how wet your starter discard is will determine exactly how much flour is needed for the dough.

Mix up the cracker flavours by adding in different ingredients. The below recipe is a simple seeded recipe, but the addition of nigella seeds will give a savoury flavour, or top with a little grated cheese over the top before cutting a baking to make a cheese topped cracker.

I keep my crackers very rustic looking. I simply roll out the dough and then run a pizza cutter through to make rough squares. You could of course jazz up their appearance by using a biscuit cutter to make specific shapes, or perhaps make them more seasonal with those cookie cutters you bought but never seem to get around to using…..!

If you want to ensure you have flat crackers without air bubbles in them, prick them with a fork before baking. This will allow any trapped air to be released rather than bubbling up and creating a pillow shaped cracker.

Makes around 40 crackers

Ingredients

  • 175g sourdough discard
  • 125g flour of choice (I have used equal portions of spelt, rye and khorasan)
  • 30ml extra virgin olive oil
  • 30 mixed seeds of choice (I have used poppy, linseed and sesame)

Method

  • Add the starter, flour and oil in a bowl and mix together to combine. The mixture should be firm but pliable and not stick to your hands – add more flour or water depending on how it feels.
  • Mix the seeds in and knead the dough lightly for a few minutes till smooth. Cover and rest for 30 minutes.
  • Preheat the oven to 180°C fan/ 200°C convection.
  • Divide the ball into 2 and roll out to around 2mm thickness, using a little extra flour to stop the dough from sticking.
  • Cut into the desired cracker shape and size and place onto a baking sheet.
  • Bake for 10-15 minutes till golden brown and crispy.
  • Allow to cool completely before storing in an airtight container for up to 1 month.

Cornish Crab Nachos

I call these Cornish crab nachos, not just because the crab I buy comes from Cornwall, but because this recipe is inspire by one of the best dishes I ate while I was on holiday there. Trying to recreate the same taste and flavours has been a task I have happily venture on time and time again. Now all I can do it share this taste of summer holidays with you.

I make my own simple nachos by using tortillas bought from the shop. For those who want to, you can take another short cut by buying tortilla chips rather than making you own, but they are so simple, take next to no time and honestly make the difference. Well worth the extra prep time and effort, trust me!

The original crab nachos from Mackerel Sky Seafood Bar were simply served with pickled chillis and limed soured cream. Delicious as it was, I couldn’t help but add a few more plant-based foods for diversity. Feel free to add or take away to your likings, but I have settled on my flavour combo!

The tortilla chips were also deep fried, and completely delicious! However, I cannot be bothered with the faff of deep frying, and honestly, toasting them in a hot oven with a little olive oil gets them super crispy without most of the guilt!

Finally, if I can’t get pickled chillis, fresh will do, but they do add a little extra kick of flavour fresh chillis can’t quite give.

Serves 4 as a starter

Ingredients

  • 8 wholemeal flour tortillas
  • 30ml extra virgin olive oil
  • 1 small avocado
  • 1 plum tomato
  • Pickled peppers e.g. jalapeños or roquito peppers or fresh chillis
  • 80g soured cream
  • Juice of 1/2 a lime
  • 1 tub of white crab meat
  • Fresh coriander

Method

  • Preheat the oven 180°C fan, 200°C convection
  • Brush the top side of each tortilla with oil and stack them on top of each other. Cut the flour tortillas into 8 triangles a piece and lay in a single layer of 2 baking trays.
  • Bake in the oven for 8 minutes till golden brown and crispy. Leave to cool slightly.
  • Meanwhile, chop the avocado into 1cm cubes. Deseed the tomato and dice into 1cm cubes.
  • Mix the soured cream and lime together.
  • Layer the crispy tortilla chips into a large bowl, scatter with the avocado, tomato, chillis, and crab meat.
  • Drizzle the soured cream dressing over the top and scatter with fresh coriander

Courgette Chips

When you’re growing so many courgettes you simply don’t know how best to eat them! This seems to be my 2020 courgette staple dish, I find myself making them on a weekly basis, and they make the most amazing starter or side to a lunch or dinner.

I usually favour the traditional chip or wedge shape, but they also do well in a circular crisp style, perfect for dunking into a dip of your choice

There are also so many different ways to flavour them. You could go spicy with chilli and chipotle, or garlic and herb, or do as I do with herbs and parmesan.

The dipping sauce is also yours to own too. If you don’t want soured cream you could make a spicy mayonnaise, or serve with a little tomato chilli relish. Fancy ketchup? No problem there either. Your chips and you dip them in whatever you wish.

Serves 2

Ingredients

  • 1 medium courgette, cut into wedges
  • 1 small egg, beaten
  • 30g plain flour
  • 10g parmesan, finely grated
  • Dried herbs of choice
  • 1 tbsp extra virgin olive oil

To serve

  • 75g sour cream
  • Juice of half a lime
  • Fresh herbs, such as coriander and chives

Method

  • Preheat the oven to 225°C fan, 240°C convection
  • Line a baking sheet with baking parchment and set aside.
  • Mix the flour, parmesan, herbs, and some pepper together in a shallow bowl.
  • Keeping one hand for dry dusting, and one hand for the egg, roll each courgette wedge in the flour mix, followed by the egg, and back into the flour mix, ensure all edges have been covered at each stage. Place on a baking sheet.
  • Repeat till all the courgette chips have been used.
  • Drizzle with the olive oil and bake in the oven for 8 minutes.
  • Meanwhile, roughly chop the herbs and mix with the soured cream and lime juice.
  • Once the courgette chips are cooked, transfer to a plate and serve with the dipping sauce.

Courgette, Feta and Mint Fritters

At present I currently have courgettes coming out of my ears! 1 courgette plant would be sufficient to feed a small family with a steady supply of courgettes each week. So naturally we have 10 plants (not to mention the questionable marrow-looking plants) and I am spending all my free time trying to work out new ways of giving courgettes away to unwilling neighbours – they are all currently sick of courgettes too!

Making these super light fritters is the perfect way of using up a courgette or two. You simply do not realise you are eating courgette till you have wiped the plate clean.

Serves 2

Ingredients

  • 1 medium courgette, around 180g, grated
  • 1 medium egg
  • 50g wholemeal flour
  • 1/2 tsp baking powder
  • 50ml milk
  • 10 mint leaves, finely sliced
  • 1 garlic clove, finely grated
  • 40g flat leaf parsley, roughly chopped
  • 70g feta cheese, crumbled
  • Chilli flakes to taste
  • Extra virgin olive oil to fry

Options to serve with:

  • Sour cream
  • Poached egg
  • Avocado
  • Smoked salmon
  • Salad

Method

  • Combine the flour and baking powder together in a large bowl and mix. Season with pepper to taste.
  • Add the milk and egg to make a batter. Add the remaining ingredients and stir to combine.
  • Heat a pan with 1/2 tsp olive oil and add a spoonful of batter into the pan, spreading them out so each round does not touch another. You should be able to make around 6 fritters in total.
  • Fry each fritter for 2 minutes per side till golden brown. Repeat till all the batter is used. If you are making a larger quantity keep them warm on a tray in a pre-heated oven set to 100°C.
  • Serve hot with your toppings of choice.

Per 3 fritters: 265kcal/ 12.3g fat/ 7.1g saturated fat/ 23.6g carbohydrates/ 4.3g fibre/ 15.0g protein

Banana and Strawberry Smoothie Pops

This is a super easy way of making the most of your brown bananas without having to make banana bread! Such an easy recipe it takes just 5 minutes. The hardest part is waiting for the ice pops to freeze, so making them the night before is the best way of killing the time.

This is also the perfect recipe to use the strawberry hulls in an attempt to waste less food whilst also increasing your fibre diversity intake. Simply remove the stem from the strawberries ready to blend!

For those who don’t have ice lolly moulds, you can freeze the bananas and strawberries, and then simply blend with the yoghurt to make smoothie bowls instead. It’s another fantastic way of keeping cool during the hot summer days.

Makes 6 100ml pops

Ingredients

  • 2 very ripe bananas
  • ~150g strawberries (you can choose to leave the strawberry hulls on)
  • 300g yoghurt of choice (I have used plain live dairy yoghurt)

Method

  • Weight the bananas into a large jug and top the weight up to 300g with strawberries.
  • Add 250g yoghurt and blend till smooth.
  • Add the remaining 50g yoghurt and lightly swirl in. Pour into your moulds and freeze according to the manufacturer’s guidelines.

Per 100g smoothie pop: 42kcal/ 0.7g fat/ 0.5g saturated fat/ 2.8g carbohydrates/ 1.0g fibre/ 1.2g protein

Spinach and Cottage Cheese Quiche

This is my brother’s favourite quiche. Full of delicious spinach, and a surprise ingredient, cottage cheese. I’ve added a few extra ingredients to the traditional recipe we originally used, this is to add a little extra fibre diversity, but also gives a little more depth of flavour.

The surprising use of cottage cheese in this dish means that some of the cream is replaced by this lower-fat dairy product. Cottage cheese is a low-fat cheese made using both curds and whey, meaning it retains some of the protein found in some dairy products. The little curds stay whole in the quiche so you get delicious nuggets of soft cheese throughout the quiche, giving an amazing texture and taste to the dish. No wonder it has been a favourite of my brothers for such a long time!

If you don’t have a 9″ flan tin, you can make smaller quiches using cupcake or muffin trays. Growing up my mum would always make these for birthday parties, so making mini individual quiches is perfect for hungry little fingers! It also freezes really well; if you want to serve them hot from the freezer, only partially cook them the first time round so you can re-crisp the pastry in the oven after defrosting.

This is perfect as a light dinner, or even served cold at a picnic or to take to work for lunch. I love serving it simply with a salad.

If you don’t want to make your own pastry then shop bought is fine. I use a full butter recipe in my shortcrust pastry recipe, but for those who need to watch their saturated fat intakes, using shop bought vegetable fat based shortcrust pastry is an option here. If you need to make a gluten-free version, use a gluten-free pastry, or alternatively if you want a crustless quiche butter the sides of a cake tin.

Serves 4 as a main, 6 for a lighter lunch or starter

Ingredients

  • 260g shortcrust pastry
  • 1 onion, finely diced
  • 2 tbsp extra virgin olive oil
  • 400g spinach, fresh or frozen
  • 1/2 nutmeg, grated
  • 300g cottage cheese
  • 3 large eggs
  • 50 parmesan, grated
  • 90ml double cream
  • 100g tomatoes, sliced

Method

  • Roll the pastry out to a thickness of 2mm and line a 9″ flan tin, leaving excess pastry overhanging the edge. Chill in the fridge.
  • Preheat the oven to 180°C fan, 190°C convection, and once up to temperature, prick the base of the pastry with a fork and blind bake the pastry case using non-stick paper and baking beans or dried rice for 15 minutes.
  • Remove the baking beans and paper and return the tin to the oven for a further 5 minutes.
  • Meanwhile, gently fry the onion in the oil till soft before adding the spinach and cooking until all the water evaporates. Turn off the heat and allow to cool slightly.
  • Mix the cottage cheese, eggs, parmesan and double cream together and season with nutmeg and pepper to taste.
  • Once the spinach has cooled, add to the wet ingredients and mix before pouring into the pastry case.
  • Top with sliced tomatoes and bake for 30-35 minutes till puffed up and golden brown*^.

Per sixth of a quiche: 376kcal/ 22.9g fat/ 13.5g saturated fat/ 24.9g carbohydrates/ 2.0g fibre/ 16.4g protein

*If freezing, part bake for 15-20 minutes till puffed up but without a golden brown colour. Allow to cool fully before storing in an airtight container in the freezer for up to 3 months. To reheat, pre-heat the oven to 180°C fan, 190°C convection, place back into the tin, and bake for 15 minutes till golden brown.

^If making mini individual quiches cook for 15-20 minutes.

Slow Roasted Tomatoes

These tomatoes are so delicious and their flavours are concentrated due to the slow and low cooking. Additionally, the lycopene content of slow-roasted tomatoes is increased due to concentration from loss of water, as well as a break-down of cellular structures which helps release the lycopene and make it more bioavailable for us to absorb. Lycopene is a compound found in many fruits and vegetables, and is responsible for the colour of many yellow, orange and red fruits and vegetables and has been linked with improved cardiovascular outcome, alongside other health benefits including cancer.

Ingredients

  • 600g tomatoes, large tomatoes sliced in half
  • 10 sprigs of herbs of choice (I have used golden oregano and marjoram)
  • 4 cloves of garlic, skin on
  • 1 tbsp extra virgin olive oil

Method

  • Preheat the oven to 100°C fan, 110°C convection, gas mark 1/4
  • Lay the tomatoes out on a large baking tray in a single layer with the herbs and garlic cloves. Drizzle over the olive oil onto all the tomatoes and slowly roast in the oven for 3 hours till sticky and concentrated.
  • Remove and use immediately, or store in a container in the fridge for up to 5 days.

No Added Sugar Berry and Coconut Granola

Granola doesn’t last long in my house. Whenever I make a tray, it will be gone within a few days. Seriously. It’s such a delicious way to get a variety of plant-based foods into the diet. In fact, the below recipe contains 15 plant-based foods, that’s half of your weekly recommended target. So this granola is really a winner!

In addition, each portion of granola contains 5.7g fibre. It also had another bonus of no added sugar. Instead, I used dates and blend them with hot water to create a sweet puree which helps the clusters form together. This also means it’s not overly sweet and feels much lighter than other generic granolas.

Using a variety of different cereal flakes also helps increase diversity; these are widely available at your local supermarket or health food shop. I’ve used jumbo oats with some rye, spelt and barley flakes which help increase the fibre content as well as the diversity of my weekly plant food intakes.

I’ve have used freeze-dried fruits in this granola. This means that they have been dried under cold conditions which are thought to help maximise the retention of heat-sensitive nutrients such as vitamin C, some B vitamins as well as phytochemicals and antioxidants. If you don’t have these to hand you can use other dried fruits such as raisins or apricots, or try adding some dehydrated vegetables for an extra fibre kick.

Makes 15 servings

Ingredients

  • 100g pitted dates
  • 150g oats
  • 50g rye flakes
  • 50g barley flakes
  • 50g spelt flakes
  • 50g desiccated coconut
  • 75g mixed seeds (chia, pumpkin, sunflower, sesame, and linseed)
  • 80g almonds, roughly chopped
  • 50ml Extra Virgin Olive Oil (EVOO)
  • 40g coconut chips
  • 35g freeze-dried raspberries
  • 35g freeze-dried blueberries

Method

  • Preheat the oven to 120°C Fan/130°C convection or Gas Mark 1/2.
  • Pour 150ml boiling water onto the dates and allow them to soak.
  • Meanwhile, mix all the oats, flakes, desiccated coconut, seeds, and nuts in a bowl.
  • Using a hand blender or a food processor, blend the dates in the water to a puree. Empty into the dry ingredients and mix.
  • Add the EVOO and mix together. Pour onto a large baking tray and, using the back of a spoon, press the granola down to form clumps.
  • Cook in the oven for 90 minutes in total, gently turning the granola at 30, 50, and 70 minutes.
  • At 70 minutes add the coconut flakes to the mixture before cooking for the final 20 minutes.
  • Remove from the oven and allow to cool fully before adding in the freeze-dried raspberries and blueberries and storing in an airtight container.

Per 50g serving: 206kcal/ 7.8g fat/ 4.4g saturated fat/ 21.3g carbohydrates/ 5.7g fibre/ 5.7g protein

Kefir Flatbreads

I always seem to have too much kefir, and never enough when I actually want to use it for my breakfast! If, like me, you seem to be making a lot of kefir for it to go too sour for your taste, don’t be fooled into throwing it away. That really upset me at first, when I didn’t understand my grains and fermenting. But I have now solved my kefir overflow problem – flat breads.

These are so easy to make, and taste so delicious you would never know they were made with what something that people would consider throwing away.

While I’ve had a few people scrunch their noses at me when I say I use old kefir to make these, they haven’t tried them and I’m 100% sure they would change their minds as soon as they tasted them.

When kefir goes too far and splits, you get the creamy part at the top and a yellowish clear liquid at the bottom. For me this is fermented too much for me to have in my cereal as is, and rather than waste it, I carefully tip off the clear liquid by holding a spoon to the solid top part and tilting my container. Once I’ve managed to get rid of as much as I dare, I strain the top part of the kefir off through a sieve into a container, take what I want for my breakfast, and leave the rest in the fridge. The kefir grains are then return to their normal cycle of fresh milk and left on the counter.

Once I have saved up a few day’s worth of kefir leftovers, I’m ready to make my probiotic loaded flatbreads. You can scale this recipe up or down depending on how much kefir you have, and how many flatbreads you want to make. These taste best fresh out of the pan, so I would only make as many as you can comfortably eat. Simply top them with your favourite sweet or savoury toppings and enjoy. Personally I love some garlic butter melted over the top as they come out fresh from the pan.

Using wholemeal flour is a great way to increase your fibre intake. If you don’t have wholemeal flour, you can use all self raising flour, but halve the baking powder. Or use other flours such as spelt or rye to help increase fibre diversity.

Makes 3 flatbreads

Ingredients

  • 130g kefir, slightly strained
  • 80g self-raising flour
  • 100g wholemeal flour, plus extra for rolling
  • 1 tsp baking powder
  • 1 garlic clove, crushed
  • 10g butter

Method

  • Mix all the dry ingredients together, then add the kefir. If the mixture is too sticky add a little more flour.
  • Knead for a few minutes till soft and smooth.
  • Roll out using a little flour to stop it sticking, to the thickness of a pound coin.
  • Cook in a dry pan or griddle over a medium heat for 2-3 minutes per side.
  • Meanwhile, gently heat the garlic and butter together till melted and the garlic fragrant.
  • Remove from the pan, and brush with garlic butter while hot to allow the flavorous to melt into the bread.

Per flatbread: 332kcal/ 5.2g fat/ 2.8g saturated fat/ 43.6g carbohydrates/ 4.7g fibre/ 7.4g protein

Turkey and Shiitake Mushroom Dumplings

An adaptation to the bao recipe my mum taught me for when you are shorter on time but still want something delicious!

While Chinese recipes often call for pork, specifically fattier cuts such as belly of pork, I use minced turkey thigh in many of my dumpling recipes. Turkey is a leaner mince in comparison to standard pork mince (5.5g fat versus 11.6g fat per 100g respectively) yet still doesn’t dry out when cooked. This is partially due to the use of thigh meat rather than breast, which is usually much juicer, as well as the use of a tiny amount of bicarbonate of soda. The bicarbonate of soda, once mixed in with the mince, helps it stay soft and juicy, as well as give a little “bounce” which higher fat meats tend to have.

This is perfectly adaptable to whatever ingredients you wish to use. You can use firm tofu, which I also press to prevent excess water inside the dumpling. Swap weight for weight, although it can be a little more difficult to pleat the dumplings as the mixture is much more crumbly and does not stick together in the same way as meat does.

I also love to use fish and shellfish in dumplings. You could also do a mixture, one we often use in our family recipes is prawn and turkey, again traditionally it would have been pork and prawn, but we have added this little healthy swap which tastes absolutely delicious!

Folding the dumplings can be a little tricky. If you struggle the simplest shape you could make would be either a half-moon where you literally fold the skin on itself to make a semicircle shape, or you could gather all the pastry around to the top and squeeze to make a “money purse” shape. As you get more adventurous there are so many different shapes you can try.

Dumpling filling ingredients

Makes 12 dumplings

Ingredients

  • 1 quantity of dumpling skins
  • 100g turkey mince, preferably thigh
  • 1/4 tsp bicarbonate of soda
  • 1 tsp corn flour
  • 1 tsp sesame oil
  • 1 tsp soy sauce
  • 3 shiitake mushrooms, fresh, or if dried soaked in water till soft, finely diced
  • 35g bamboo shoots, finely sliced
  • 15g coriander, roughly chopped
  • 1/2 cm ginger slice, finely diced
  • Pinch of white pepper
  • Oil for cooking

Method

  • Mix the turkey mince with the bicarbonate of soda thoroughly. Then add all the remaining ingredients, except the oil for frying, and mix well.
  • Take 1 dumpling skin and fill it with a heaped teaspoon of the mixture. Pinch the end and then pleat the top half of the skin onto the bottom half of the skin to create a slight crescent shape.
  • Add a dash of oil to your frying pan to stop the dumplings from sticking, and arrange them so they have at least 1 cm between each dumpling. You may need to cook them in batches depending on the size of your pan.
  • Cook for 2-3 minutes over a low-medium heat so they are golden on the bottom. Then add hot water to cover the bottom third of the dumpling and immediately cover with a lid to steam the dumplings.
  • After 5 minutes, remove the lid and allow any remaining liquid to evaporate off, add a dash of sesame oil to finish and crisp the bottoms for 1 minute.
  • Remove the dumplings onto a plate and enjoy hot with a dipping sauce of your choice.

Per dumpling: 66kcal/ 1.9g fat/ 0.4g saturated fat/ 8.7g carbohydrates/ 0.7g fibre/ 3.3g protein

Easy Dumpling Skins

Easy dumpling skins which the whole family can enjoy rolling out and filling.

If you don’t have plain flour, use strong white bread flour and increase the ratio of corn flour in the recipe by up to 25%. Corn flour adds a silkiness to the skins, even with normal plain flour, while the high gluten content of bread flour could make the skins tough.

Makes 12 skins.

Ingredients

  • 108g plain flour
  • 12g corn flour
  • 62g hot water, boiled and cooled for 5-10 minutes

Method

  • Mix the two flours together.
  • Add the hot water and stir to a shaggy mixture. Cover and leave for 10-30 minutes.
  • Knead the dough till it is smooth and elastic. Cover and leave for 30-60 minutes.
  • Roll a fat sausage shape and cut 12 equal cylinders.
  • Take 1 cylinder, and cover the remaining 11, press down with the palm of your hand on the cut surface of the dough to create a flat disk. Using a rolling pin, roll from the centre of the disk outwards, then turn clockwise and keep repeating around the dough to create a round flat disk with a thin edge.
  • If not using immediately, cover to prevent it from drying out as you continue to roll out the remaining dough.
  • If you wish to freeze the skins, rub a little corn flour on each side to stop them from sticking together. Freeze for up to 1 month.

Per skin 39kcal/ 0.2g fat/ 0.1g saturated fat/ 8.0g carbohydrates/ 0.3g fibre/ 1.1g protein