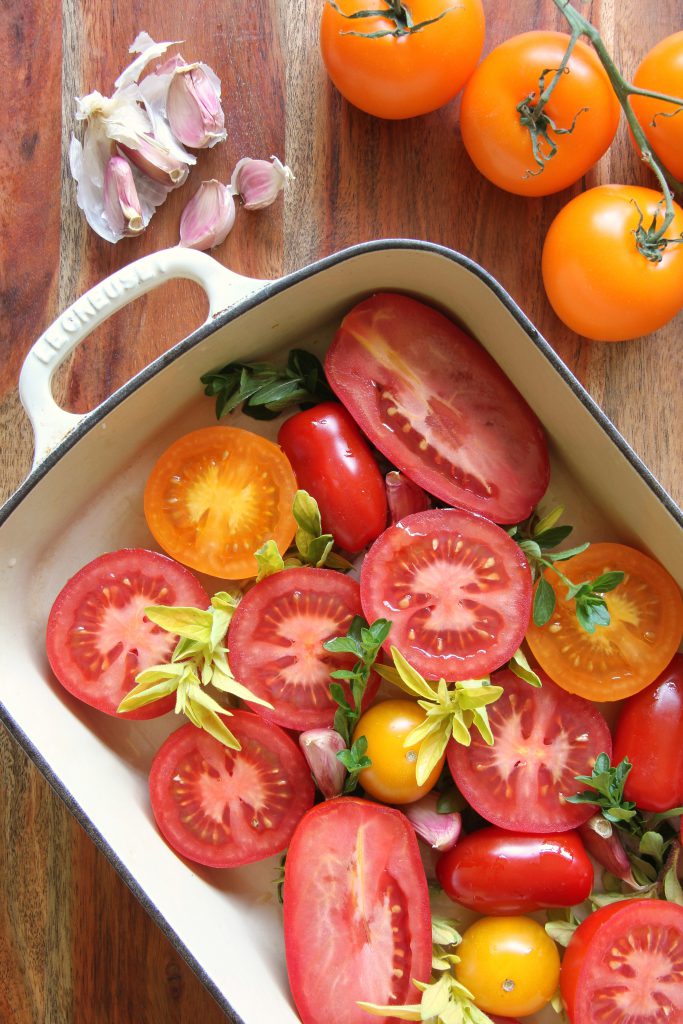
These tomatoes are so delicious and their flavours are concentrated due to the slow and low cooking. Additionally, the lycopene content of slow-roasted tomatoes is increased due to concentration from loss of water, as well as a break-down of cellular structures which helps release the lycopene and make it more bioavailable for us to absorb. Lycopene is a compound found in many fruits and vegetables, and is responsible for the colour of many yellow, orange and red fruits and vegetables and has been linked with improved cardiovascular outcome, alongside other health benefits including cancer.
Ingredients
600g tomatoes, large tomatoes sliced in half
10 sprigs of herbs of choice (I have used golden oregano and marjoram)
4 cloves of garlic, skin on
1 tbsp extra virgin olive oil
Method
Preheat the oven to 100°C fan, 110°C convection, gas mark 1/4
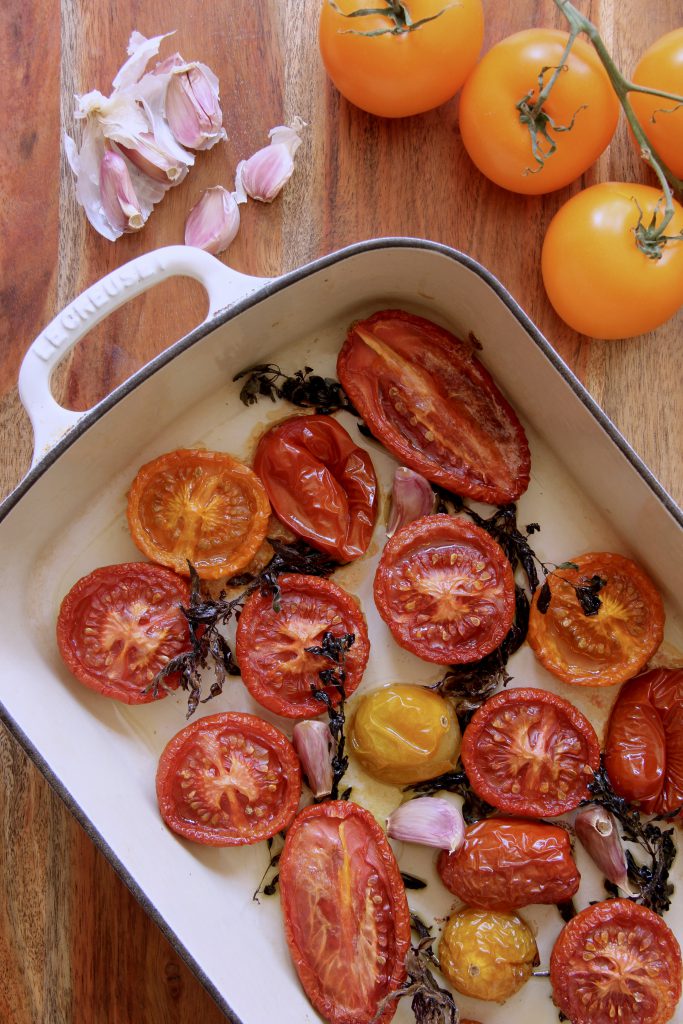
Lay the tomatoes out on a large baking tray in a single layer with the herbs and garlic cloves. Drizzle over the olive oil onto all the tomatoes and slowly roast in the oven for 3 hours till sticky and concentrated.
Remove and use immediately, or store in a container in the fridge for up to 5 days.
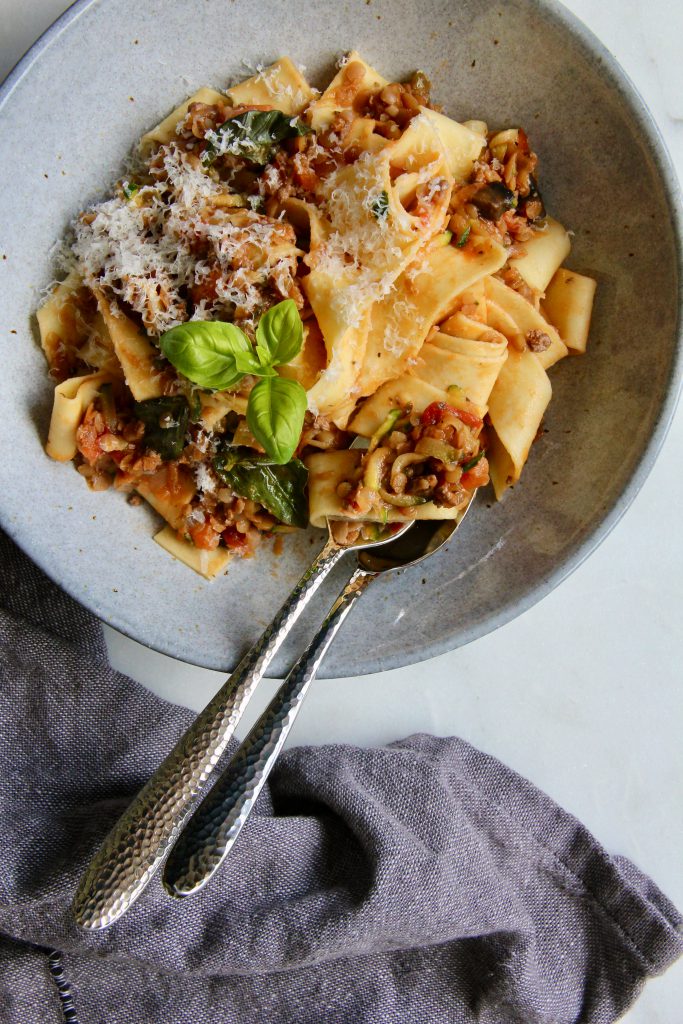
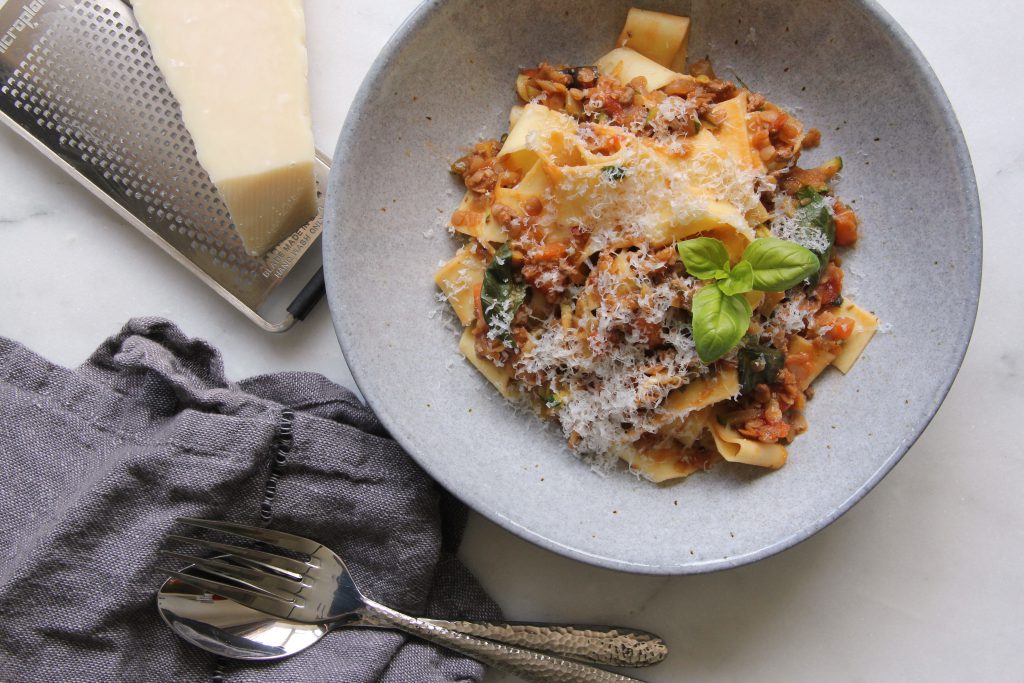
With so many people being more conscious about what they eat and how it affects the climate, but unsure as to how they can reduce their food carbon dioxide emissions, this is the recipe for you. It’s my halfway house to enjoying a little meat, but making it go further with the help of one of my favourite store cupboard staples, lentils.
This is a recipe I developed years ago, when at University and trying to make my student budget go a little further without having to compromise on nutrition, but more importantly taste. Lentils are a fantastic way of adding some extra bulk to a meal, whilst being nutritious on their own. This is perfect for trying to reduce your meat intake in dishes such as spaghetti bolognese where meat is usually the main ingredient of the sauce. Per 100g, turkey mince contains around 23g protein, and lentils are not far shy of that figure at 19.3g protein. And if we were to use mince alone, we will be having 5g less fibre per portion of sauce.
I also use turkey mince in my bolognese, rather than beef. This developed a while ago where I switched a lot of mince based recipes towards turkey mince. It’s an extremely useful source of protein, and comparing gram to gram against other meat minces such as beef, there is a lower carbon dioxide emission (estimated mean 6.0 vs 28.7 kg CO2-eq/kg), which is again beneficial to the environment.
This Bolognese sauce is also the perfect batch cooking recipe. It makes 8 servings of sauce which can easily be frozen down in portion sizes for an easy meal at a later date. Alternatively, make a bechamel sauce and layer up with lasagne sheets, or use some chillis and kidney beans to make a chilli con carne and you’ve got yourself some easy alternative meals to enjoy.
Makes 8 servings
Ingredients
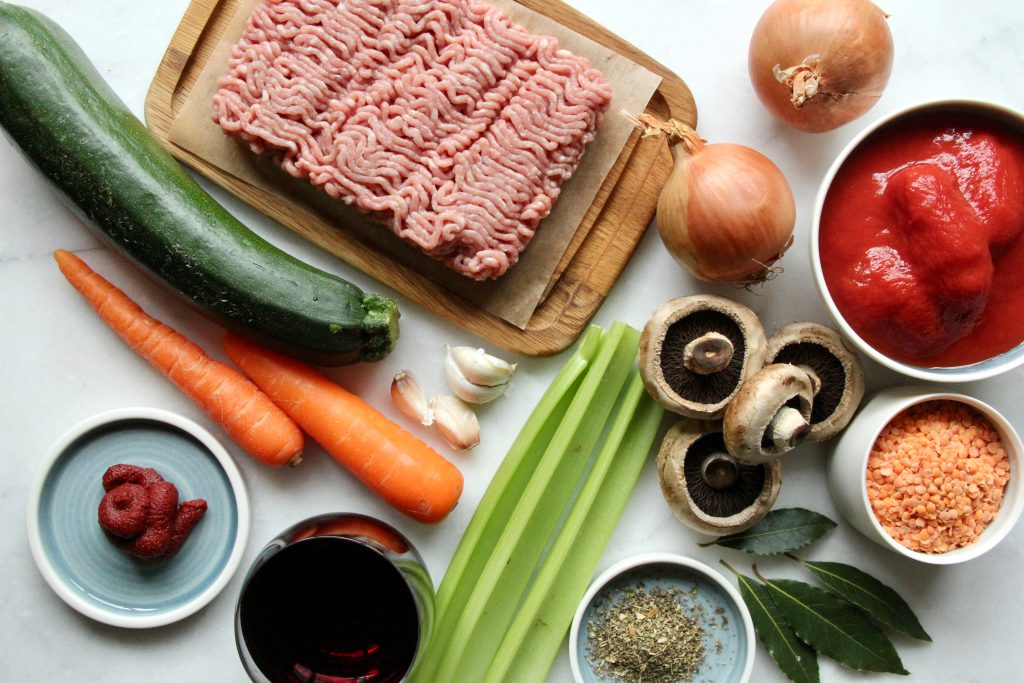
2 tbsp extra virgin olive oil
2 large onions, finely diced
3 sticks of celery, finely diced
4 garlic cloves, minced
150g mushrooms, finely diced
300g minced turkey thigh
2 tbsp tomato puree
1/2 tbsp mixed Italian herbs
4 fresh bay leaves
2 carrot sticks, finely diced
600ml chicken/vegetable stock (or 1 stock cube made up to 600ml)
250ml red wine
1 can of chopped tomatoes
250g red lentils
1 tbsp Worcestershire sauce
1 large courgette, grated
Method
Gently fry the onions and celery in the oil till soft and translucent. Add the garlic and cook for a further 2 minutes.
Add the mushrooms and cook till soft and their liquids have evaporated.
Push the vegetables to the side of the pan and fry the turkey mince in the centre till golden brown and mix with the vegetables.
Add the tomato puree, herbs, carrots, stock, red wine, canned tomatoes, lentil and Worcestershire sauce. Cook over a low heat stirring occasionally for 45 minutes.
5 minutes before serving, add the grated courgette.
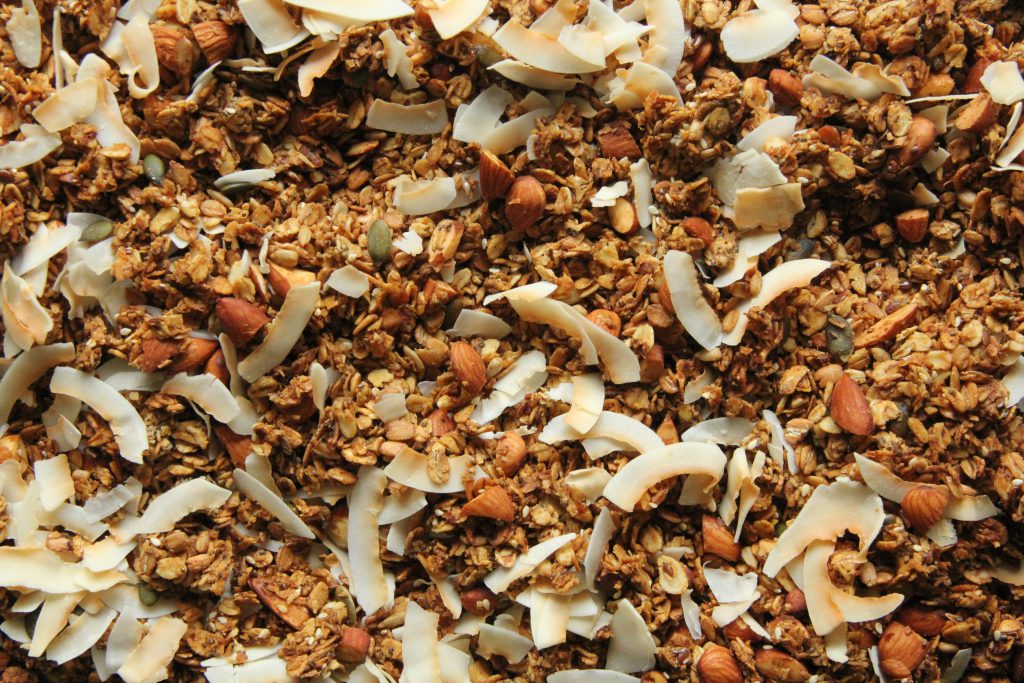
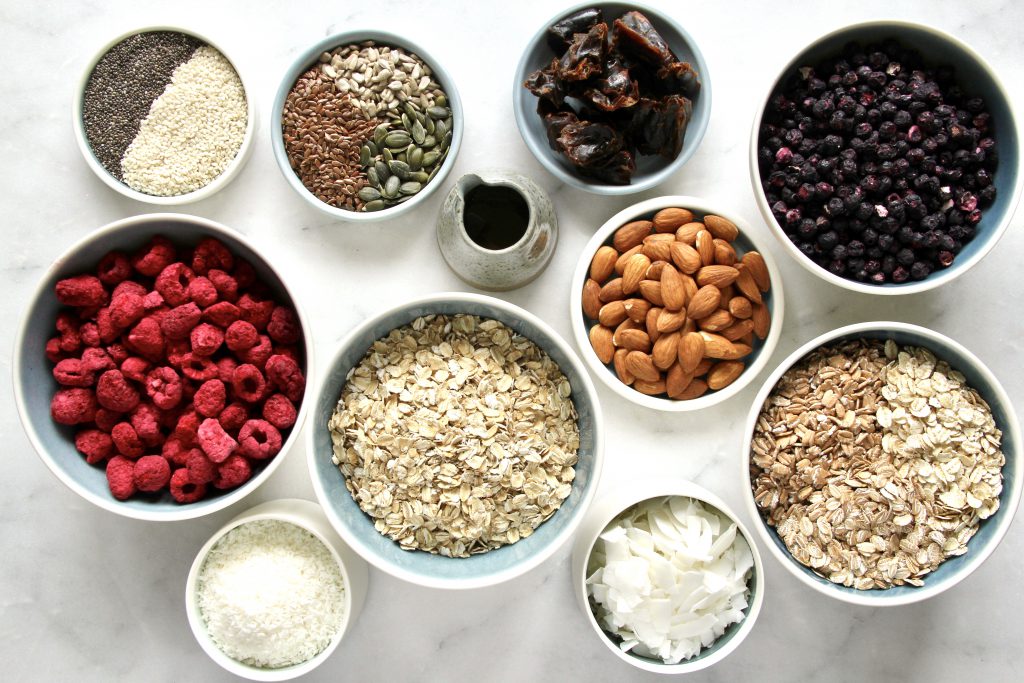
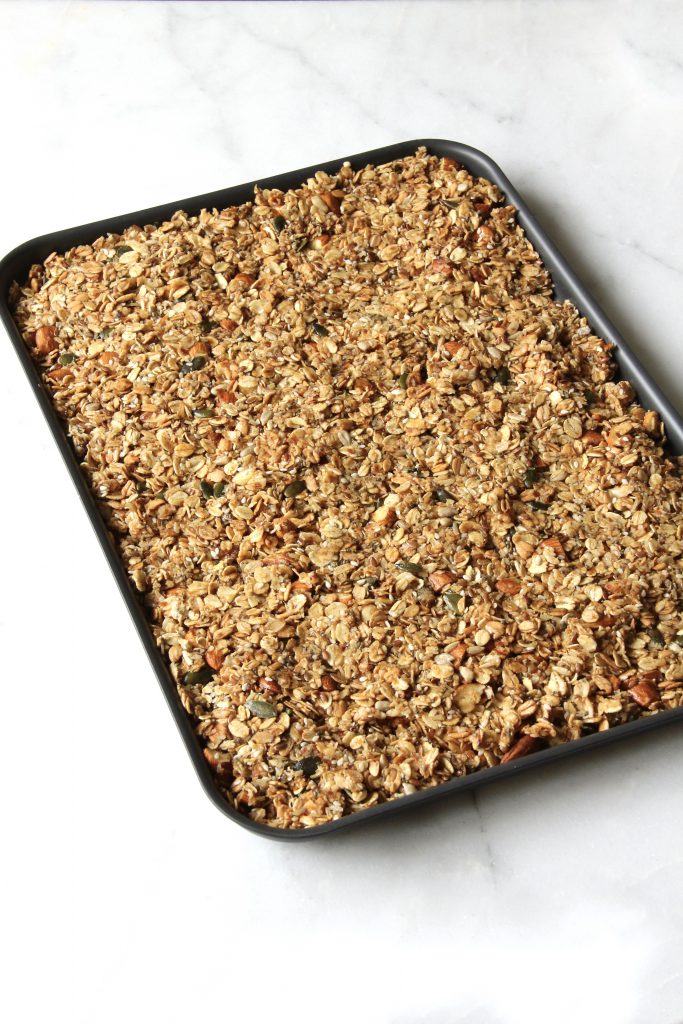
Granola doesn’t last long in my house. Whenever I make a tray, it will be gone within a few days. Seriously. It’s such a delicious way to get a variety of plant-based foods into the diet. In fact, the below recipe contains 15 plant-based foods, that’s half of your weekly recommended target. So this granola is really a winner!
In addition, each portion of granola contains 5.7g fibre. It also had another bonus of no added sugar. Instead, I used dates and blend them with hot water to create a sweet puree which helps the clusters form together. This also means it’s not overly sweet and feels much lighter than other generic granolas.
Using a variety of different cereal flakes also helps increase diversity; these are widely available at your local supermarket or health food shop. I’ve used jumbo oats with some rye, spelt and barley flakes which help increase the fibre content as well as the diversity of my weekly plant food intakes.
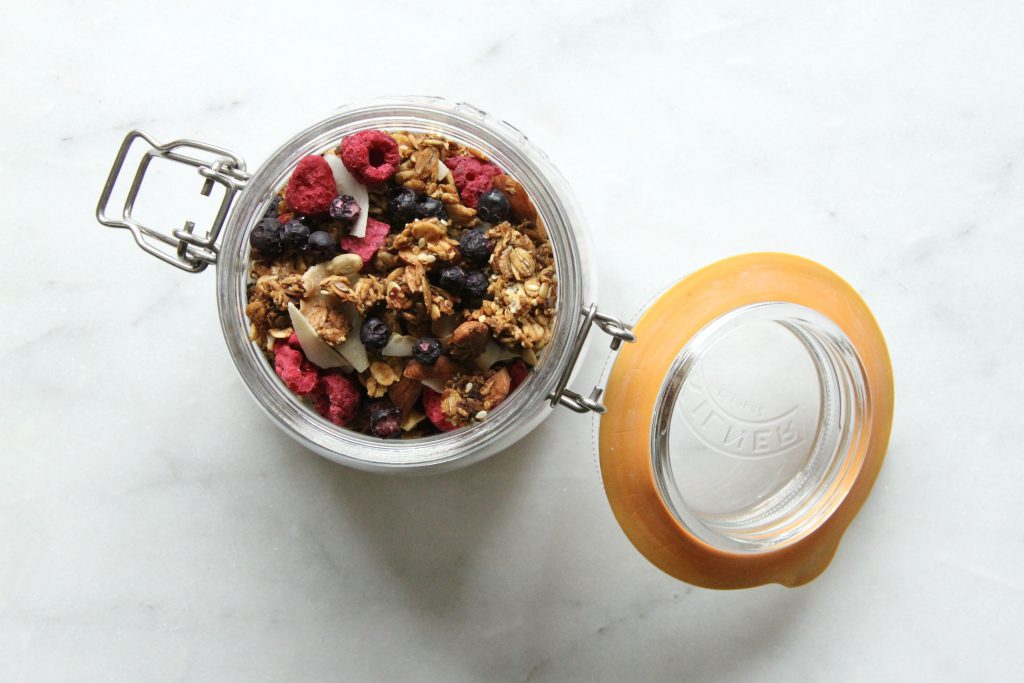
I’ve have used freeze-dried fruits in this granola. This means that they have been dried under cold conditions which are thought to help maximise the retention of heat-sensitive nutrients such as vitamin C, some B vitamins as well as phytochemicals and antioxidants. If you don’t have these to hand you can use other dried fruits such as raisins or apricots, or try adding some dehydrated vegetables for an extra fibre kick.
Makes 15 servings
Ingredients
100g pitted dates
150g oats
50g rye flakes
50g barley flakes
50g spelt flakes
50g desiccated coconut
75g mixed seeds (chia, pumpkin, sunflower, sesame, and linseed)
80g almonds, roughly chopped
50ml Extra Virgin Olive Oil (EVOO)
40g coconut chips
35g freeze-dried raspberries
35g freeze-dried blueberries
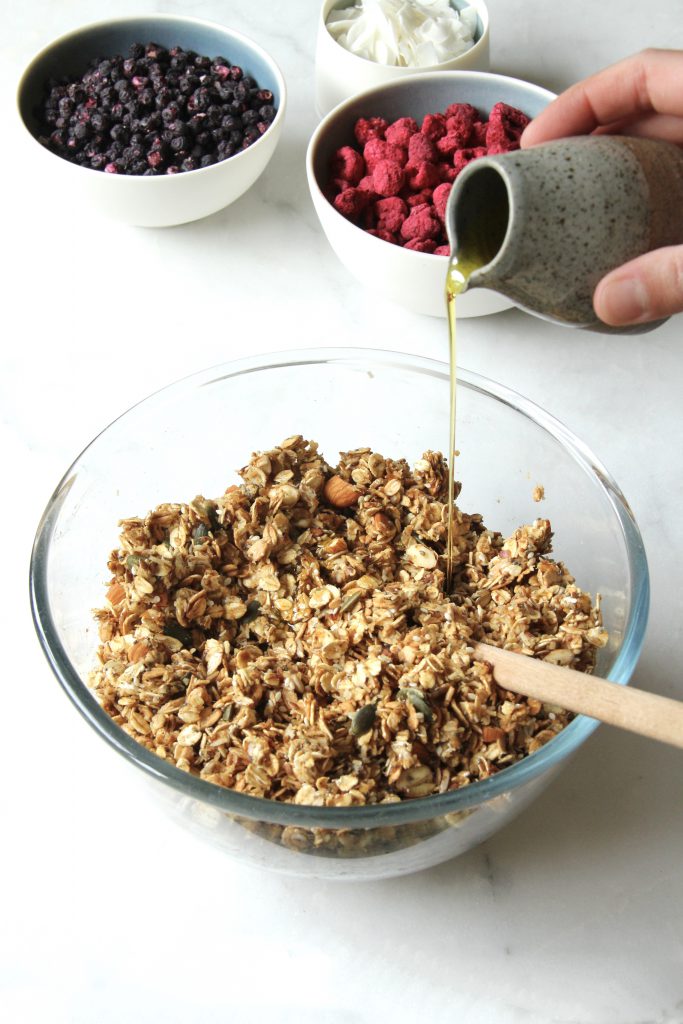
Pour in the EVOO
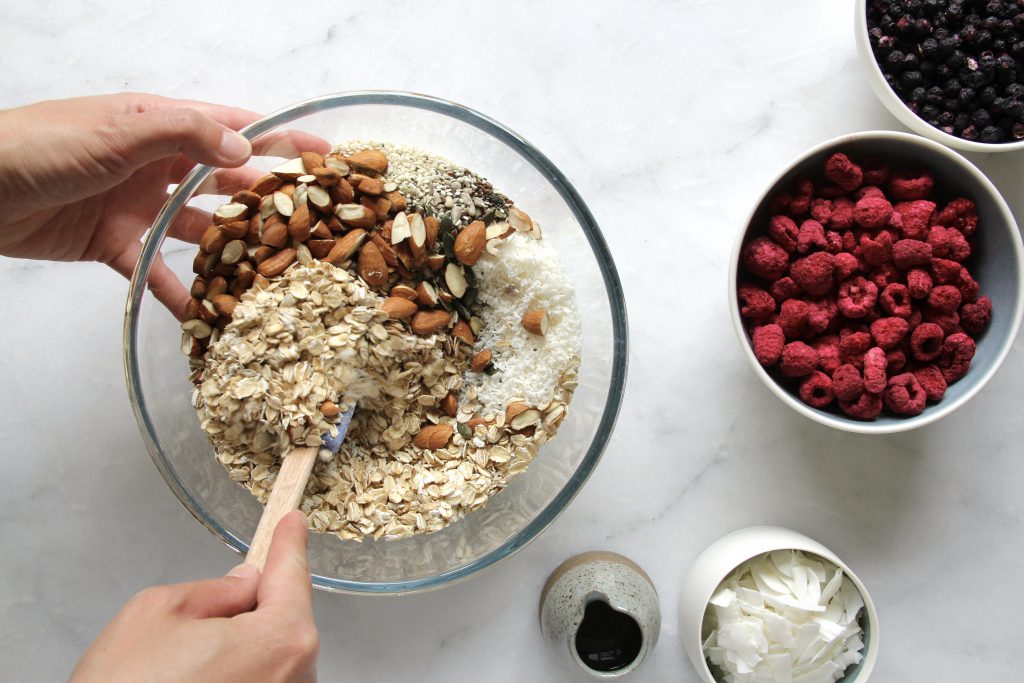
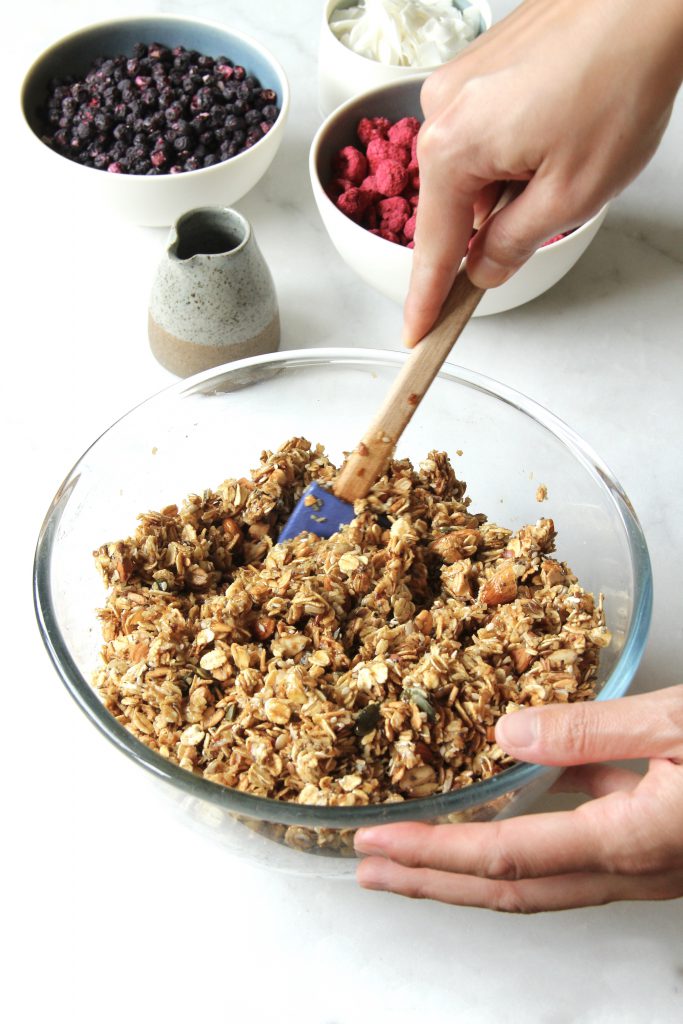
Mix
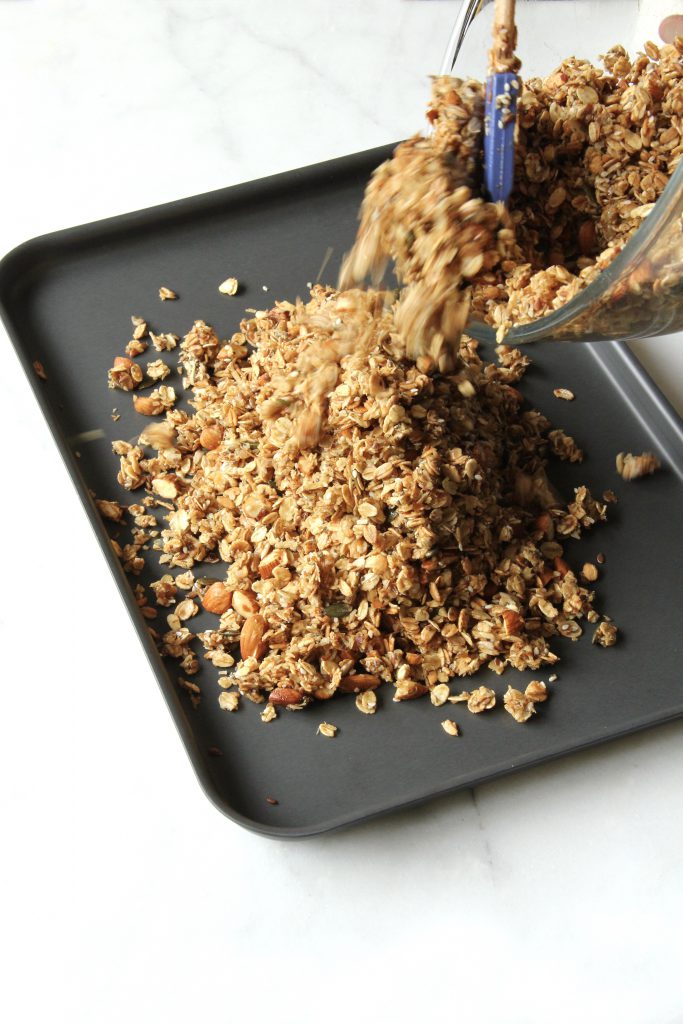
Pour onto a baking tray
Press down to help for clusters
Method
Preheat the oven to 120°C Fan/130°C convection or Gas Mark 1/2.
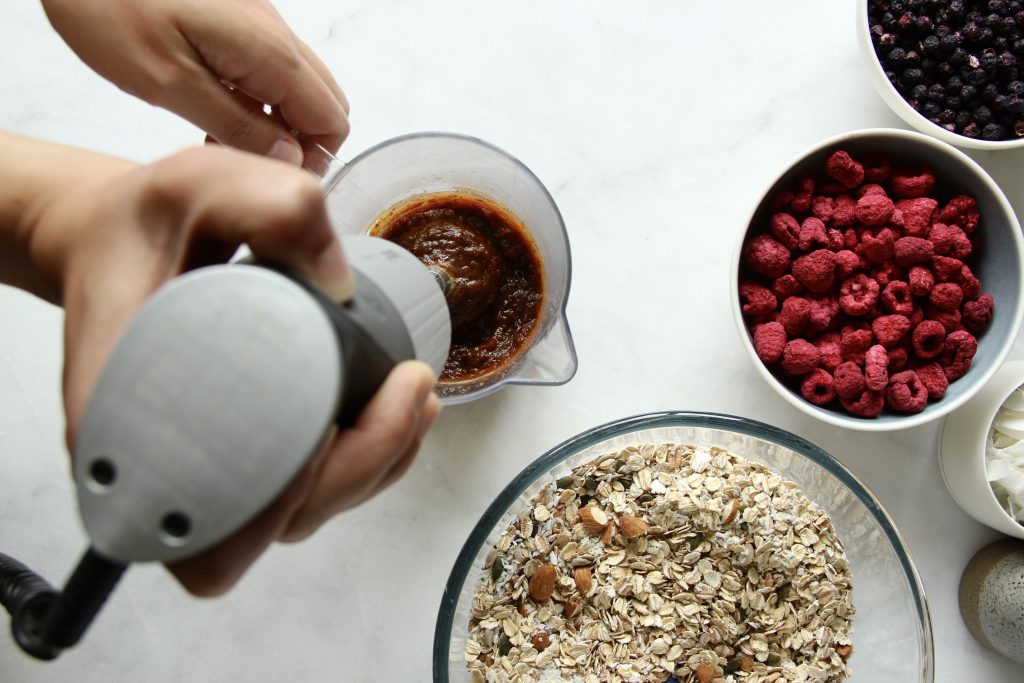
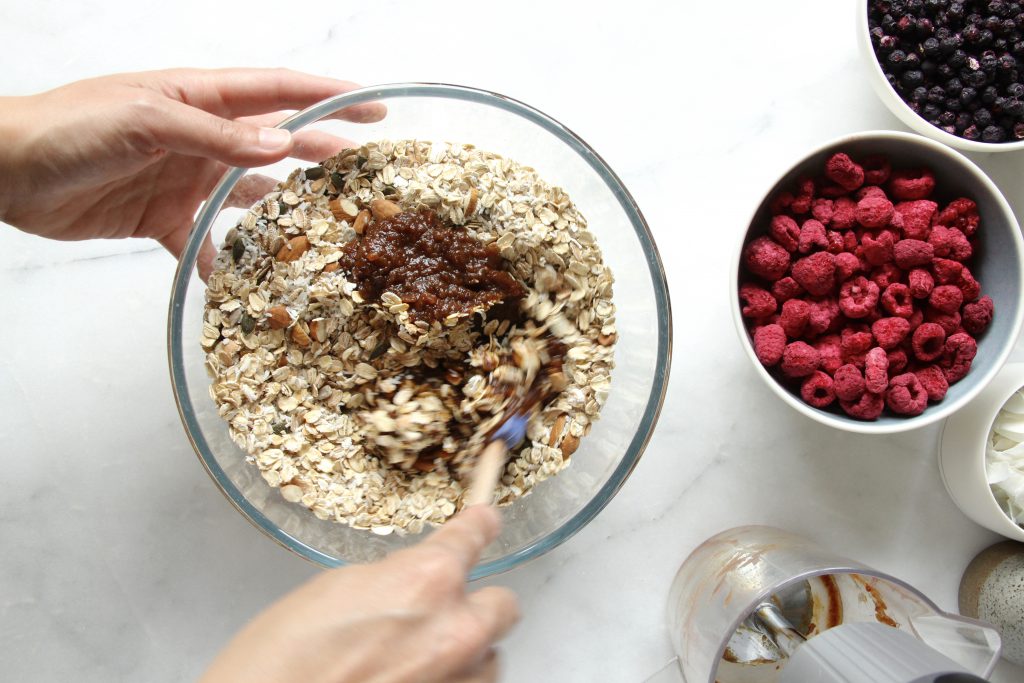
Pour 150ml boiling water onto the dates and allow them to soak.
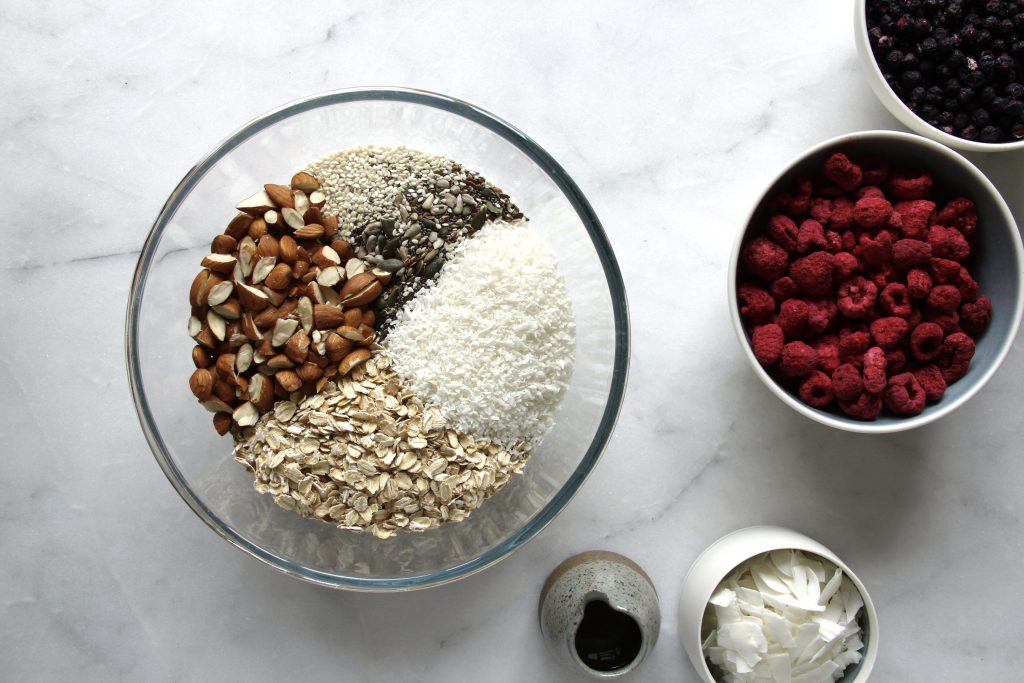
Meanwhile, mix all the oats, flakes, desiccated coconut, seeds, and nuts in a bowl.
Using a hand blender or a food processor, blend the dates in the water to a puree. Empty into the dry ingredients and mix.
Add the EVOO and mix together. Pour onto a large baking tray and, using the back of a spoon, press the granola down to form clumps.
Cook in the oven for 90 minutes in total, gently turning the granola at 30, 50, and 70 minutes.
At 70 minutes add the coconut flakes to the mixture before cooking for the final 20 minutes.
Remove from the oven and allow to cool fully before adding in the freeze-dried raspberries and blueberries and storing in an airtight container.
Per 50g serving: 206kcal/ 7.8g fat/ 4.4g saturated fat/ 21.3g carbohydrates/ 5.7g fibre/ 5.7g protein
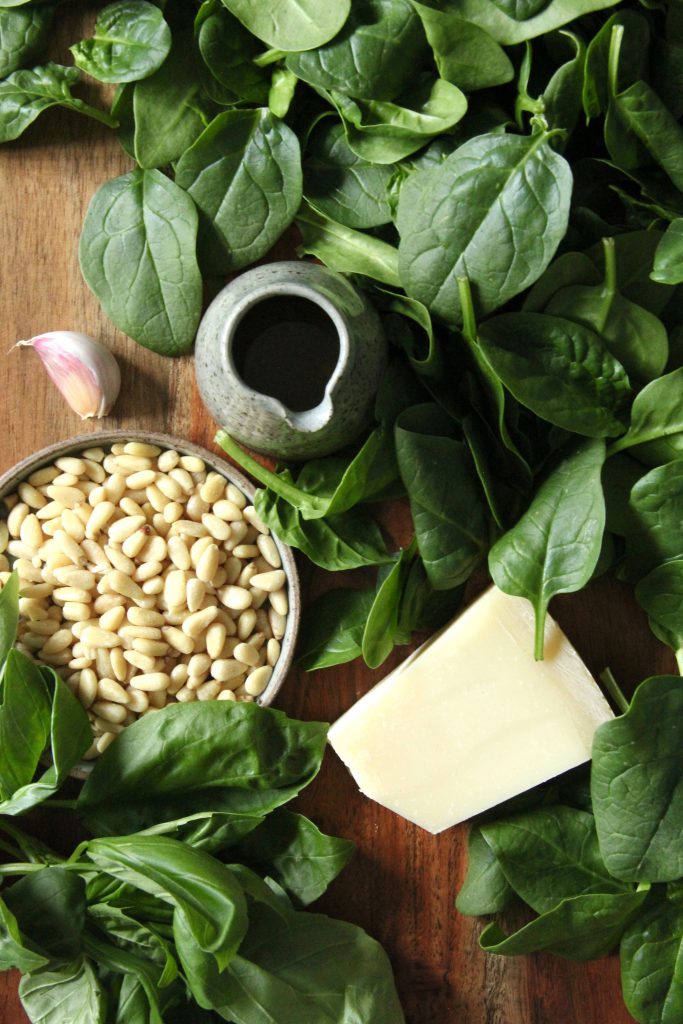
A delicious way to help increase your vegetable intake by hiding them in your pasta sauce – perfect for children who might be fussy! The vibrant green is also so alluring it may well entice them to give it a try.
It also happens to be a really quick and easy recipe. In the time it takes to bring the water up to the boil and cook the pasta, you will have made the sauce. I use this recipe to finish up big bags of spinach which we haven’t quite managed to eat during the week. Anything left over the can also be frozen for use another day. I always keep a jam jar of pesto in the freezer should I ever be caught short of a meal.
You also don’t have to limit yourself to using with pasta. It makes an excellent topping for roasted vegetables or roasted tofu. Additionally use it to make a crust on your favour meat or fish before cooking. Or try finishing of a soup with a spoonful just as you serve.
If you don’t have pine nuts, other nuts or seeds can be substituted in depending on what you have in stock.
Serves 2
Ingredients
1 clove of garlic
180g baby leaf spinach
1 small bunch of basil
40ml extra virgin olive oil
40g pine nuts, toasted and cooled
40g parmesan, grated
To serve
Pasta, cooked
Method
Blend the garlic, spinach, basil, and olive oil together to a smooth paste. If you don’t have a blender chop the leaves as small as possible and use a pestle and mortar to make a paste.
Add the pine nuts and cheese and blend to your desired consistency.
Add to freshly cooked pasta with a little pasta water and cook over a low heat for 1 minute before serving.
Per serving of pesto served with pasta: 685kcal/ 39.6g fat/ 7.4g saturated fat/ 29.8g carbohydrates/ 4.0g fibre/ 18.1g protein
I always seem to have too much kefir, and never enough when I actually want to use it for my breakfast! If, like me, you seem to be making a lot of kefir for it to go too sour for your taste, don’t be fooled into throwing it away. That really upset me at first, when I didn’t understand my grains and fermenting. But I have now solved my kefir overflow problem – flat breads.
These are so easy to make, and taste so delicious you would never know they were made with what something that people would consider throwing away.
While I’ve had a few people scrunch their noses at me when I say I use old kefir to make these, they haven’t tried them and I’m 100% sure they would change their minds as soon as they tasted them.
When kefir goes too far and splits, you get the creamy part at the top and a yellowish clear liquid at the bottom. For me this is fermented too much for me to have in my cereal as is, and rather than waste it, I carefully tip off the clear liquid by holding a spoon to the solid top part and tilting my container. Once I’ve managed to get rid of as much as I dare, I strain the top part of the kefir off through a sieve into a container, take what I want for my breakfast, and leave the rest in the fridge. The kefir grains are then return to their normal cycle of fresh milk and left on the counter.
Once I have saved up a few day’s worth of kefir leftovers, I’m ready to make my probiotic loaded flatbreads. You can scale this recipe up or down depending on how much kefir you have, and how many flatbreads you want to make. These taste best fresh out of the pan, so I would only make as many as you can comfortably eat. Simply top them with your favourite sweet or savoury toppings and enjoy. Personally I love some garlic butter melted over the top as they come out fresh from the pan.
Using wholemeal flour is a great way to increase your fibre intake. If you don’t have wholemeal flour, you can use all self raising flour, but halve the baking powder. Or use other flours such as spelt or rye to help increase fibre diversity.
Makes 3 flatbreads
Ingredients
130g kefir, slightly strained
80g self-raising flour
100g wholemeal flour, plus extra for rolling
1 tsp baking powder
1 garlic clove, crushed
10g butter
Method
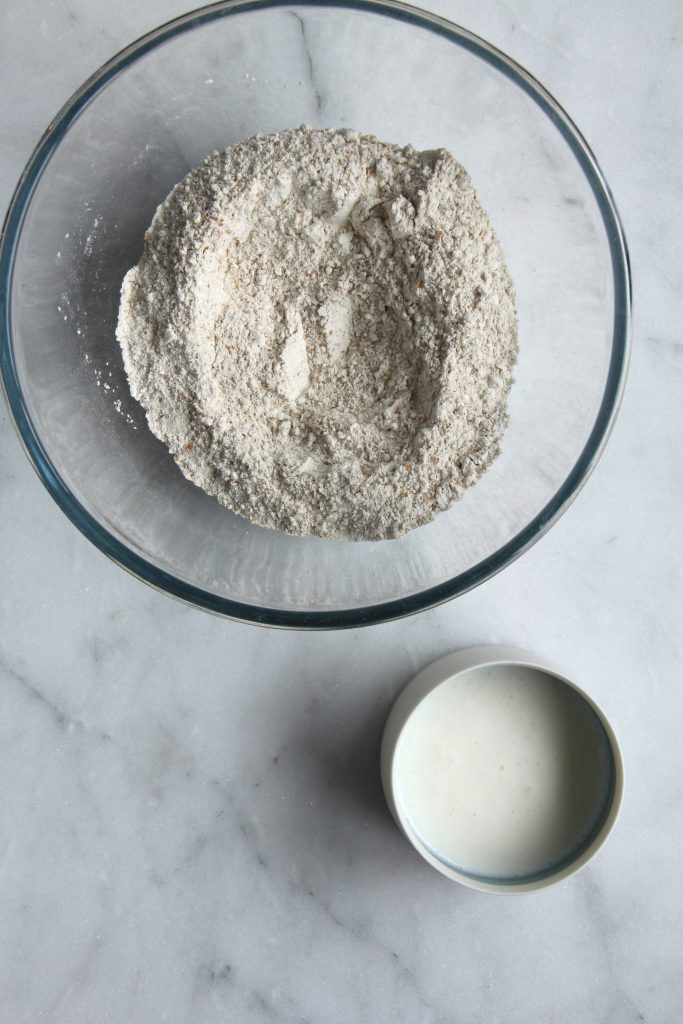
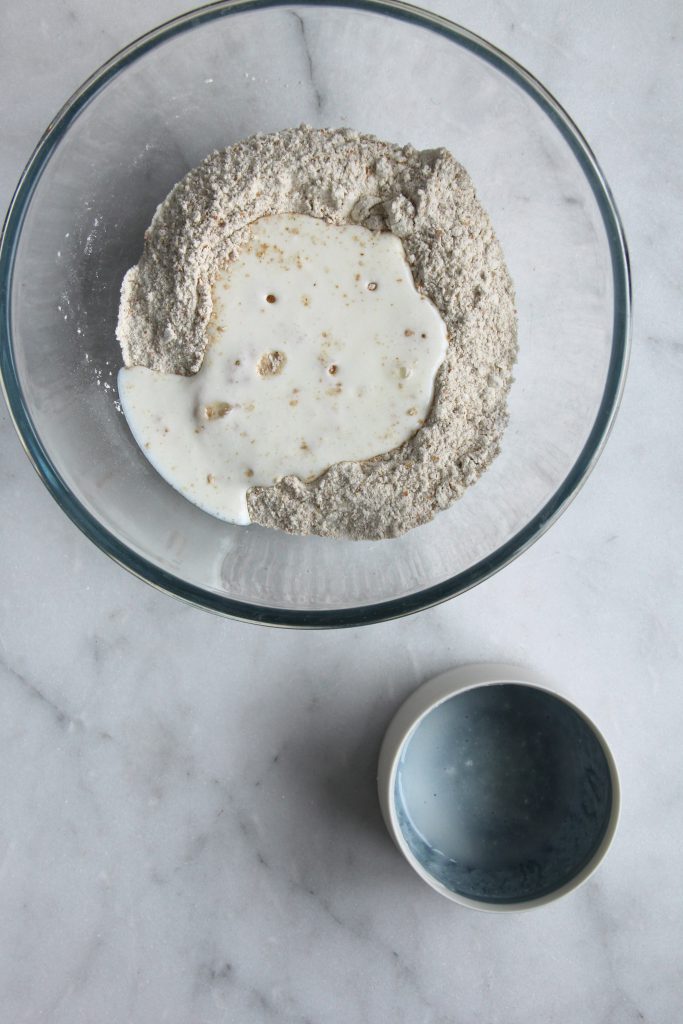
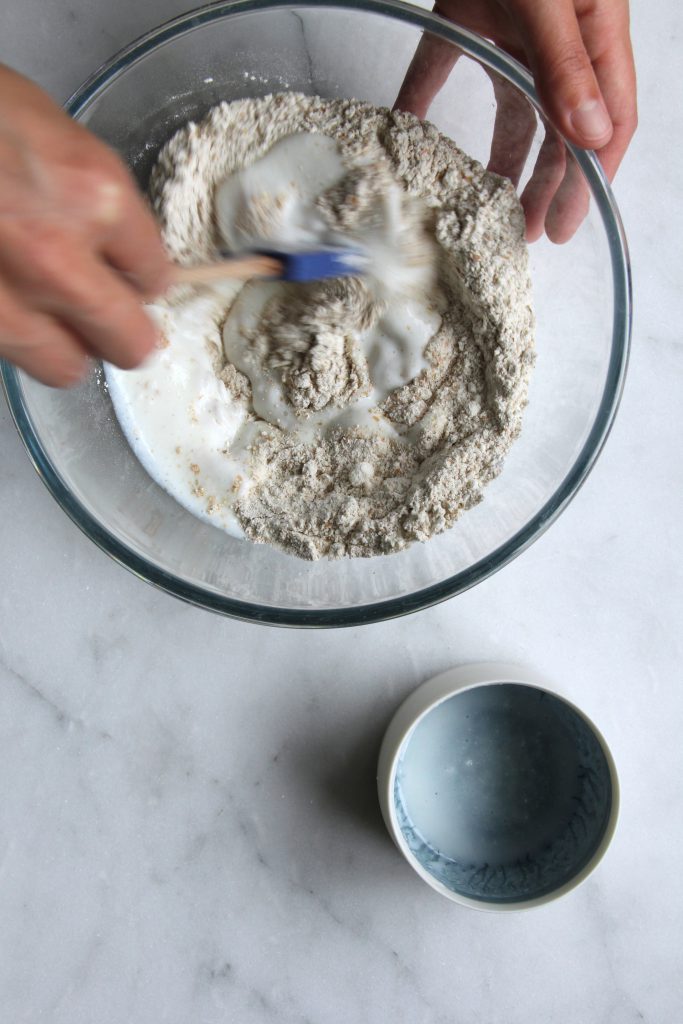
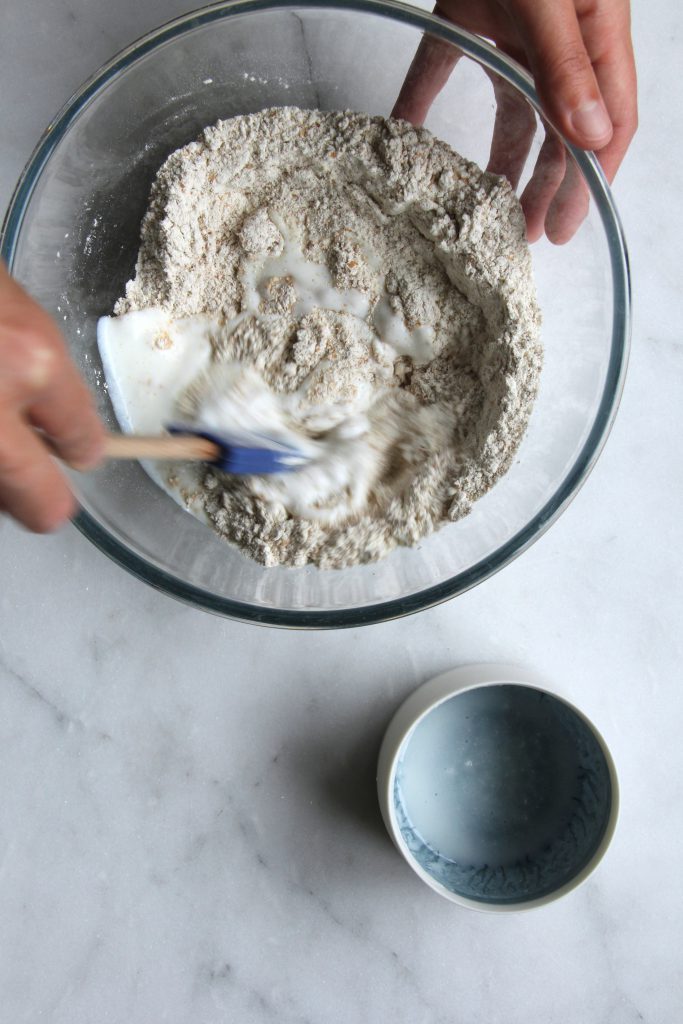
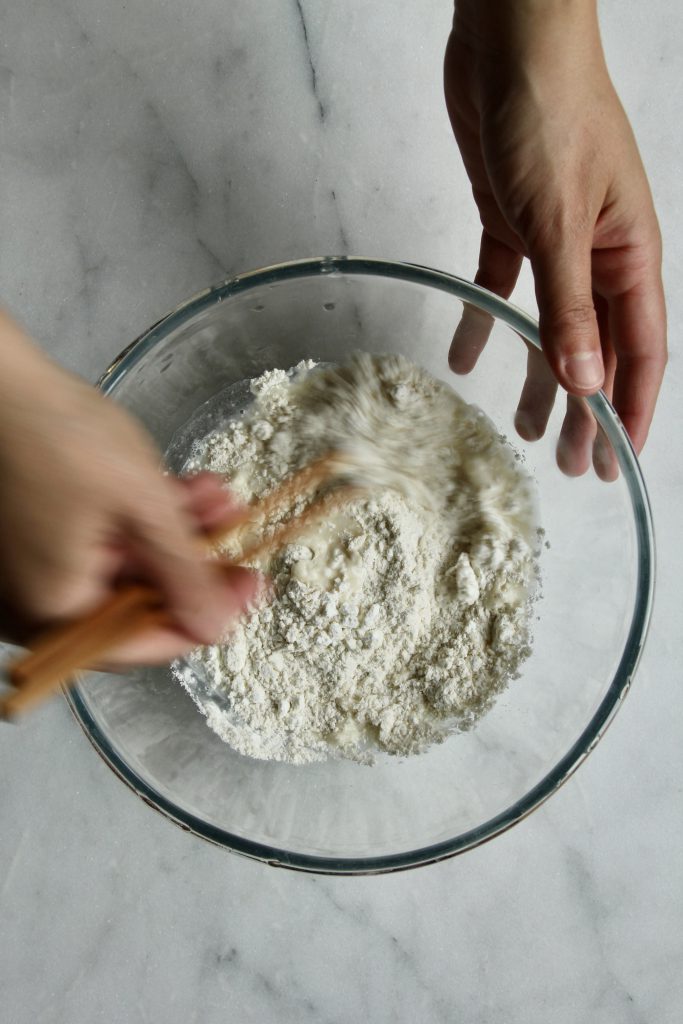
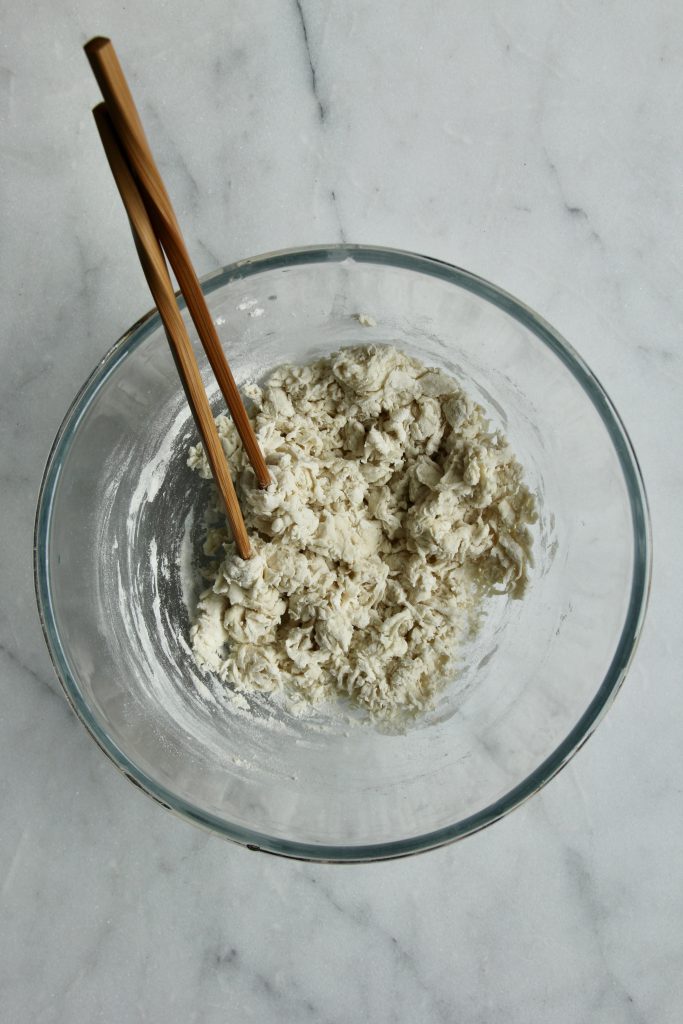
Mix all the dry ingredients together, then add the kefir. If the mixture is too sticky add a little more flour.
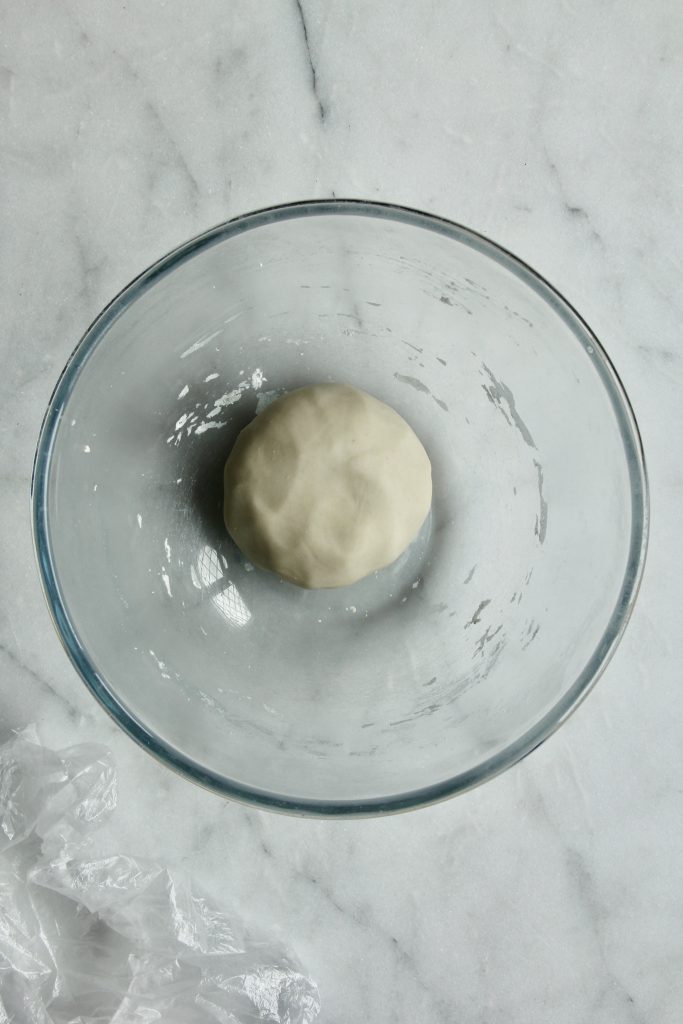
Knead for a few minutes till soft and smooth.
Roll out using a little flour to stop it sticking, to the thickness of a pound coin.
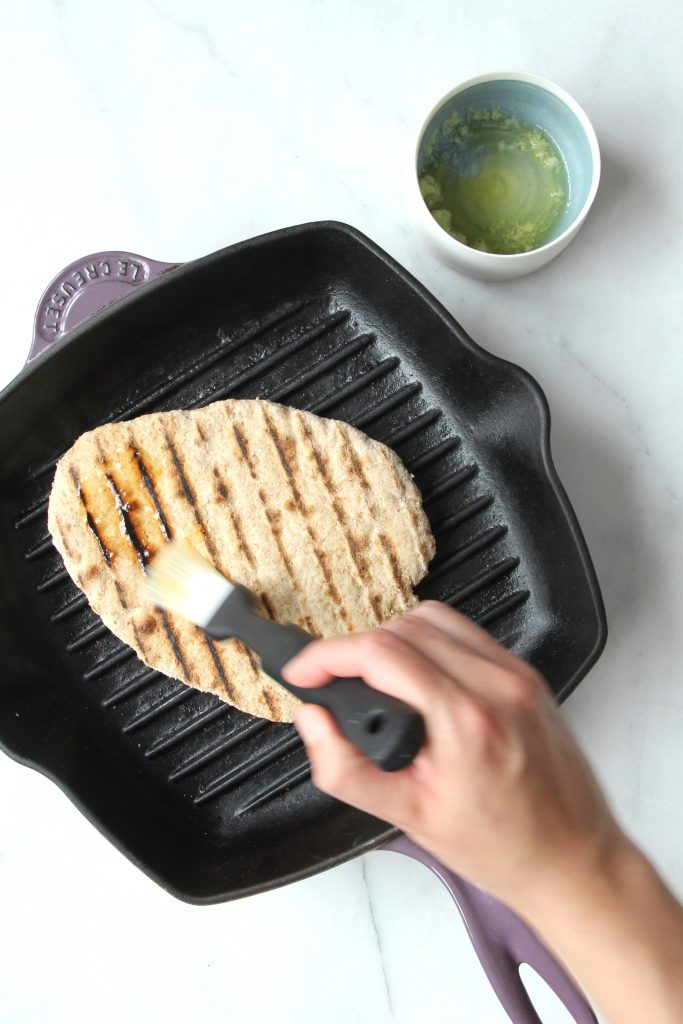
Cook in a dry pan or griddle over a medium heat for 2-3 minutes per side.
Meanwhile, gently heat the garlic and butter together till melted and the garlic fragrant.
Remove from the pan, and brush with garlic butter while hot to allow the flavorous to melt into the bread.
Per flatbread: 332kcal/ 5.2g fat/ 2.8g saturated fat/ 43.6g carbohydrates/ 4.7g fibre/ 7.4g protein
An adaptation to the bao recipe my mum taught me for when you are shorter on time but still want something delicious!
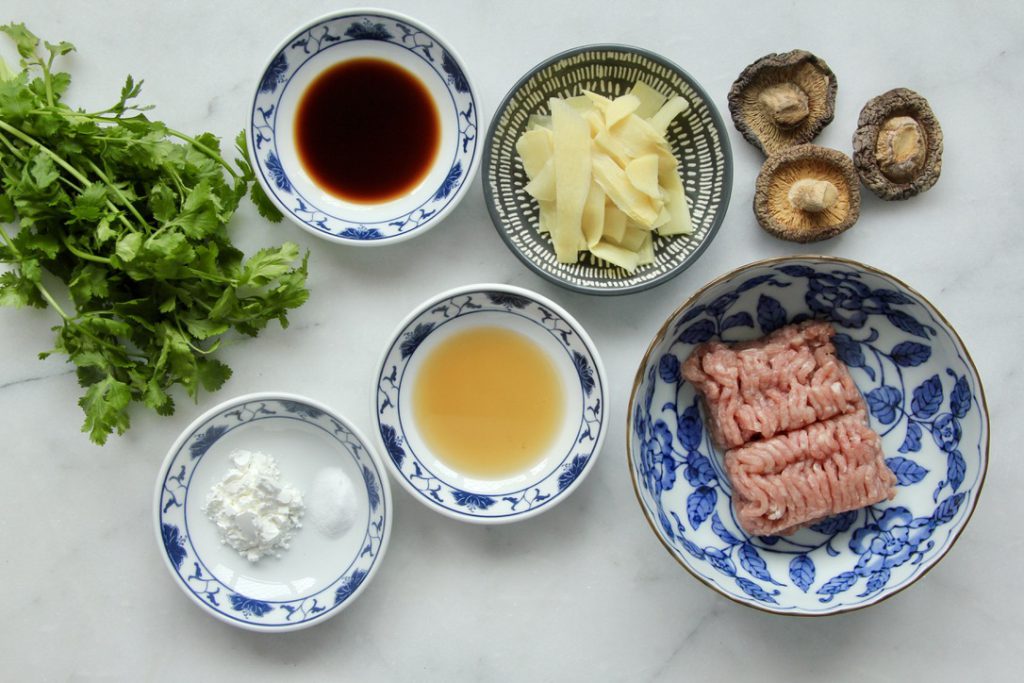
While Chinese recipes often call for pork, specifically fattier cuts such as belly of pork, I use minced turkey thigh in many of my dumpling recipes. Turkey is a leaner mince in comparison to standard pork mince (5.5g fat versus 11.6g fat per 100g respectively) yet still doesn’t dry out when cooked. This is partially due to the use of thigh meat rather than breast, which is usually much juicer, as well as the use of a tiny amount of bicarbonate of soda. The bicarbonate of soda, once mixed in with the mince, helps it stay soft and juicy, as well as give a little “bounce” which higher fat meats tend to have.
This is perfectly adaptable to whatever ingredients you wish to use. You can use firm tofu, which I also press to prevent excess water inside the dumpling. Swap weight for weight, although it can be a little more difficult to pleat the dumplings as the mixture is much more crumbly and does not stick together in the same way as meat does.
I also love to use fish and shellfish in dumplings. You could also do a mixture, one we often use in our family recipes is prawn and turkey, again traditionally it would have been pork and prawn, but we have added this little healthy swap which tastes absolutely delicious!
Folding the dumplings can be a little tricky. If you struggle the simplest shape you could make would be either a half-moon where you literally fold the skin on itself to make a semicircle shape, or you could gather all the pastry around to the top and squeeze to make a “money purse” shape. As you get more adventurous there are so many different shapes you can try.
3 shiitake mushrooms, fresh, or if dried soaked in water till soft, finely diced
35g bamboo shoots, finely sliced
15g coriander, roughly chopped
1/2 cm ginger slice, finely diced
Pinch of white pepper
Oil for cooking
Method
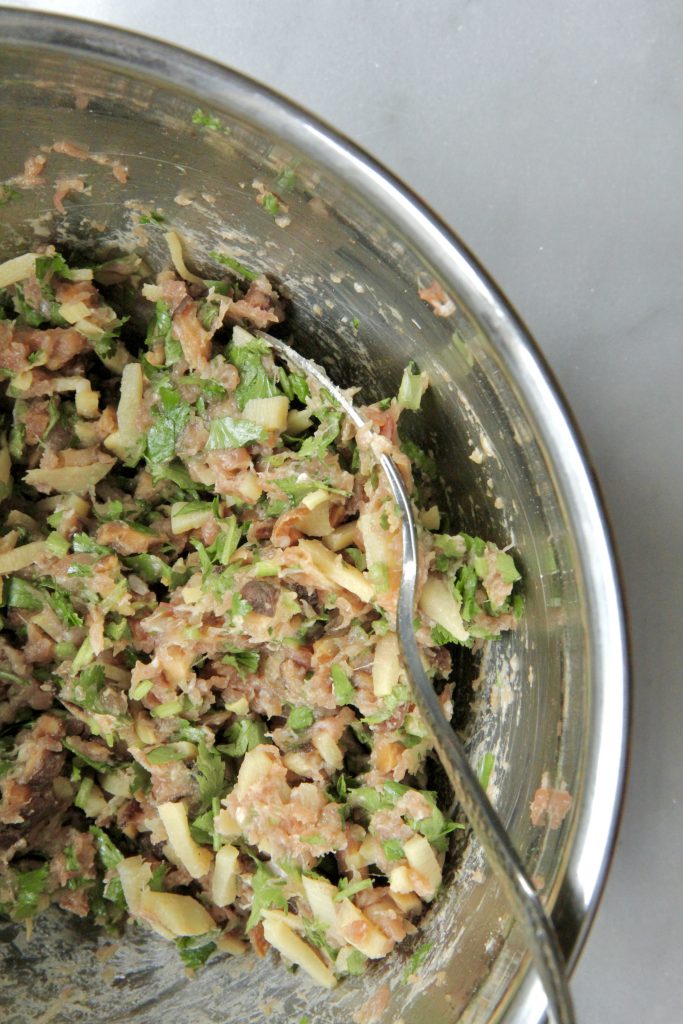
Mix the turkey mince with the bicarbonate of soda thoroughly. Then add all the remaining ingredients, except the oil for frying, and mix well.
Take 1 dumpling skin and fill it with a heaped teaspoon of the mixture. Pinch the end and then pleat the top half of the skin onto the bottom half of the skin to create a slight crescent shape.
Add a dash of oil to your frying pan to stop the dumplings from sticking, and arrange them so they have at least 1 cm between each dumpling. You may need to cook them in batches depending on the size of your pan.
Cook for 2-3 minutes over a low-medium heat so they are golden on the bottom. Then add hot water to cover the bottom third of the dumpling and immediately cover with a lid to steam the dumplings.
After 5 minutes, remove the lid and allow any remaining liquid to evaporate off, add a dash of sesame oil to finish and crisp the bottoms for 1 minute.
Remove the dumplings onto a plate and enjoy hot with a dipping sauce of your choice.
Per dumpling: 66kcal/ 1.9g fat/ 0.4g saturated fat/ 8.7g carbohydrates/ 0.7g fibre/ 3.3g protein
Easy dumpling skins which the whole family can enjoy rolling out and filling.
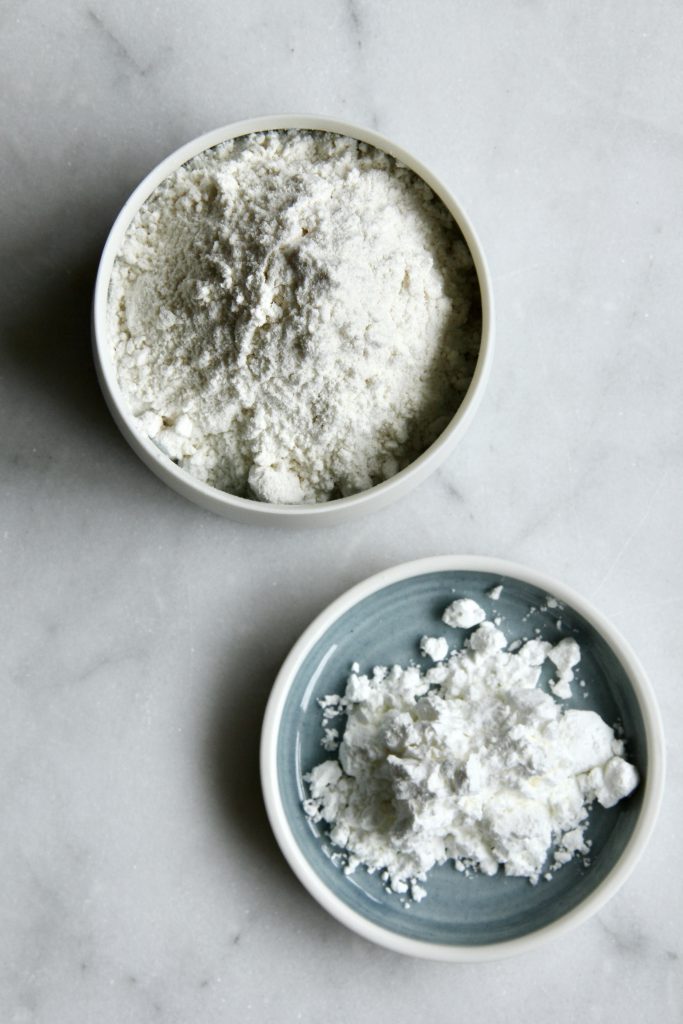
If you don’t have plain flour, use strong white bread flour and increase the ratio of corn flour in the recipe by up to 25%. Corn flour adds a silkiness to the skins, even with normal plain flour, while the high gluten content of bread flour could make the skins tough.
Makes 12 skins.
Ingredients
108g plain flour
12g corn flour
62g hot water, boiled and cooled for 5-10 minutes
Method
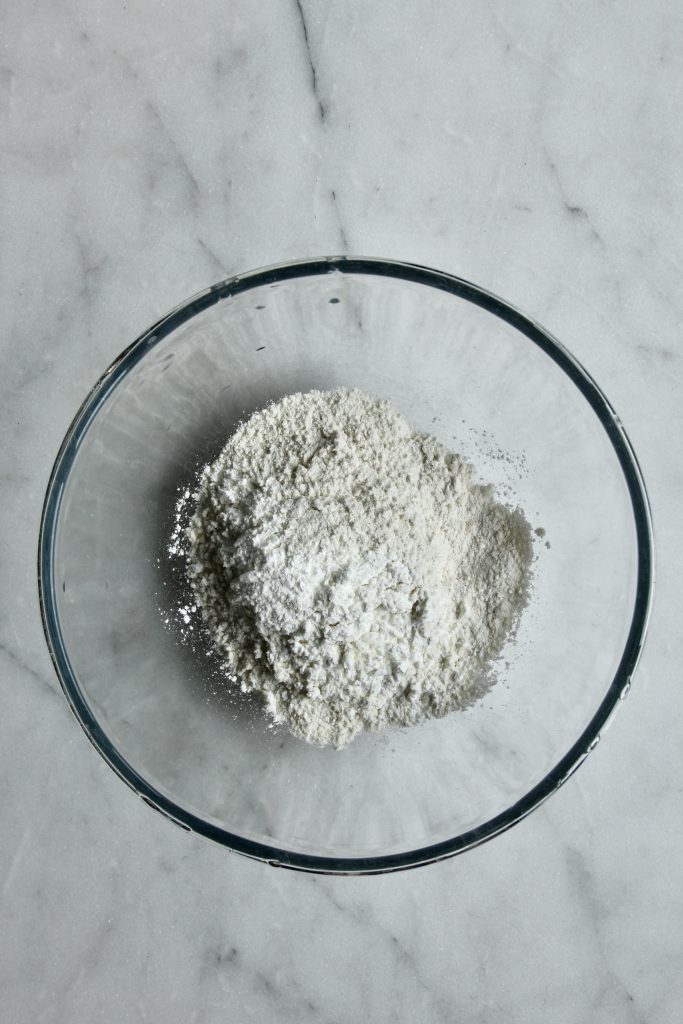
Mix the two flours together.
Add the hot water and stir to a shaggy mixture. Cover and leave for 10-30 minutes.
Knead the dough till it is smooth and elastic. Cover and leave for 30-60 minutes.
Roll a fat sausage shape and cut 12 equal cylinders.
Take 1 cylinder, and cover the remaining 11, press down with the palm of your hand on the cut surface of the dough to create a flat disk. Using a rolling pin, roll from the centre of the disk outwards, then turn clockwise and keep repeating around the dough to create a round flat disk with a thin edge.
If not using immediately, cover to prevent it from drying out as you continue to roll out the remaining dough.
If you wish to freeze the skins, rub a little corn flour on each side to stop them from sticking together. Freeze for up to 1 month.
Per skin 39kcal/ 0.2g fat/ 0.1g saturated fat/ 8.0g carbohydrates/ 0.3g fibre/ 1.1g protein
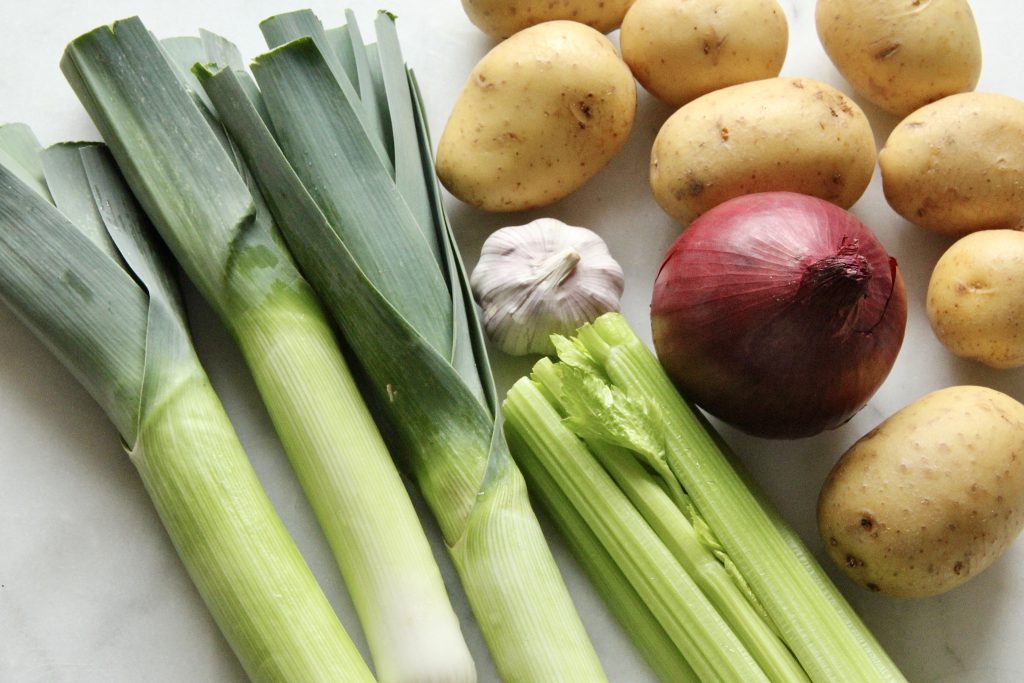
This classic soup is as simple as the name suggests. However, a couple of extra ingredients will always help, particularly those base ingredients onion and garlic. If, like myself, you are running low on onions, you can substitute in some celery, or other alternatives include spring onion or chives.
I’ve made this soup smooth, however, I do on occasion make it chunky where I leave cubes of potato and slices of leek whole to add texture to the soup. If you have the time, cut your potatoes into 1cm cubes, and slice your leeks into 0.5cm rounds. Then just before blending, take a scoop or two out and then return once the soup has been blitzed. This method works best with more waxy potatoes which don’t fall apart when cooking, but if you only have floury potatoes they work perfectly for a smooth blended soup.
Serves 8
Ingredients
2 tbsp rapeseed oil
1 large onion, finely diced
4 sticks celery, finely diced
3 leeks, finely sliced
4 cloves garlic, roughly chopped
800g potatoes, diced
15g stock powder
To serve
150ml double cream (optional)
Chives, finely chopped
Recipe
Cook the onions on a gentile heat with the oil for 5 minutes before adding the celery and continuing to cook till soft and translucent.
Add the garlic and leeks and cook for a further 2 minutes.
Add the potatoes, stock powder and top up with water till all the ingredients are almost covered, around 1.2 litres, and simmer for 20 minutes, stirring occasionally.
Blend the soup till smooth, finish with cream (optional) and chives, and serve.
Per serving 331kcal/ 19.3g fat/ 6.8g saturated fat/ 32.1g carbohydrates/ 5.0g fibre/ 4.6g protein
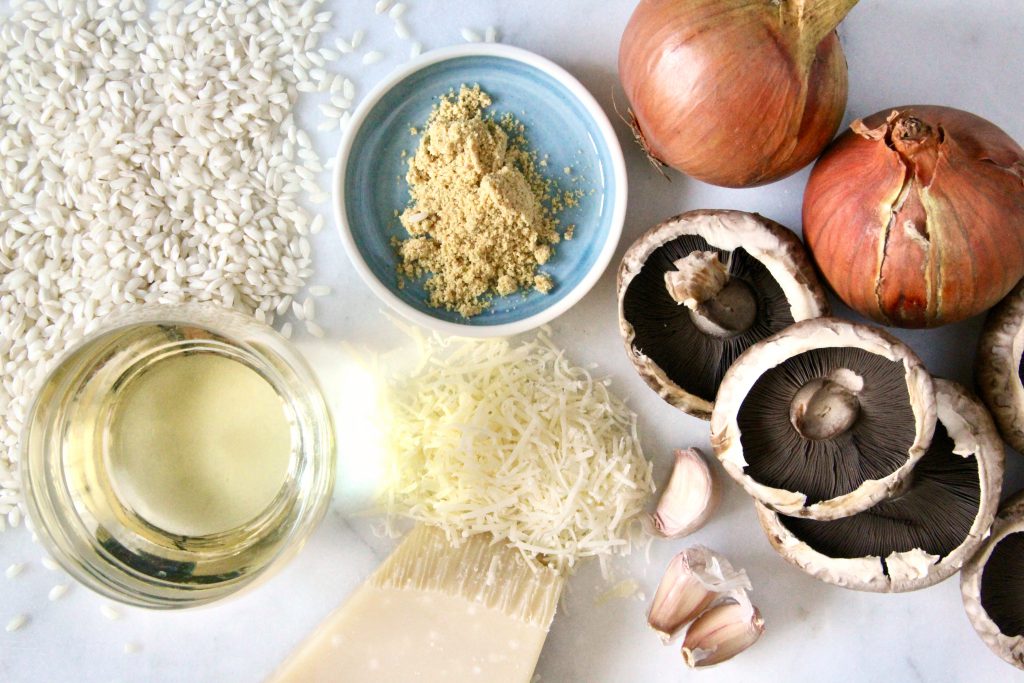
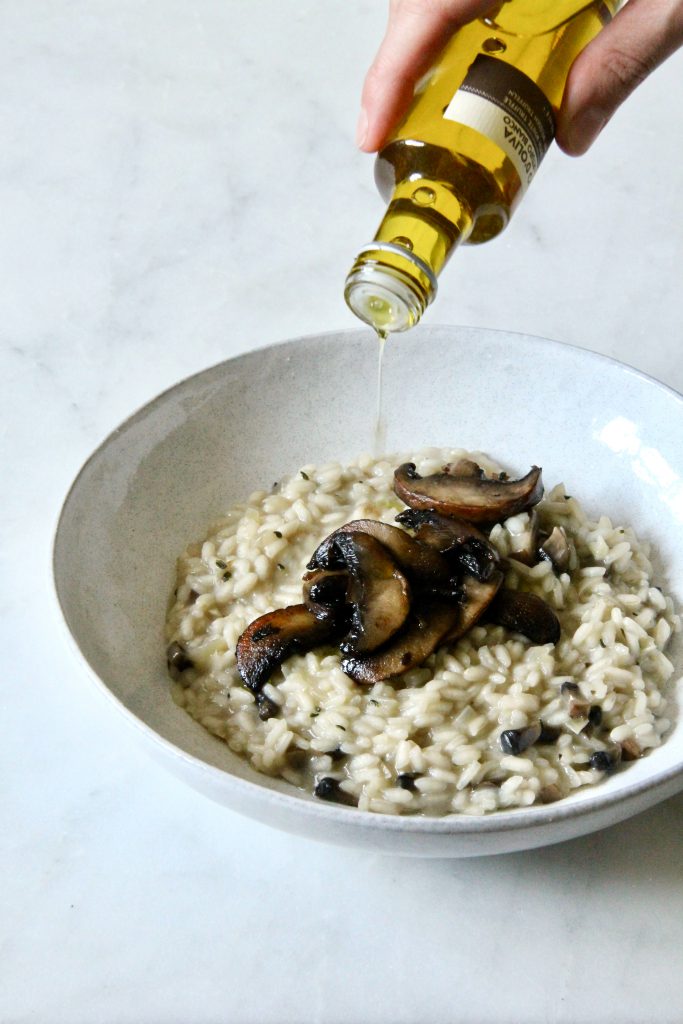
Risotto is such an easy dish. The only laborious part about it is the constant stirring to make sure the grains go creamy and release their starch to thicken the liquid.
You can use almost any ingredients to make the risotto too, depending on what you fancy. Roast tomatoes in the oven with garlic and herbs, or use spring vegetables such as asparagus and pea, or a lemon and pea risotto would be delicious served with a pan fried fillet of fish. The possibilities are endless really!
Serves 4
Ingredients
2 tbsp extra virgin olive oil
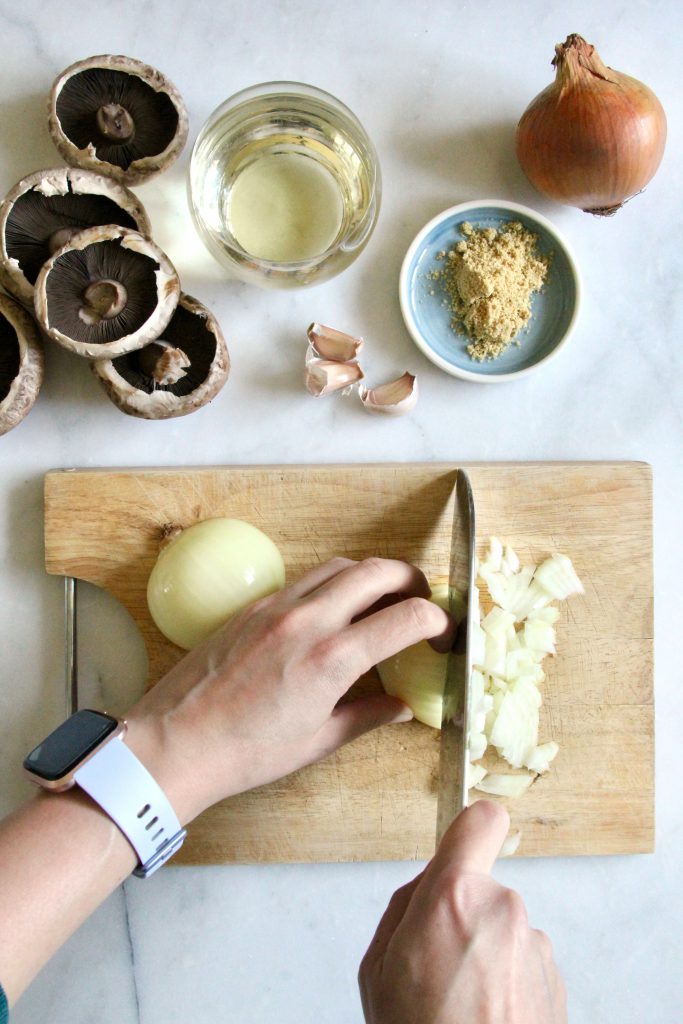
2 onions, finely diced
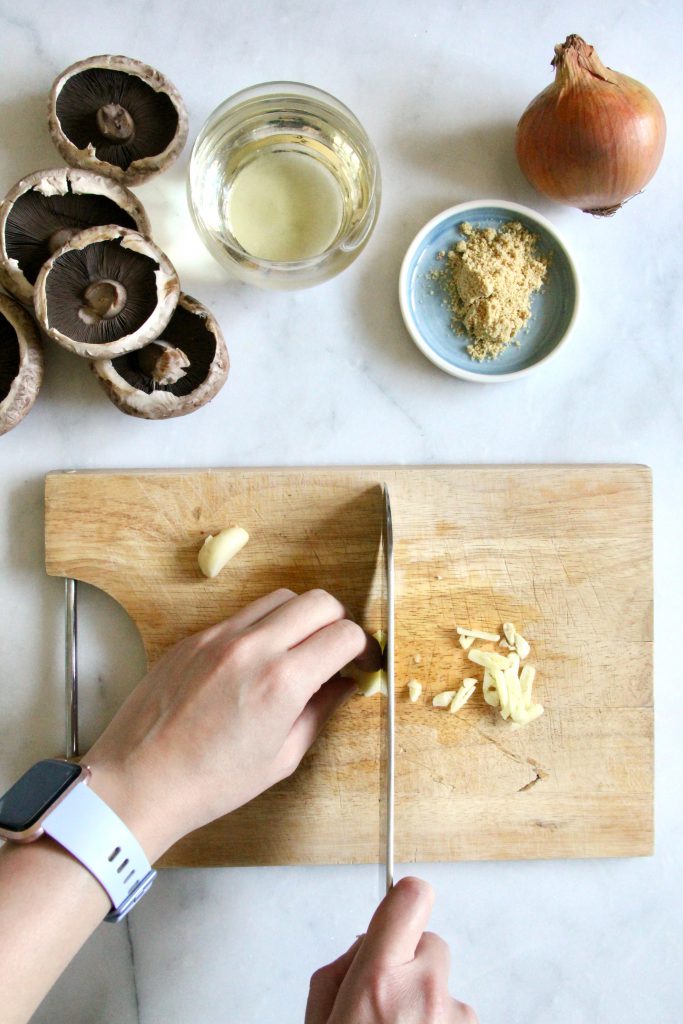
3 garlic cloves, finely diced
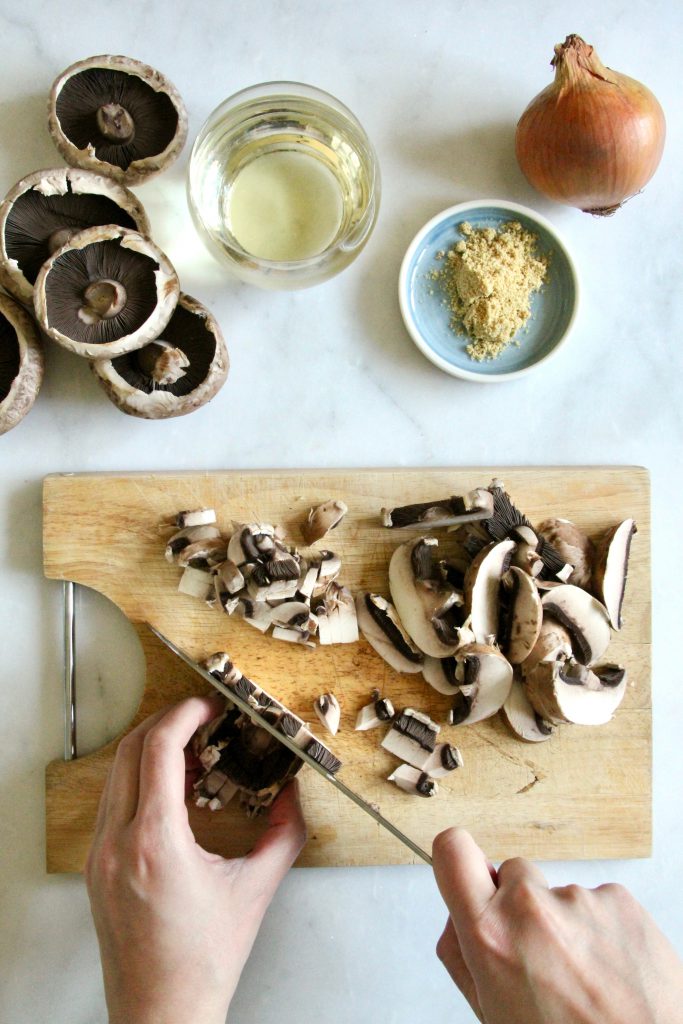
300g mushrooms, half sliced, half diced
300g risotto rice
200ml white wine (optional)
10g stock powder
60g parmesan, finely grated
Method
Sweat the onion and 1 tbsp oil together in a large pan till soft and translucent. Add the garlic and cook for a further 2 minutes.
Add the diced mushrooms and cook till soft.
Add the risotto rice, stir and cook for 1 minute before adding in the wine and stock powder. Stir continuously, adding boiling water as the liquid is absorbed. This will take around 25 minutes to cook.
When the rice is close to being cooked through, heat a separate pan with 1 tbsp olive oil and fry the sliced mushrooms.
Turn the heat off the risotto, stir in the parmesan cheese and serve with the fried mushrooms on top.
If you’re feeling a little fancy, why not treat yourself with a drizzle of truffle oil just before you serve?
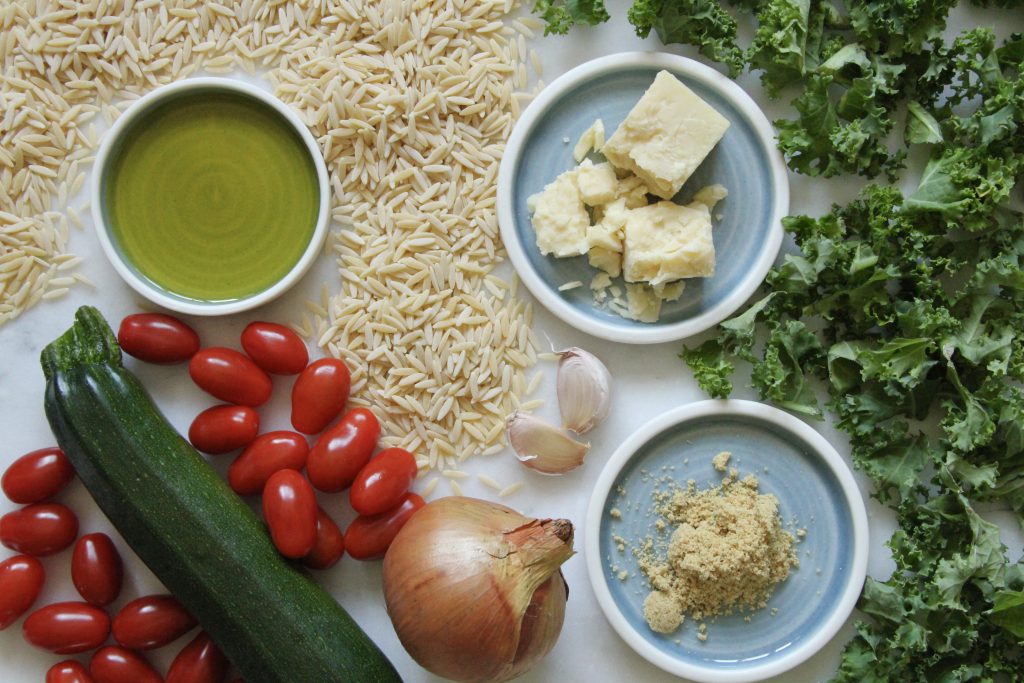
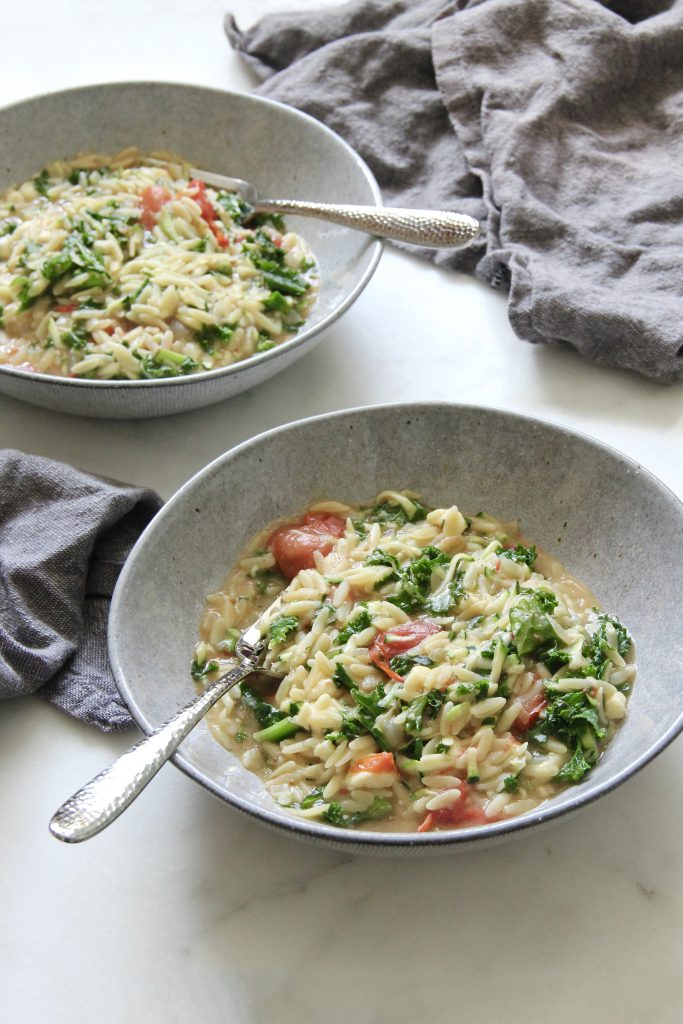
Looking for a really easy dish which makes almost no mess? This is a one pot pasta dish which requires minimal effort for maximal taste. This dish takes around 25 minutes to make, so it’s also super quick meaning you don’t have to spend all night at your stove (or even cleaning up after yourself!).
Treating the pasta like a risotto rice means that loads of the starch normally lost to the water is retained in the dish. This gives a lovely creamy sauce at the end of the dish. Easily adaptable to whatever you have in the cupboards or freezer, why not give this dish a go!
Serves 2
Ingredients
1 tbs EVOO
1 onion, finely diced
2 cloves of garlic, finely sliced
160g baby tomatoes
160g orzo pasta
500ml stock (I used 1 heaped tsp vegetable stock powder into boiling water)
1 courgette, grated
100g kale, roughly chopped
60g cheddar cheese, crumbled
Method
Gently fry the onions in the oil till soft. Add the garlic and continue cooking for a further 2 minutes.
Add the tomatoes and orzo with a third of the stock. Simmer over a low heat, stirring frequently to stop the pasta from sticking to the bottom of the pan.
When the liquid is almost absorbed add a further third of the stock. Repeat with the final third.
When the pasta is almost cooked add the courgette and kale.
Remove from the heat, crumble the cheese in and serve.
Per serving: 539kcal/ 17.7g fat/ 6.6g saturated fat/ 69.6g carbohydrates/ 6.8g fibre/ 22.9g protein
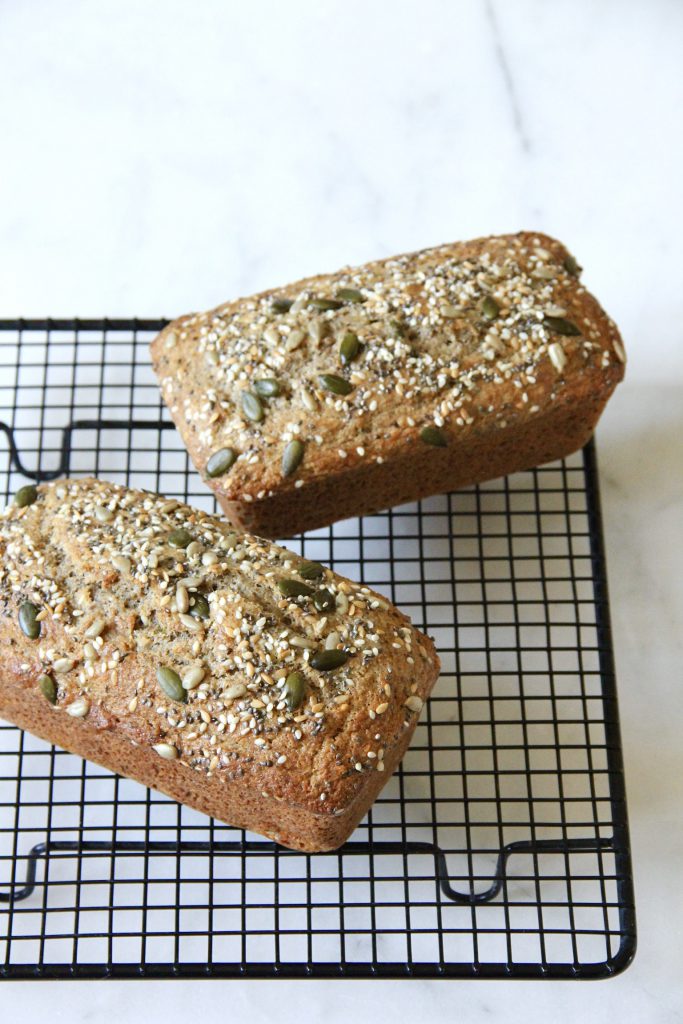
I love this recipe for using up bananas which are past their sell by date. Somehow, you can never quite have the right number of bananas. It’s either too few or too many. And whenever I have too many I either freeze them ready to make smoothies out of, or turn them into this lovely cake.
This originally was my mum’s recipe, but I’ve added a few twists which my mum has now incorporated herself. She used to use butter, but for speed and nutritional value, I switched it to extra virgin olive oil. At first she protested, then she baked her first loaf using it and was converted immediately, proclaiming how much easier it was in comparison to melting and cooling the butter. The recipe also happens to be so simple, and forgiving! If you don’t have some of the ingredients they’re easy to swap in and out, and you can change the flavour of your bread depending on what you have, or what you fancy. If you want something more fruity, substitute some of the seeds for dried fruits, or even fresh or frozen for a delicious burst of flavour.
I also use two different types of flour to help maximise the diversity of the foods I’m eating each week. Of course I won’t be having this every week, but when I do I’d like to think that I can still be good while being naughty. The same goes for the seeds. I use a wide variety and generally use a premixed packet and then add in whatever I think is missing.
This recipe can easy be multiplied up according to how many bananas you have, but a word of caution. When using a 2lb tin or larger, the centre of the cake can sometime fail to rise due to the density and weight. This banana bread is not light and fluffy like a traditional sponge cake. It is loaded with fibre from seeds and whole grain flours which help increase the nutritional content of this treat. If multiplying up you can try baking in multiple small tins or in individual cupcake cases – just alter the timings so that a skewer inserted into the centre comes out clean. Anything beyond what you want to eat fresh can be frozen – I slice my loaf and freeze it so I can pull out a slice or two depending on how many I need.
Serves 8
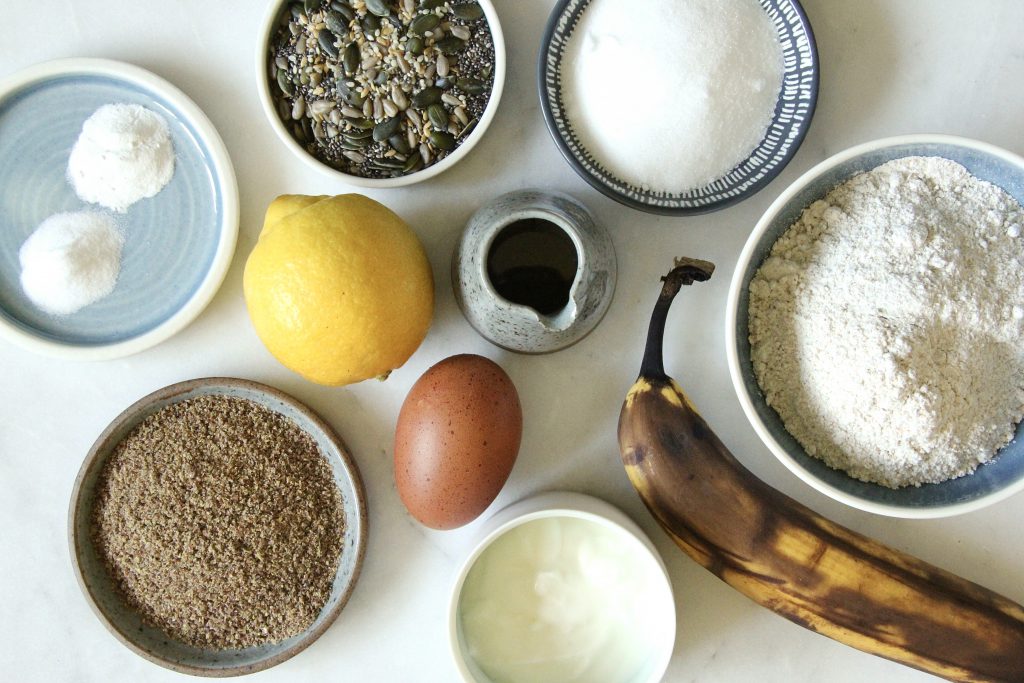
Ingredients
1 large ripe banana
80g dairy yoghurt (if using non-dairy add 10g extra fat)
Zest and juice of 1/2 an unwaxed lemon
1/2 tsp vanilla paste or essence
50ml EVOO
1 large egg
60g rye flour
60g spelt flour
20g ground linseeds
1/2 tsp baking powder
1/2 tsp bicarbonate of soda
50g caster sugar
40g mixed seeds + extra for sprinkling over the top
Method
Line a 1lb loaf tin and preheat the oven to 150°C fan/ 160°C convection
Mash the banana with the yoghurt, followed by all the remaining wet ingredients.
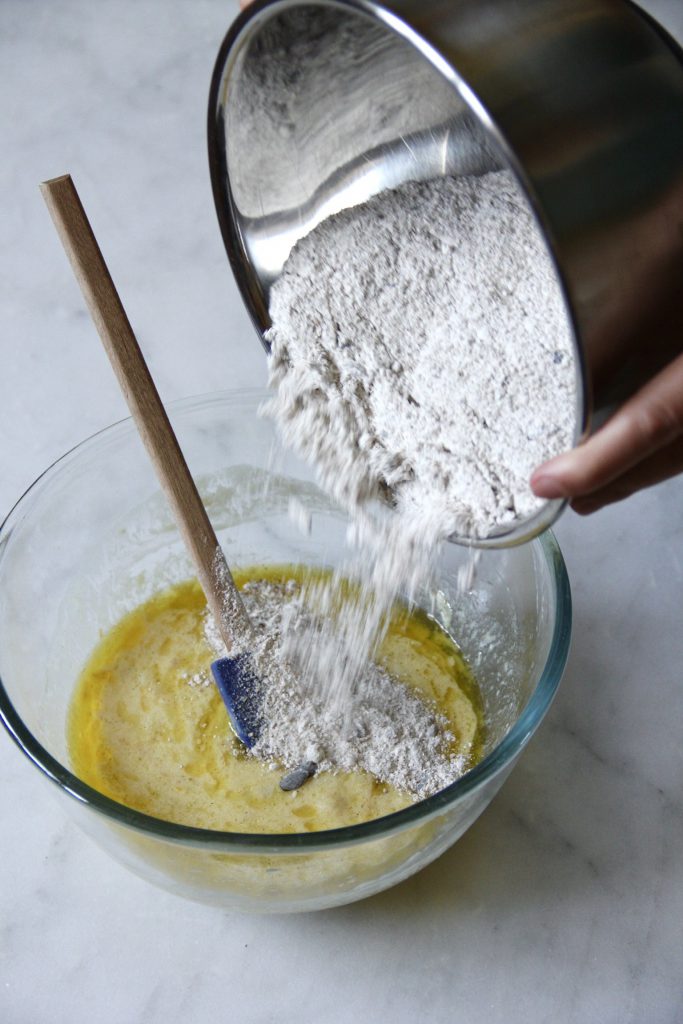
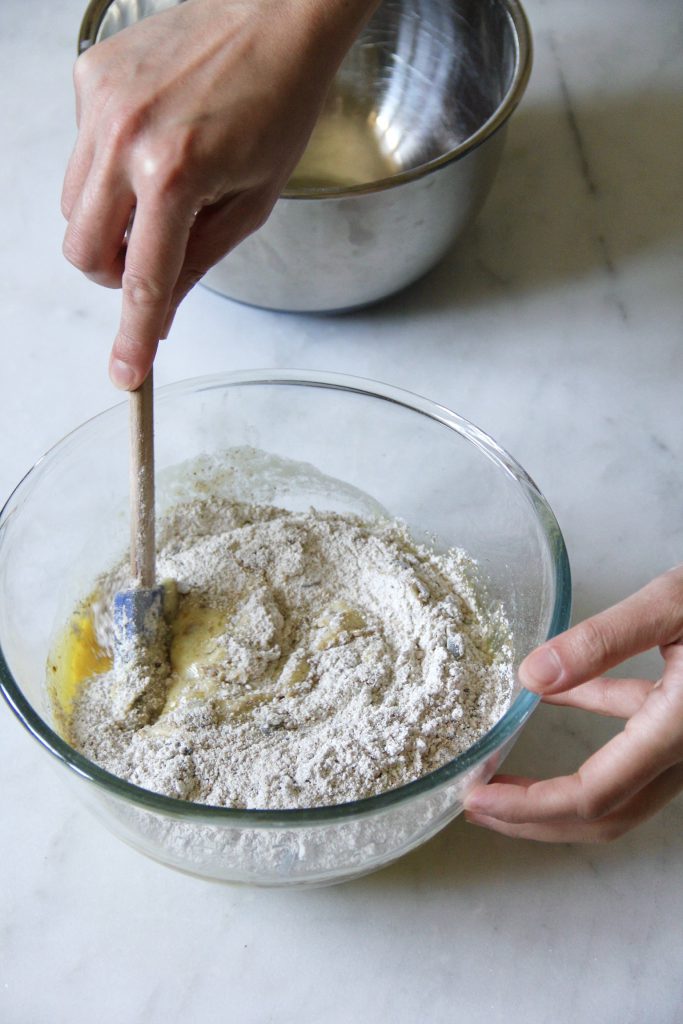
Mix all the dry ingredients together. Then combine with the wet ingredients and mix till combined.
Pour the mixture into the tin, sprinkle with seeds and bake for 35-40 minutes till a skewer inserted into the centre comes out clean.
Remove from the oven and turn out onto a wire rack to cool.
Per serving: 208kcal/ 10.5g fat/ 6.8g saturated fat/ 18.5g carbohydrates/ 3.5g fibre/ 5.5g protein