Roasted Squash and Halloumi Pancakes

I love the combination of sage and squash. It’s one of my favourite winter flavour duo! Delicious any time of the day; serve at brunch with an egg cooked to your liking, or serve as lunch, or even dinner as a starter or main dish. These would be delicious with a soured cream sauce on the side, or make a spicy tomato and avocado salsa.

Serves 4 as a lighter meal or starter, or 2 as a main

Ingredients

  • 350g squash in large chunks, skin left on
  • 1 large egg
  • 10 sage leaves, finely diced
  • 250ml milk
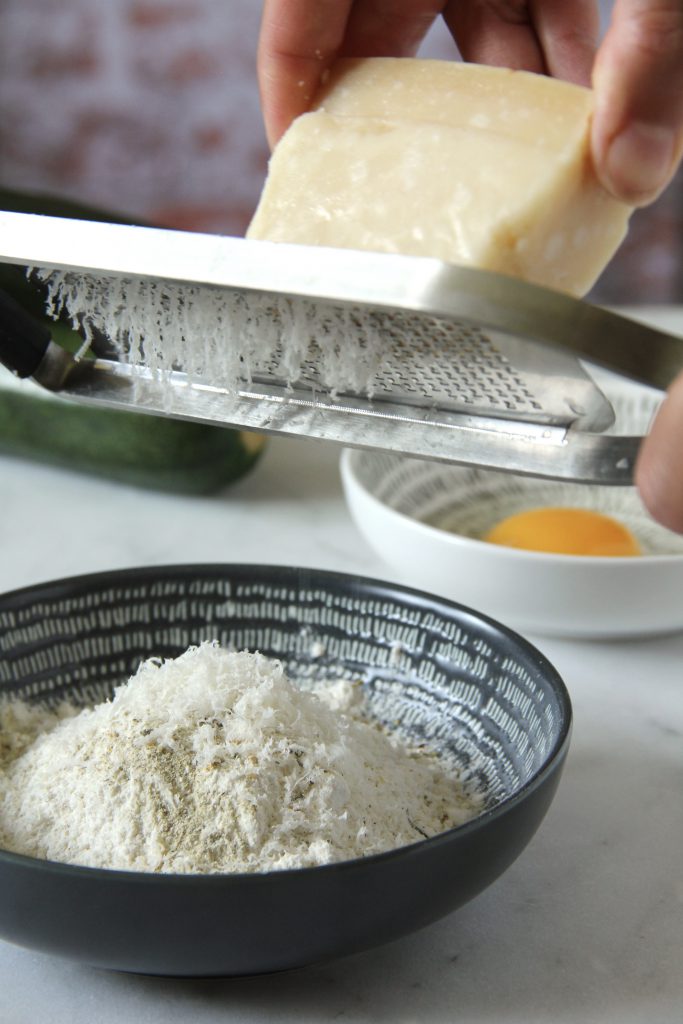
  • 1 block of halloumi, cut into four 1cm thick slices and the remaining finely shredded
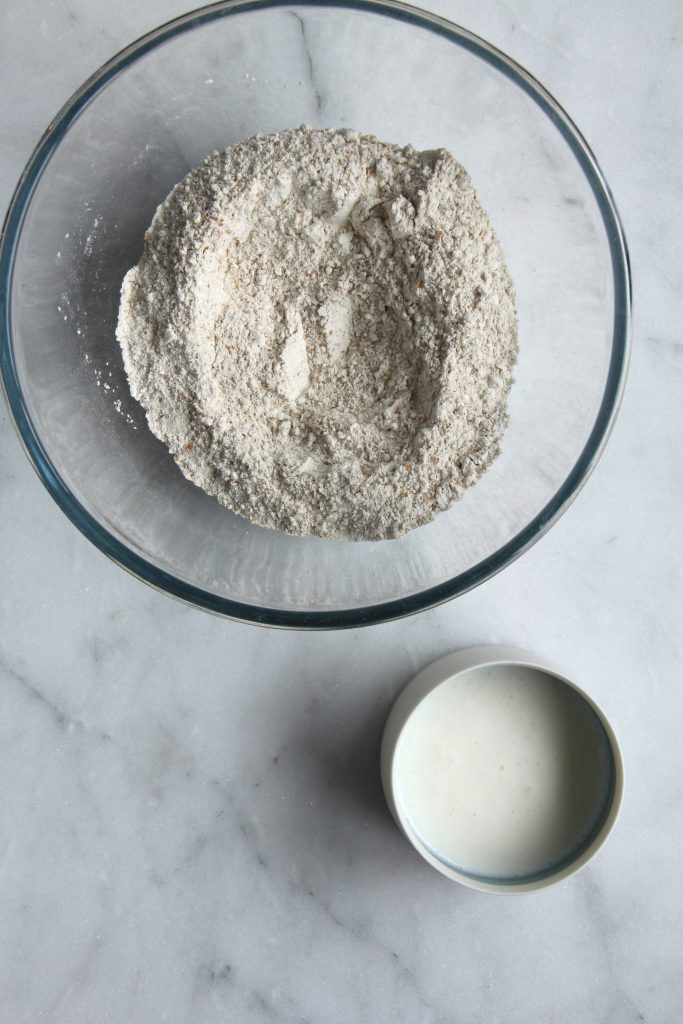
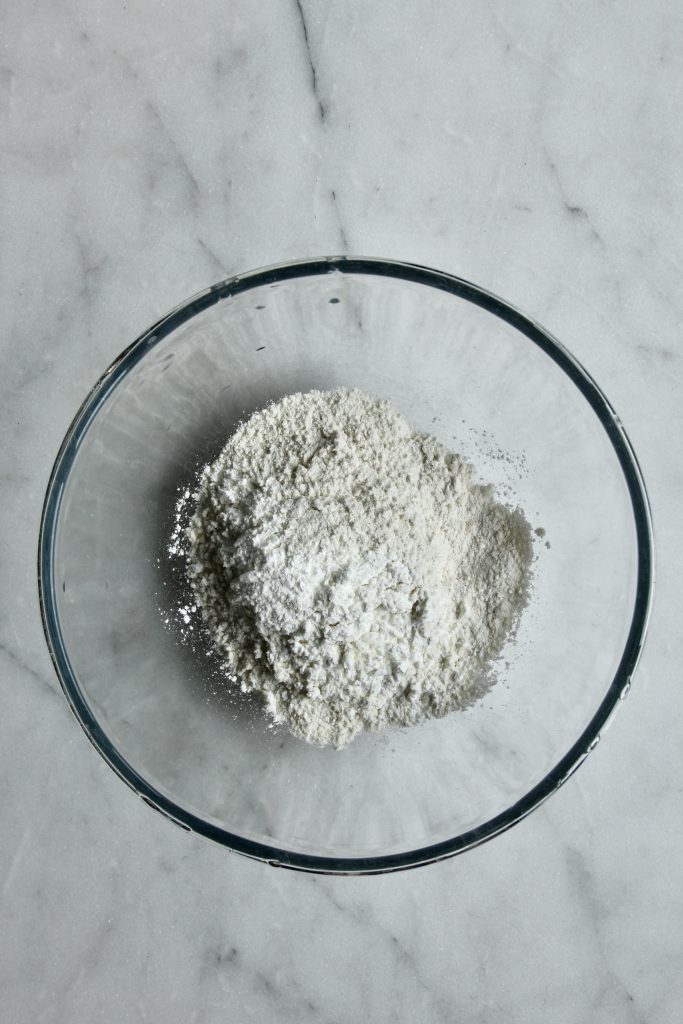
  • 150g wholemeal flour
  • 1 tsp baking powder
  • 1/4 nutmeg, grated
  • Olive oil for frying

Method

  • Roast the squash in a pre-heated oven set at 180°C for up 45 minutes till soft. Allow to cool slightly before peeling off the skin. You should have approximately 180-200g cooked squash.
  • Mash the squash in a large bowl, before adding in the sage, egg, milk and diced halloumi.
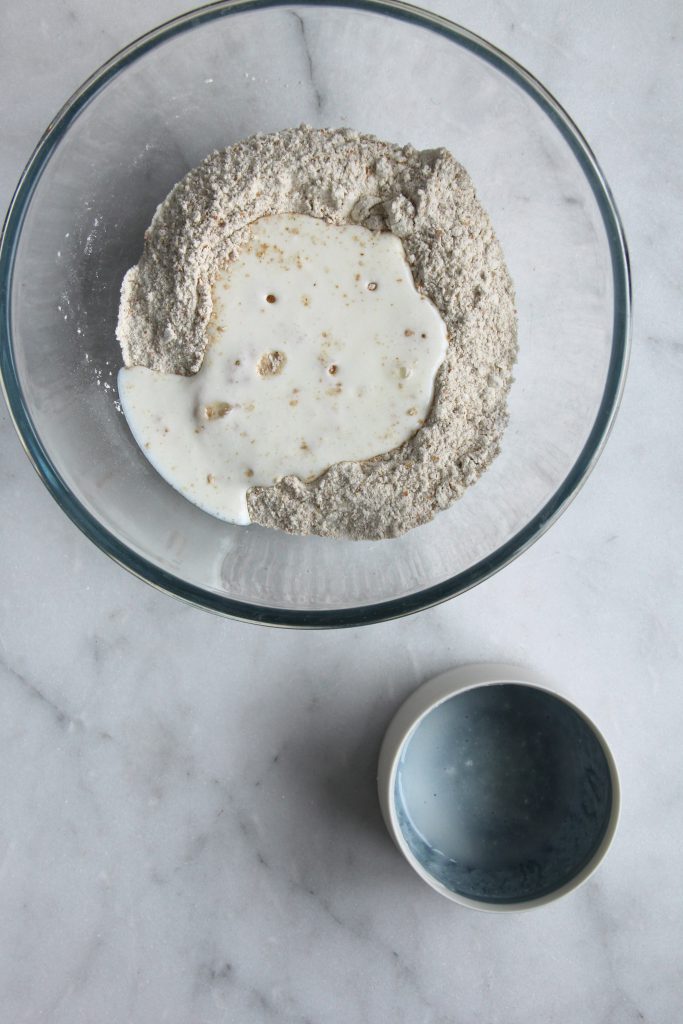
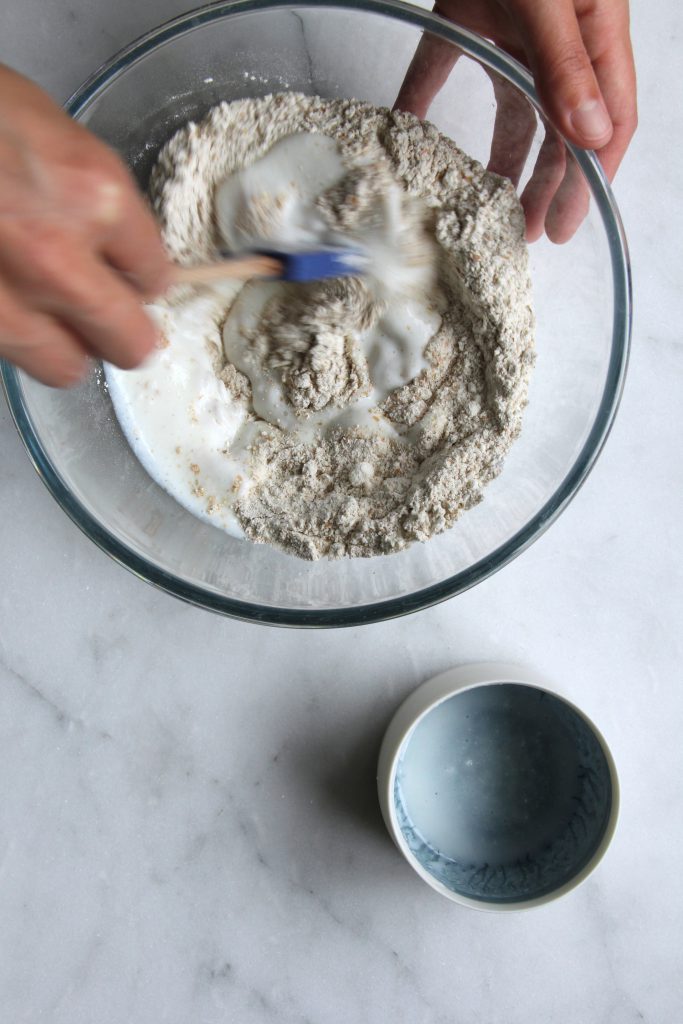
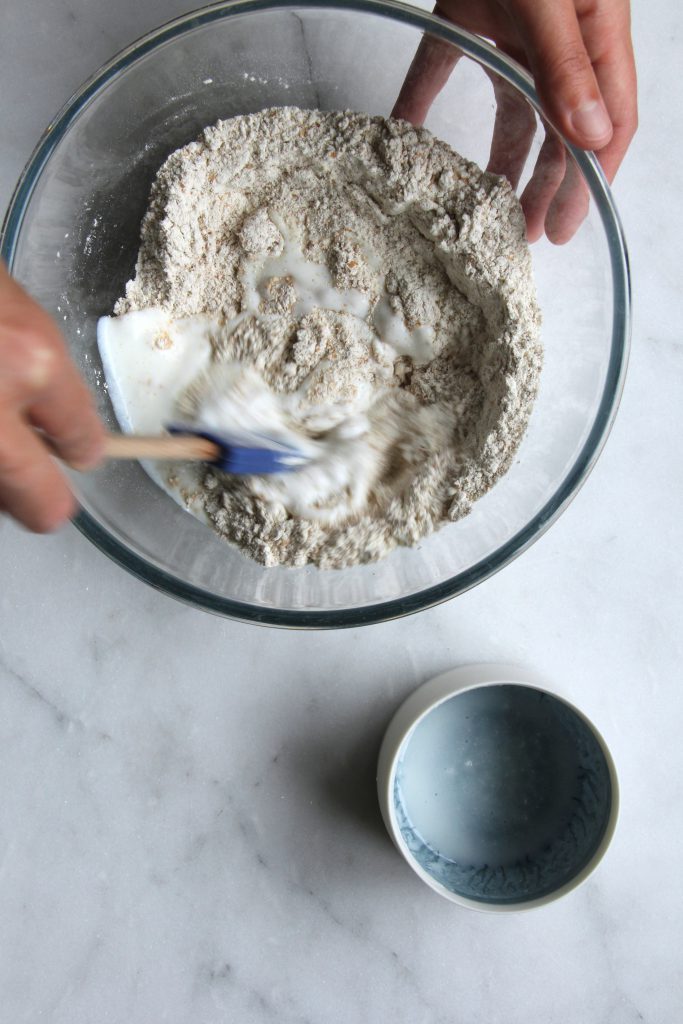
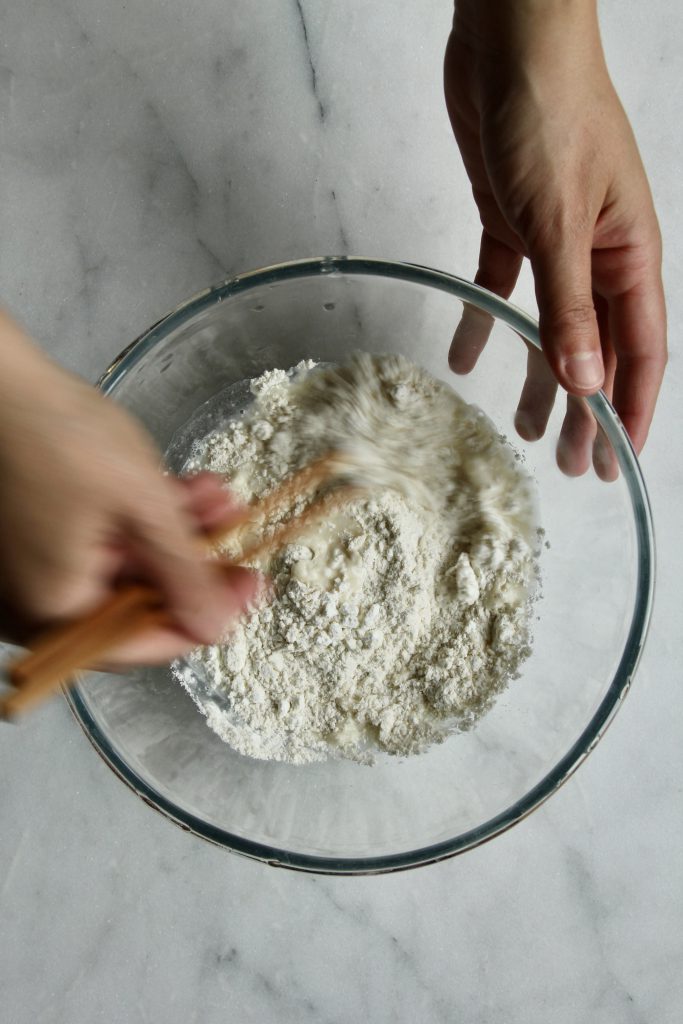
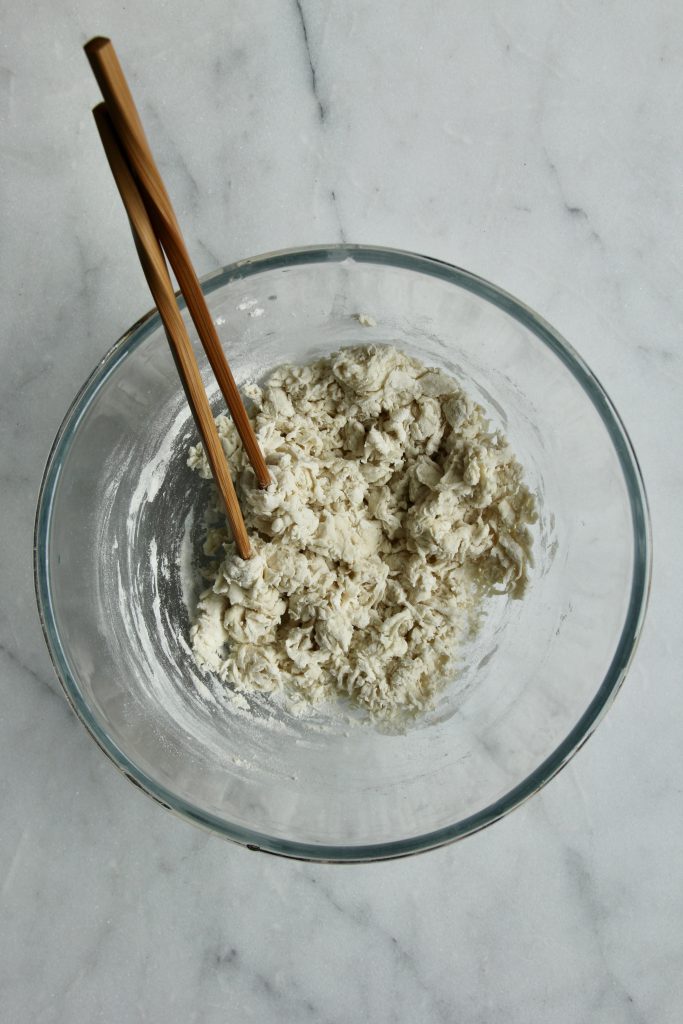
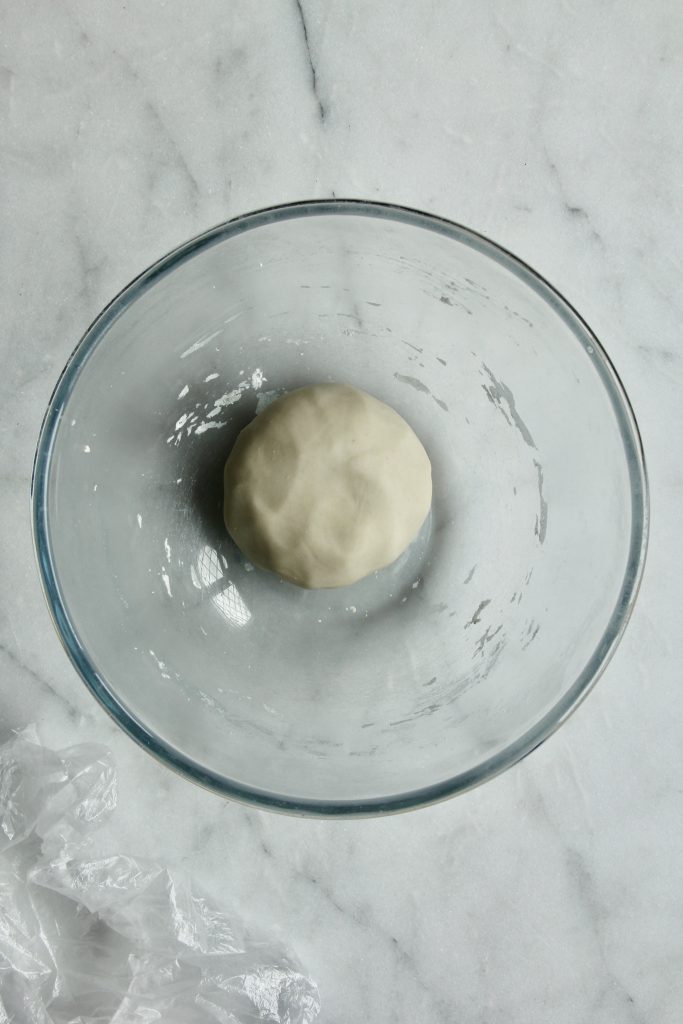
  • In a separate bowl, mix the remaining dry ingredients before combining with the wet ingredients. Mix to form a batter the consistency of thick double cream.
  • Heat a frying pan over a medium heat and add 1/2 tsp olive oil.
  • Allowing space between each pancake, take a ladel of batter and make a round for each pancake, allowing the mixture to spread naturally. Cook in batches according to the size of your frying pan.
  • Cook for 2 minutes per side, flipping with a spatula once bubbles have risen to the surface and the edge starts to dull. Cook for a further 2 minutes on the second side.
  • Keep cooked pancakes warm in an oven set to 100°C on a tray, keeping pancakes to a single layer if possible.
  • Once all the pancakes are cooked, add the remaining slices of halloumi to the pan and fry till crispy and golden on both sides.
  • Serve the pancakes in stacks and top with crispy halloumi.

Per serving: 406kcal/ 21.4g fat/ 11.3g saturated fat/ 33.4g carbohydrates/ 5.9g fibre/ 19.0g protein

Beetroot, Parsnip and Horseradish Soup

Seasonal root vegetables make a simple, but super tasty soup which packs a punch. Fresh horseradish is super pungent and will got “straight up your nose”. I suggest starting with half the amount of fresh horseradish and tasting before adding more. Once you find the level you’re happy with you can stop. However, if you accidentally over do it, add a little extra creme fraiche which will help tone the heat down.

Cant get fresh horseradish? No problem, swap in some creamed horseradish or horseradish sauce. Or if the mustard flavour is not to your taste you could add ginger in instead which will add a warmth to the soup.

To make vegan omit the creme fraiche and use a dairy free yoghurt or dairy free cream alternative.

Serves 5

Ingredients

  • 1 large onion, sliced
  • 1 tbsp extra virgin olive oil
  • 2 cloves of garlic, roughly chopped
  • 400g parsnips, scrubbed (or peeled) and chopped into large chunks
  • 220g potatoes, scrubbed and cut into large chunks
  • 300g beetroot, peeled and cut into large chunks
  • 20g fresh horseradish, or to taste, finely grated
  • 60g creme fraiche

Method

  • In a large pan heat the onions and oil and cook over a low heat till soft and translucent.
  • Add the garlic and cook for a further minute.
  • Add the parsnips, potatoes and beetroot to the pan along with 900ml water. Bring to the boil and allow to simmer for 30 minutes.
  • Blend the soup till smooth and add the horseradish to taste.
  • Serve in bowls and top with a spoon of creme fraiche with sourdough bread on the side to dip in.

Per serving: 245kcal/ 10.4g fat/ 3.4g saturated fat/ 30.7g carbohydrates/ 7.0g fibre/ 4.6g protein

Vegetable and Tofu Gyoza

These easy to make dumplings look rather impressive. They also happen to be vegan, but if you wish you can add other flavours to the mix such as oyster sauce, fish sauce, or replace the tofu with an alternative source of protein.

If you want, you can also make a large batch of dumplings and freeze them. Simply line a baking tray with baking parchment and arrange the dumplings so they don’t touch. Freeze and then place into bags for up to 3 months. You can cook them straight from frozen, just add an extra few minutes onto the steaming time to make sure they are piping hot in the centre.

These little dumplings are delicious served with a simple dipping sauce made from soy sauce, sesame oil and rice wine vinegar. You can also add other flavours such as chilli, spring onion or sesame seeds. Alternatively, they are amazing dipped in some shop bought hoisin sauce!

Serves 3 as a starter

Ingredients

  • 1 portion of dumpling skins
  • 2 dried shiitake mushrooms, soaked and finely diced. Reserve the soaking liquid
  • 100g firm tofu
  • 30g cabbage, finely sliced
  • 30g carrot, finely diced
  • 30g bamboo shoots, finely sliced
  • 1 spring onion, finely chopped
  • 10g coriander, finely chopped
  • 1/2 tsp fresh ginger, very finely diced
  • 1 tsp sesame oil
  • 1 tsp Shaoxing wine
  • 2 tsp light soy sauce
  • 1 tsp cornflour
  • 1/2 tsp rapeseed oil

Method

  • Mix all of the ingredients, except the rapeseed oil, and 2 tablespoons of the reserved shiitake mushroom liquid together. Gently heat in a pan or wok till the cabbage has softened and the liquid has become slightly thick so it coats all the ingredients, about 2-3 minutes. Add extra mushroom liquid if needed.
  • Allow the mixture to cool to room temperature.
  • Take 1 dumpling skin and fill it with a heaped teaspoon of the mixture. Pinch the end and then pleat the top half of the skin onto the bottom half of the skin to create a slight crescent shape.
  • Add the rapeseed oil to your frying pan to stop the dumplings from sticking, and arrange them so they have at least 1 cm between each dumpling. You may need to cook them in batches depending on the size of your pan.
  • Cook for 2-3 minutes over a low-medium heat so they are golden on the bottom. Then add hot water to cover the bottom third of the dumpling and immediately cover with a lid to steam the dumplings.
  • After 5 minutes, remove the lid and allow any remaining liquid to evaporate off, allowing the bottoms to crisp for 1 minute.
  • Remove the dumplings onto a plate and enjoy hot with a dipping sauce of your choice.

Per serving: 230kcal/ 5.8g fat/ 1.3g saturated fat/ 33.2g carbohydrates/ 3.6g fibre/ 9.7g protein

Cornish Crab Nachos

I call these Cornish crab nachos, not just because the crab I buy comes from Cornwall, but because this recipe is inspire by one of the best dishes I ate while I was on holiday there. Trying to recreate the same taste and flavours has been a task I have happily venture on time and time again. Now all I can do it share this taste of summer holidays with you.

I make my own simple nachos by using tortillas bought from the shop. For those who want to, you can take another short cut by buying tortilla chips rather than making you own, but they are so simple, take next to no time and honestly make the difference. Well worth the extra prep time and effort, trust me!

The original crab nachos from Mackerel Sky Seafood Bar were simply served with pickled chillis and limed soured cream. Delicious as it was, I couldn’t help but add a few more plant-based foods for diversity. Feel free to add or take away to your likings, but I have settled on my flavour combo!

The tortilla chips were also deep fried, and completely delicious! However, I cannot be bothered with the faff of deep frying, and honestly, toasting them in a hot oven with a little olive oil gets them super crispy without most of the guilt!

Finally, if I can’t get pickled chillis, fresh will do, but they do add a little extra kick of flavour fresh chillis can’t quite give.

Serves 4 as a starter

Ingredients

  • 8 wholemeal flour tortillas
  • 30ml extra virgin olive oil
  • 1 small avocado
  • 1 plum tomato
  • Pickled peppers e.g. jalapeños or roquito peppers or fresh chillis
  • 80g soured cream
  • Juice of 1/2 a lime
  • 1 tub of white crab meat
  • Fresh coriander

Method

  • Preheat the oven 180°C fan, 200°C convection
  • Brush the top side of each tortilla with oil and stack them on top of each other. Cut the flour tortillas into 8 triangles a piece and lay in a single layer of 2 baking trays.
  • Bake in the oven for 8 minutes till golden brown and crispy. Leave to cool slightly.
  • Meanwhile, chop the avocado into 1cm cubes. Deseed the tomato and dice into 1cm cubes.
  • Mix the soured cream and lime together.
  • Layer the crispy tortilla chips into a large bowl, scatter with the avocado, tomato, chillis, and crab meat.
  • Drizzle the soured cream dressing over the top and scatter with fresh coriander

Courgette Chips

When you’re growing so many courgettes you simply don’t know how best to eat them! This seems to be my 2020 courgette staple dish, I find myself making them on a weekly basis, and they make the most amazing starter or side to a lunch or dinner.

I usually favour the traditional chip or wedge shape, but they also do well in a circular crisp style, perfect for dunking into a dip of your choice

There are also so many different ways to flavour them. You could go spicy with chilli and chipotle, or garlic and herb, or do as I do with herbs and parmesan.

The dipping sauce is also yours to own too. If you don’t want soured cream you could make a spicy mayonnaise, or serve with a little tomato chilli relish. Fancy ketchup? No problem there either. Your chips and you dip them in whatever you wish.

Serves 2

Ingredients

  • 1 medium courgette, cut into wedges
  • 1 small egg, beaten
  • 30g plain flour
  • 10g parmesan, finely grated
  • Dried herbs of choice
  • 1 tbsp extra virgin olive oil

To serve

  • 75g sour cream
  • Juice of half a lime
  • Fresh herbs, such as coriander and chives

Method

  • Preheat the oven to 225°C fan, 240°C convection
  • Line a baking sheet with baking parchment and set aside.
  • Mix the flour, parmesan, herbs, and some pepper together in a shallow bowl.
  • Keeping one hand for dry dusting, and one hand for the egg, roll each courgette wedge in the flour mix, followed by the egg, and back into the flour mix, ensure all edges have been covered at each stage. Place on a baking sheet.
  • Repeat till all the courgette chips have been used.
  • Drizzle with the olive oil and bake in the oven for 8 minutes.
  • Meanwhile, roughly chop the herbs and mix with the soured cream and lime juice.
  • Once the courgette chips are cooked, transfer to a plate and serve with the dipping sauce.

Slow Roasted Tomatoes

These tomatoes are so delicious and their flavours are concentrated due to the slow and low cooking. Additionally, the lycopene content of slow-roasted tomatoes is increased due to concentration from loss of water, as well as a break-down of cellular structures which helps release the lycopene and make it more bioavailable for us to absorb. Lycopene is a compound found in many fruits and vegetables, and is responsible for the colour of many yellow, orange and red fruits and vegetables and has been linked with improved cardiovascular outcome, alongside other health benefits including cancer.

Ingredients

  • 600g tomatoes, large tomatoes sliced in half
  • 10 sprigs of herbs of choice (I have used golden oregano and marjoram)
  • 4 cloves of garlic, skin on
  • 1 tbsp extra virgin olive oil

Method

  • Preheat the oven to 100°C fan, 110°C convection, gas mark 1/4
  • Lay the tomatoes out on a large baking tray in a single layer with the herbs and garlic cloves. Drizzle over the olive oil onto all the tomatoes and slowly roast in the oven for 3 hours till sticky and concentrated.
  • Remove and use immediately, or store in a container in the fridge for up to 5 days.

Kefir Flatbreads

I always seem to have too much kefir, and never enough when I actually want to use it for my breakfast! If, like me, you seem to be making a lot of kefir for it to go too sour for your taste, don’t be fooled into throwing it away. That really upset me at first, when I didn’t understand my grains and fermenting. But I have now solved my kefir overflow problem – flat breads.

These are so easy to make, and taste so delicious you would never know they were made with what something that people would consider throwing away.

While I’ve had a few people scrunch their noses at me when I say I use old kefir to make these, they haven’t tried them and I’m 100% sure they would change their minds as soon as they tasted them.

When kefir goes too far and splits, you get the creamy part at the top and a yellowish clear liquid at the bottom. For me this is fermented too much for me to have in my cereal as is, and rather than waste it, I carefully tip off the clear liquid by holding a spoon to the solid top part and tilting my container. Once I’ve managed to get rid of as much as I dare, I strain the top part of the kefir off through a sieve into a container, take what I want for my breakfast, and leave the rest in the fridge. The kefir grains are then return to their normal cycle of fresh milk and left on the counter.

Once I have saved up a few day’s worth of kefir leftovers, I’m ready to make my probiotic loaded flatbreads. You can scale this recipe up or down depending on how much kefir you have, and how many flatbreads you want to make. These taste best fresh out of the pan, so I would only make as many as you can comfortably eat. Simply top them with your favourite sweet or savoury toppings and enjoy. Personally I love some garlic butter melted over the top as they come out fresh from the pan.

Using wholemeal flour is a great way to increase your fibre intake. If you don’t have wholemeal flour, you can use all self raising flour, but halve the baking powder. Or use other flours such as spelt or rye to help increase fibre diversity.

Makes 3 flatbreads

Ingredients

  • 130g kefir, slightly strained
  • 80g self-raising flour
  • 100g wholemeal flour, plus extra for rolling
  • 1 tsp baking powder
  • 1 garlic clove, crushed
  • 10g butter

Method

  • Mix all the dry ingredients together, then add the kefir. If the mixture is too sticky add a little more flour.
  • Knead for a few minutes till soft and smooth.
  • Roll out using a little flour to stop it sticking, to the thickness of a pound coin.
  • Cook in a dry pan or griddle over a medium heat for 2-3 minutes per side.
  • Meanwhile, gently heat the garlic and butter together till melted and the garlic fragrant.
  • Remove from the pan, and brush with garlic butter while hot to allow the flavorous to melt into the bread.

Per flatbread: 332kcal/ 5.2g fat/ 2.8g saturated fat/ 43.6g carbohydrates/ 4.7g fibre/ 7.4g protein

Turkey and Shiitake Mushroom Dumplings

An adaptation to the bao recipe my mum taught me for when you are shorter on time but still want something delicious!

While Chinese recipes often call for pork, specifically fattier cuts such as belly of pork, I use minced turkey thigh in many of my dumpling recipes. Turkey is a leaner mince in comparison to standard pork mince (5.5g fat versus 11.6g fat per 100g respectively) yet still doesn’t dry out when cooked. This is partially due to the use of thigh meat rather than breast, which is usually much juicer, as well as the use of a tiny amount of bicarbonate of soda. The bicarbonate of soda, once mixed in with the mince, helps it stay soft and juicy, as well as give a little “bounce” which higher fat meats tend to have.

This is perfectly adaptable to whatever ingredients you wish to use. You can use firm tofu, which I also press to prevent excess water inside the dumpling. Swap weight for weight, although it can be a little more difficult to pleat the dumplings as the mixture is much more crumbly and does not stick together in the same way as meat does.

I also love to use fish and shellfish in dumplings. You could also do a mixture, one we often use in our family recipes is prawn and turkey, again traditionally it would have been pork and prawn, but we have added this little healthy swap which tastes absolutely delicious!

Folding the dumplings can be a little tricky. If you struggle the simplest shape you could make would be either a half-moon where you literally fold the skin on itself to make a semicircle shape, or you could gather all the pastry around to the top and squeeze to make a “money purse” shape. As you get more adventurous there are so many different shapes you can try.

Dumpling filling ingredients

Makes 12 dumplings

Ingredients

  • 1 quantity of dumpling skins
  • 100g turkey mince, preferably thigh
  • 1/4 tsp bicarbonate of soda
  • 1 tsp corn flour
  • 1 tsp sesame oil
  • 1 tsp soy sauce
  • 3 shiitake mushrooms, fresh, or if dried soaked in water till soft, finely diced
  • 35g bamboo shoots, finely sliced
  • 15g coriander, roughly chopped
  • 1/2 cm ginger slice, finely diced
  • Pinch of white pepper
  • Oil for cooking

Method

  • Mix the turkey mince with the bicarbonate of soda thoroughly. Then add all the remaining ingredients, except the oil for frying, and mix well.
  • Take 1 dumpling skin and fill it with a heaped teaspoon of the mixture. Pinch the end and then pleat the top half of the skin onto the bottom half of the skin to create a slight crescent shape.
  • Add a dash of oil to your frying pan to stop the dumplings from sticking, and arrange them so they have at least 1 cm between each dumpling. You may need to cook them in batches depending on the size of your pan.
  • Cook for 2-3 minutes over a low-medium heat so they are golden on the bottom. Then add hot water to cover the bottom third of the dumpling and immediately cover with a lid to steam the dumplings.
  • After 5 minutes, remove the lid and allow any remaining liquid to evaporate off, add a dash of sesame oil to finish and crisp the bottoms for 1 minute.
  • Remove the dumplings onto a plate and enjoy hot with a dipping sauce of your choice.

Per dumpling: 66kcal/ 1.9g fat/ 0.4g saturated fat/ 8.7g carbohydrates/ 0.7g fibre/ 3.3g protein

Easy Dumpling Skins

Easy dumpling skins which the whole family can enjoy rolling out and filling.

If you don’t have plain flour, use strong white bread flour and increase the ratio of corn flour in the recipe by up to 25%. Corn flour adds a silkiness to the skins, even with normal plain flour, while the high gluten content of bread flour could make the skins tough.

Makes 12 skins.

Ingredients

  • 108g plain flour
  • 12g corn flour
  • 62g hot water, boiled and cooled for 5-10 minutes

Method

  • Mix the two flours together.
  • Add the hot water and stir to a shaggy mixture. Cover and leave for 10-30 minutes.
  • Knead the dough till it is smooth and elastic. Cover and leave for 30-60 minutes.
  • Roll a fat sausage shape and cut 12 equal cylinders.
  • Take 1 cylinder, and cover the remaining 11, press down with the palm of your hand on the cut surface of the dough to create a flat disk. Using a rolling pin, roll from the centre of the disk outwards, then turn clockwise and keep repeating around the dough to create a round flat disk with a thin edge.
  • If not using immediately, cover to prevent it from drying out as you continue to roll out the remaining dough.
  • If you wish to freeze the skins, rub a little corn flour on each side to stop them from sticking together. Freeze for up to 1 month.

Per skin 39kcal/ 0.2g fat/ 0.1g saturated fat/ 8.0g carbohydrates/ 0.3g fibre/ 1.1g protein

Sundried Tomato and Herb Bulgar Wheat

This is a staple in my house. I almost always have the store cupboard goods, and I grow chives in the garden so have them for most of the year, so all I really need to make sure I have bought is flat leaf parsley. And if you don’t have flat leaf parsley, you can substitute any green leaves in place, such as lettuce, rocket or even spinach.

I frequently have this as an easy lunch. I prepare it in a big batch and it will last 4 days in the fridge easily. Then I serve with with some salad vegetables, such as tomatoes, cucumber and avocado, and a source of protein. Usually I’d opt for tinned beans or cheeses such as goat’s cheese or halloumi, but fish, even tinned fish, also work well as do left over cuts of cold meat.

Ingredients

  • 100g bulgar wheat
  • 10g stock powder
  • 15g chives, finely chopped
  • 30g flat leaf parsley, finely chopped
  • 35g sun-dried tomatoes, finely sliced
  • Chilli, to taste, finely chopped

Method

  • Bring 120ml water to the boil. Add the stock powder and bulgar wheat, remove from the heat and cover. Leave to cook for 5-8 minutes.
  • Once cooked, fluff with a fork and add all the remaining ingredients.

Per serving: 144kcal/ 1.4g fat/ 0.4g saturated fat/ 27.8g carbohydrates/ 8.9g fibre/ 7.0g protein

Sourdough

Sourdough. Risen with wild yeast, which come from Bert who lives in my fridge. Something so simple it is literally flour, water and salt. That’s it. It’s as simple as that, yet can be transformed into the most delicious bread. My recipe takes around 36 hours, and while it’s got only a few steps which require a lot of attention, it is well worth the wait. I always make 2 loaves, one to eat fresh on the day, and one sliced and frozen ready for eating later in the week.

If you haven’t got a starter, there’s no reason you can’t make one and have it ready to bake with in a week. Simply start by mixing 50% wholemeal and 50% white plain flour together. Take a handful and mix it with lukewarm water and leave in a cool area for a few days. Once you see bubbles forming, start to feed you starter by discarding about 80%, and adding 1:1 water and 50/50 flour blend to make a thick batter. Repeat this process ever day till it predictively rises and falls between feeds.

For a full tutorial length video visit my YouTube channel.

Makes 2 small loves, 1 large loaf, 3 pizza bases, or 1 large focaccia

Recipe

  • 15g starter
  • 25g wholemeal flour
  • 25g plain flour + extra for dusting
  • 100g strong wholemeal flour
  • 400g strong white flour
  • 8g salt
  • Seeds (optional)
  • Rice flour
  • Ice cubes

Method

  • Start the night before you plan to make the dough. Take 15g of your starter culture, add 50ml lukewarm water, 25g wholemeal flour and 25g plain white flour and mix well. Leave covered overnight at room temperature for around 10 hours. This is your leaven.
  • The next morning, mix the strong flours together in a large container. Measure 300ml of 25°C water, add 100g of leaven and mix. Pour over the flour and mix till a stiff dough forms. Cover and leave to rest for 30-45 minutes.
  • Measure 50ml of 25°C water and add 8g of salt. Stir to dissolve and pour over the dough. Mix in, scrunching and breaking the dough up. Once fully mixed cover and rest for 45-60 minutes.
  • Dipping your hands in water to prevent the dough from sticking to you, perform a coil turn. Start by folding the top half of the dough under itself. Repeat for the bottom half of the dough. Turn the container 90° and repeat the process, folding the top half of the dough underneath itself and the bottom half of the dough underneath itself. This is one coil foil. Cover and leave for 45-60 minutes.
  • Repeat the process 3 more times. If you wish to add anything to the dough, do it before performing the second coil fold.
  • After a 60 minute rest after the 4th coil fold, use a dough spatula to pull the dough out onto the work surface and dust with a 50/50 mixture of plain flour and rice flour. If making 2 loaves, cut the dough into two and flip so the floured side is not on the bottom. Build tension in the dough by folding the edges into the centre of the dough, trying to incorporate as little flour as possible. Flip the ball over, and, using one hand and the dough spatula, work in a series of turns and pulls to create tension on the surface of the ball. Leave to rest on the worktop covered in a tea towel for 30 minutes.
  • Lift each ball off keeping the round shape, flipping it do the underside is now the top. Take care not to knock out air, gently stretch the dough out, folding the bottom half almost to the top. Stretch the sides out, folding the right side into the centre followed by the left side. Finally, take the top, stretch out and fold up and over, and roll the whole ball away so the seams are on the bottom. Round the corners by cupping your hands around and gently pulling to create tension over the surface. Leave to rest for 1 minutes.
  • Dust a proving basket and transfer the shaped dough seam side up, pinching to maintain tension. Cover and leave to rise overnight in the fridge.
  • The next day, preheat the oven to maximum with a cast iron Dutch oven inside. Allow to reach temperature and leave for a further 20 minutes.
  • Remove the dough from the oven and cut a piece of baking parchment larger than your dough. Uncover the dough, place the parchment over the top and gently invert the dough out onto the work surface on the parchment. Dust off any excess flour, and make a deep, yet shallow angled cut across the surface of the bread. This cut will allow for “oven spring”. An unscored loaf will be stunted and may burst.
  • Moving as quickly and safely as possible, remove the bottom pan of the Dutch oven from the oven, leaving the lid in the oven, and place the dough and parchment into the pan. Add a few ice cubes to the pan under the parchment and immediately return to the oven, close the lid to trap the steam, shut the oven door and drop the oven temperature to 230°C and bake for 20 minutes.
  • After 20 minutes, remove the lid and bake for a further 20 minutes till the crust is dark and crispy. Remove and allow to cool on a wire rack. Listen to your bread sing from the oven as the crust cools and crackles.
  • Once cooled slightly, slice and dip into balsamic vinegar and extra virgin olive oil.

Roasted Carrot and Yellow Split Pea Hummus

Visiting the historical town of Winchester, we decided to stop for lunch at Hugh Fearnley-Whittingstall’s River Cottage Kitchen. We shared a starter of a mixed mezze board, but the single dish that stood out from the board for me was the carrot and yellow split pea hummus.

I haven’t been able to stop thinking about it, it may have been the best hummus I have ever had. So I trawled through Hugh’s books to find a recipe, but alas, there were none to be found. So I have endeavoured to make my own.

Cooked Yellow Split Peas

Split peas are a great addition to your diet, naturally low in fat, high in plant-based protein and a source of fibre. We can often forget about including beans and pulses in as part of our weekly plant food diversity, but we should be aiming to eat from all 6 categories of plant-based foods; fruits, vegetables, nuts, seeds, whole grains, and legumes. This particular recipe covers 4 out of the 6 groups, and by adding some wholegrain crackers, perhaps even topped with nuts you could maximise the diversity of your diet.

Serves 6

Recipe

  • 100g split yellow peas
  • 2 carrots, washed and chopped into large pieces
  • 2 cloves garlic, skins on
  • 30g tahini
  • 40ml extra virgin olive oil
  • 90ml water (you may need more or less depending on the texture you wish for)
  • 1/2 tsp ground cumin
  • 1/2 tsp ground turmeric
  • 30g flat leaf parsley, roughly chopped
  • Juice of a lemon
  • Salt and pepper to taste

To serve

  • Fresh Parsley leaves
  • Nigella seeds
  • Vegetable crudites e.g. carrots, radish, cauliflower
  • Crackers

Method

  • Wash the split peas in cold water, then top with 500ml water and bring to the boil for 10 minutes before lowering the heat to a gentile simmer for 25 minutes. Drain and allow to cool.
  • When the peas are simmering, roast the carrots and garlic cloves in the oven preheated to 180 ° C/170 ° C Fan/GM4 for 20 minutes. Allow to cool.
  • Add the cooked peas, carrots and garlic clove, removing the skin, to a food processor. Add the tahini, extra virgin olive oil, lemon juice, water, spices and parsley and blend. Season to taste and add more water if the dip remains too thick.
  • Serve sprinkled with nigella seeds and fresh parsley leaves.

Per serving 107kcal/ 3.6g fat/ 2.0g saturated fat/ 11.6g carbohydrates/ 3.1g fibre/ 5.3g protein