Blueberry sourdough bagels. Just a small amount of work and you will have the most delicious bagels – chewy crusts with a soft centre, filled with sweet and tangy blueberries which you know will do you good.
If you can’t find freeze-dried blueberries you can leave these out. Most shop-bought dried blueberries are sweetened with fruit juice and therefore won’t work as a replacement.
Makes 9 bagels
Ingredients
200g frozen blueberries
40g caster sugar
150g active starter, refreshed 10-12 hours before
500g bread flour
8g salt
75g freeze-dried blueberries (optional)
20g molasses (to make vegan) or honey
Rice flour for dusting
Method
Add the frozen blueberries to a large mixing bowl and pour over 200ml of boiling water. Allow the blueberries to thaw for 5 minutes.
Add the caster sugar and sourdough starter and mix.
Add the flour and salt, and mix in the bowl by hand for around 5 minutes before transferring to the work surface and kneading for a further 5 minutes. It will be sticky but keep working it.
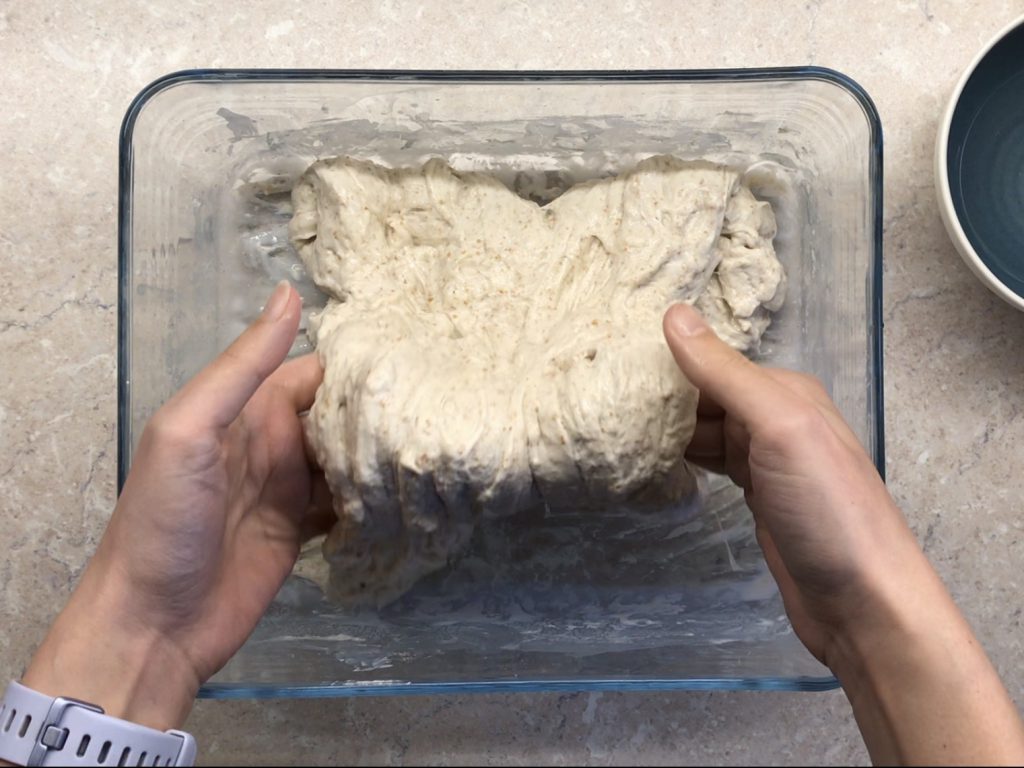
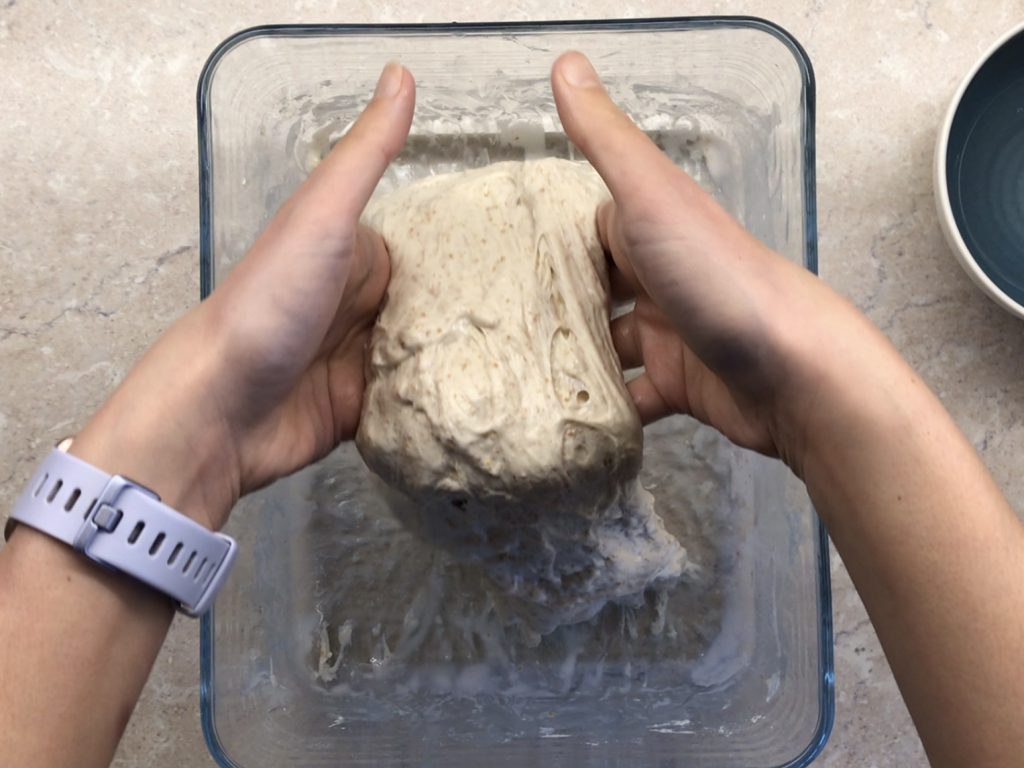
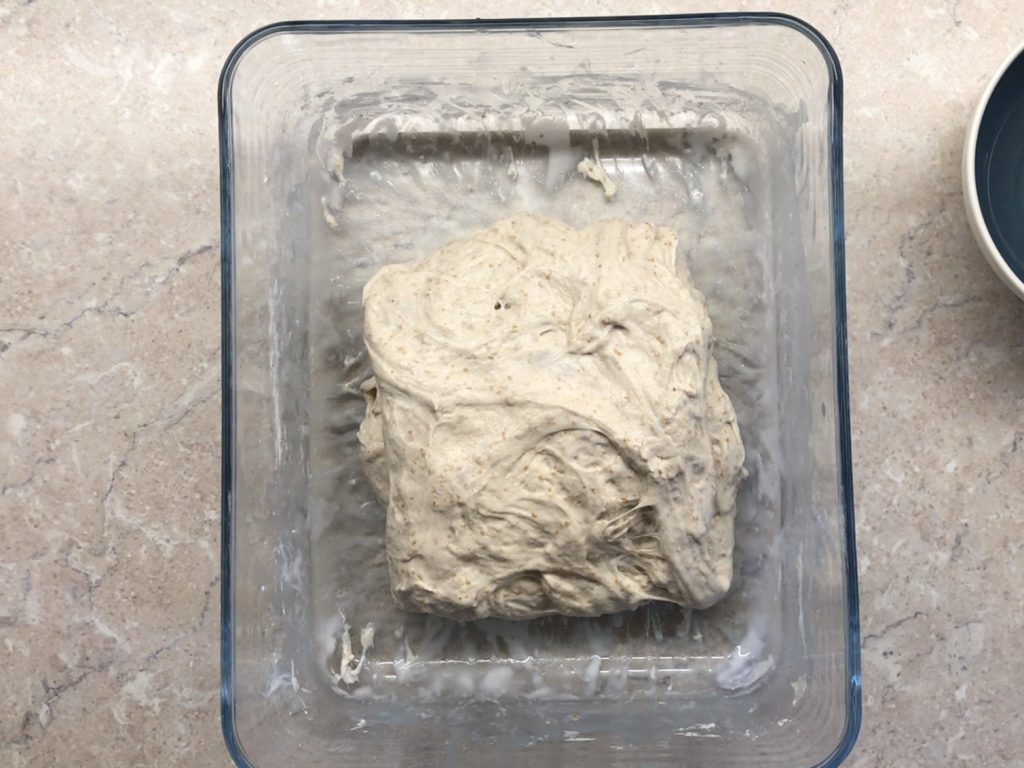
Transfer back to the mixing bowl, cover and rest for 1 hour.
Top the dough back onto the work surface and knead for 1-2 minutes, adding the freeze-dried blueberries if using. Cover and prove at room temperature for 3 hours.
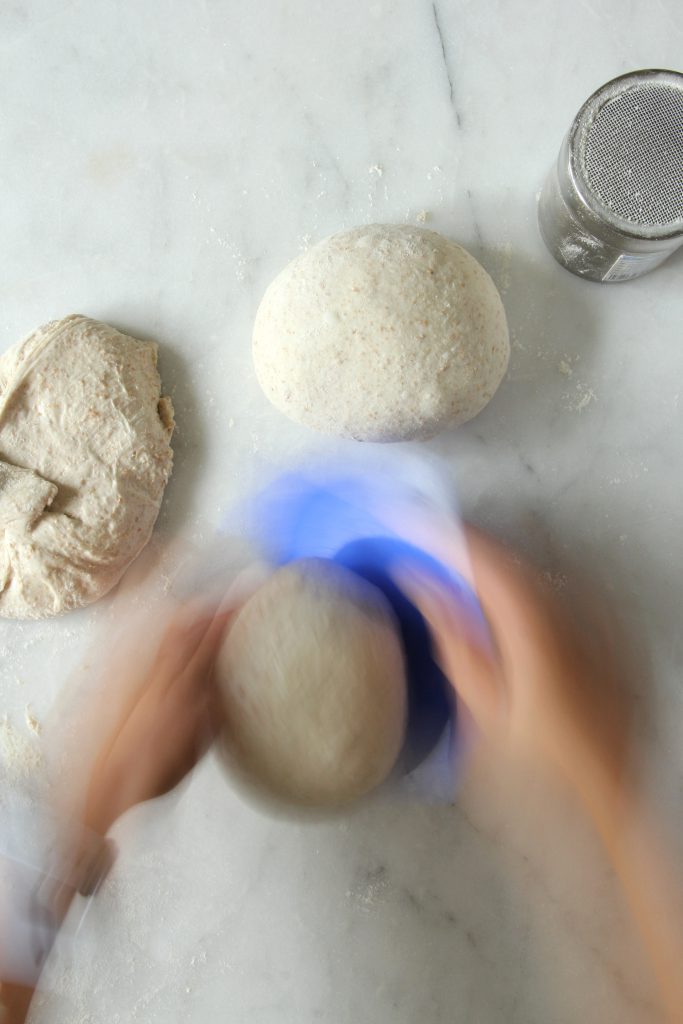
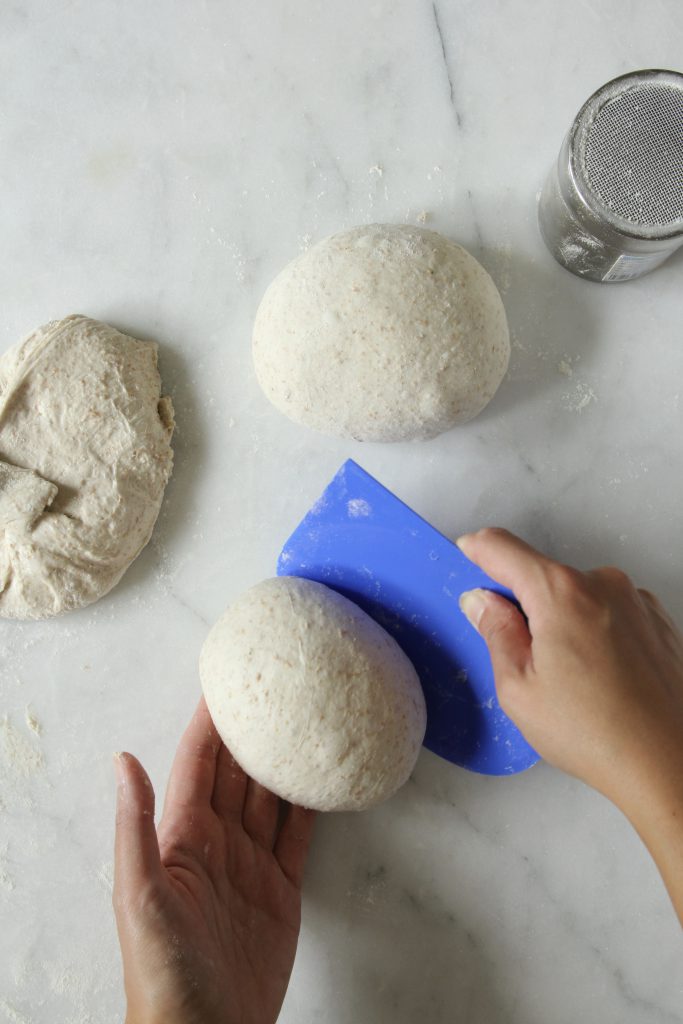
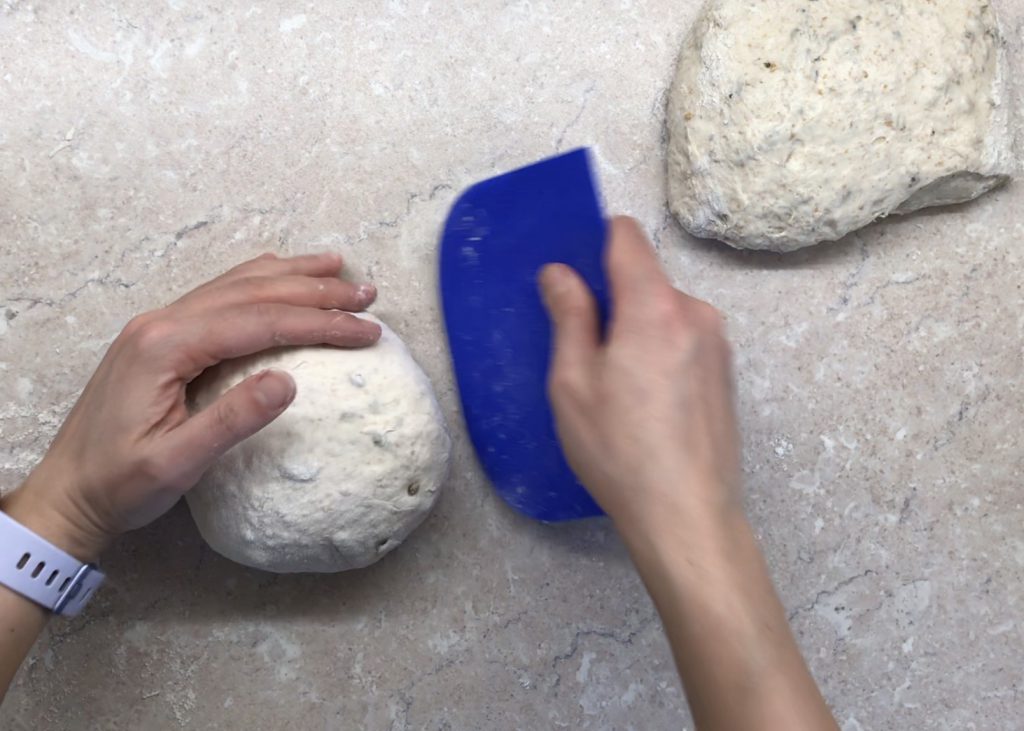
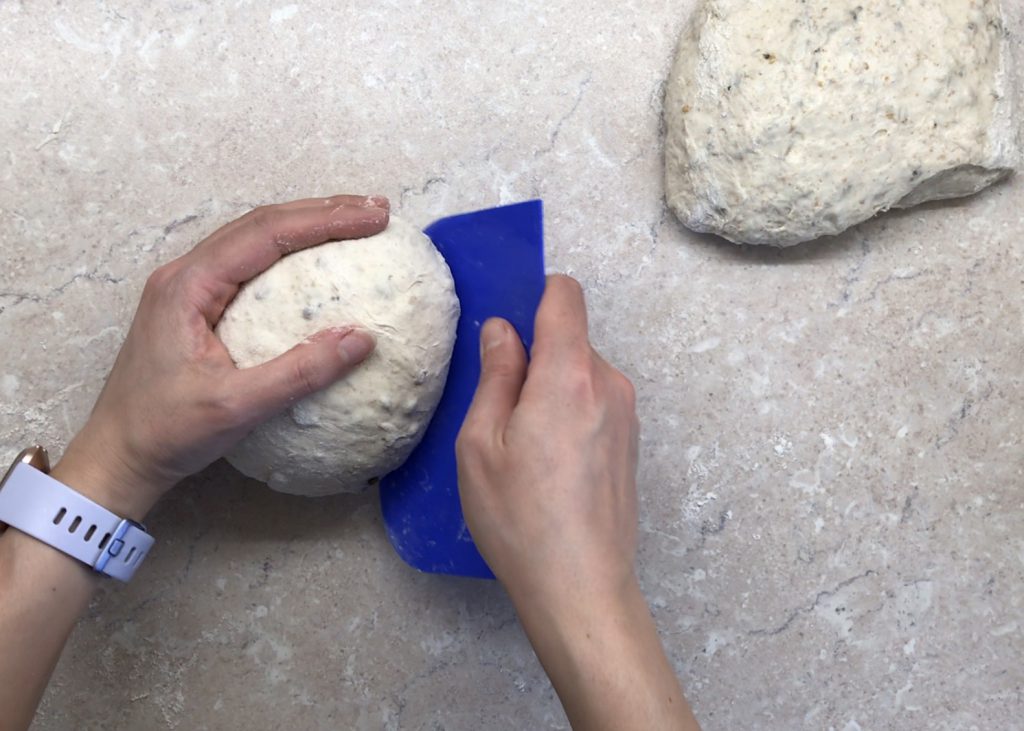
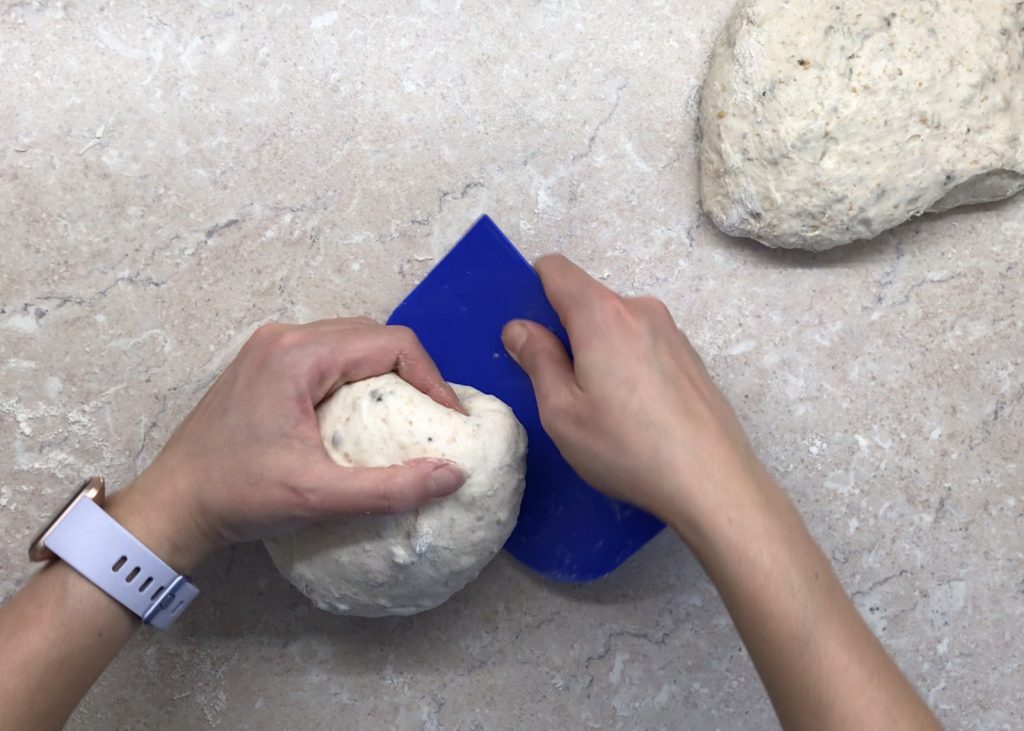
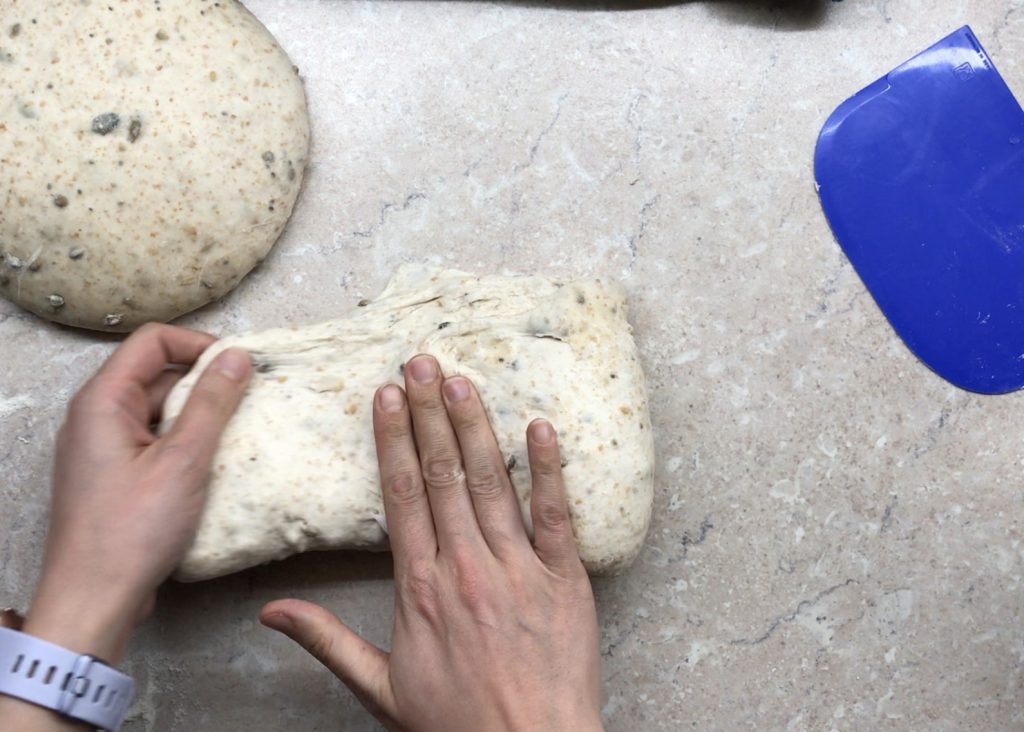
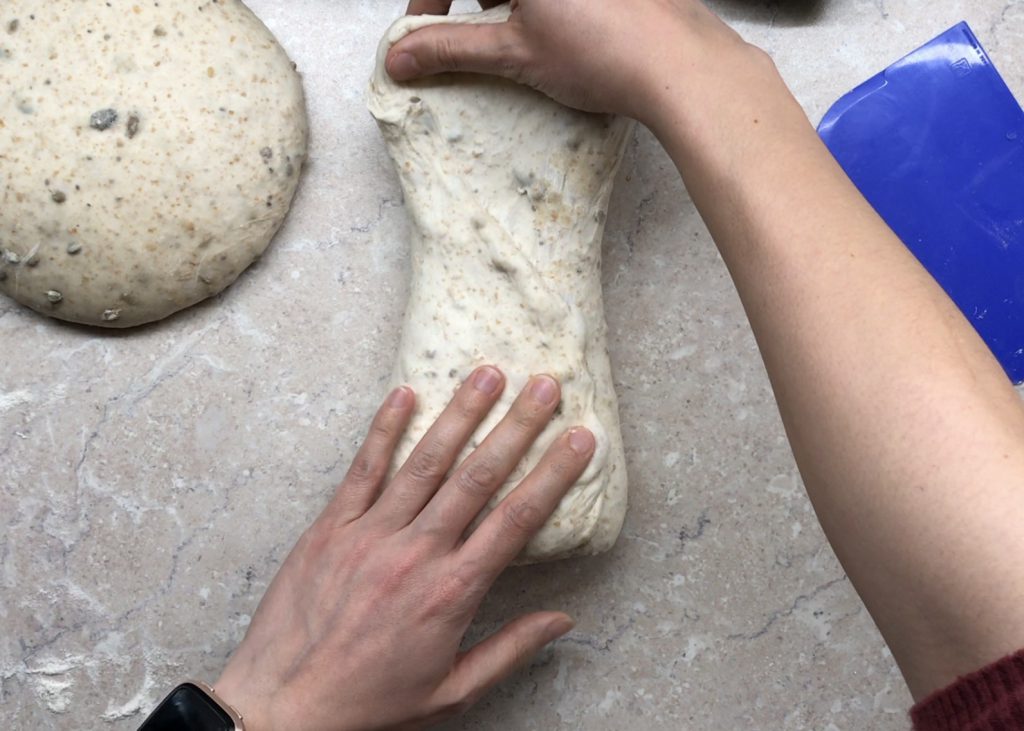
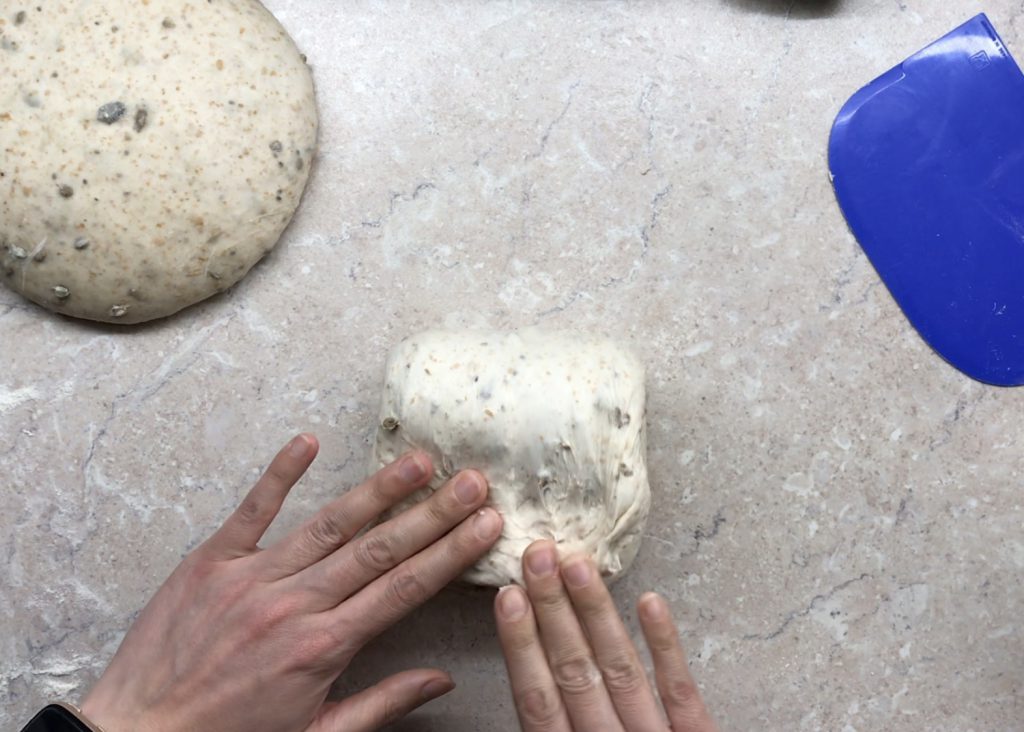
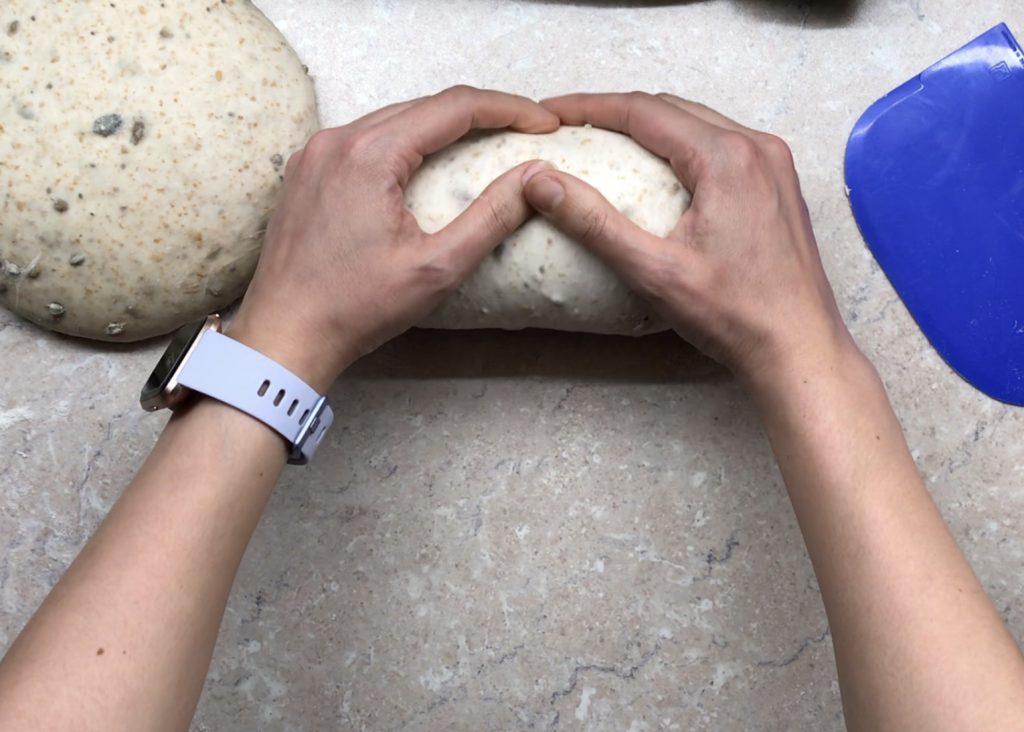
Divide the dough into 9 equal portions around 125g and shape into a tight ball, using rice flour to stop them from sticking. Allow to rest for 30 minutes.
Pinch the centre of each ball with your thumb and index finger, creating a hole. Then using both index fingers spin the dough around to create a bagel shape. Cover and rest in the fridge overnight, or for at least 8 hours.
The next day, set the oven to 220°C fan, bring a large pan of water to a boil, and add the molasses.
Boil each bagel for 30 seconds on each side before removing onto a wire cooling rack.
Bake on a lined tray for 18-20 minutes, till golden brown and nicely puffed up.
Delicious served with your favourite cream cheese and extra berries.
Sourdough Blueberry BagelsSourdough Blueberry BagelsSourdough Blueberry BagelsDelicious served with fresh berries for further added phytochemicals
I’m still trying to savour the wild garlic season, and I love baking it into bread. You can freeze the bread and use it in the months to come so further preserve the flavour of it.
For more information about making sourdough and the various stages visit my page on sourdough bread.
Makes 2 x 9″ square tins, but you could bake one large, or make a very deep focaccia
Ingredients
150g levain, refreshed 8-12 hours earlier
15ml extra virgin olive oil plus extra for later
150g wholemeal bread flour
600g white bread flour
12g salt plus extra to top
A big bunch of wild garlic, roughly chopped – the more you put in the more garlicky the flavour
A few sprigs of rosemary (optional)
Method
Mix the levain, 500ml water and 15ml olive oil together before adding the flours and mixing to make a shaggy dough. Leave for 30 minutes covered.
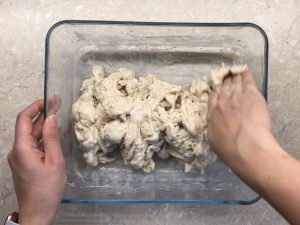
Mix 12g of salt with 75ml water till dissolved, and pour over the dough, scrunching the dough with your hand to mix it in. The dough should look very rough and almost broken into small pieces. Cover and leave for 45 minutes.
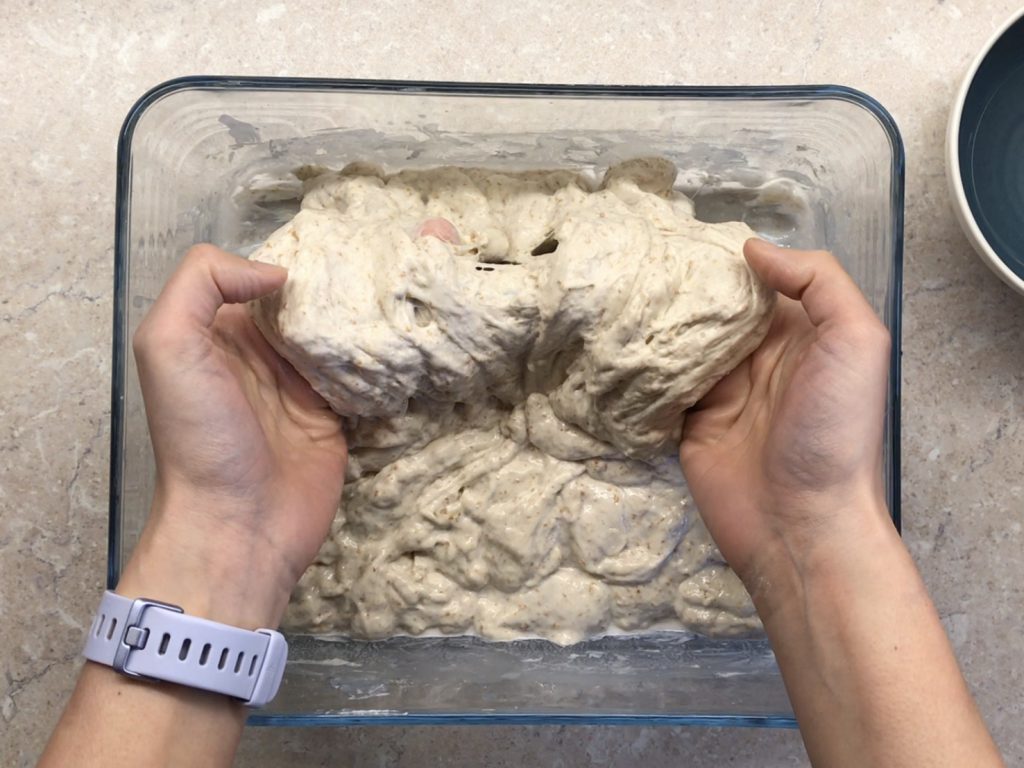
Over the next few hours complete 4 sets of coil folds, adding the wild garlic in during the 2nd coil fold, allowing the dough to rest for 45-60 minute between each fold.
Grease two non-stick baking trays with olive oil (if not using non-stick line with baking parchment and add olive oil to the parchment). Tip out don’t the work surface and divide the dough into two. Gently transfer to the baking tray and push the dough over the surface so it reaches the corners as best you can – there will be some resistance so don’t force it.
Cover the dough and leave in the fridge to slowly rise overnight – anywhere between 8-24 hours depending on your schedule
The next day preheat your oven to maximum temperature, add a small empty tray to the bottom of the oven for steam later, and remove the focaccia from the fridge.
Once the oven is up to temperature, uncover the dough and drizzle with a little olive oil. Using wet fingers, press your fingertips through the surface of the dough to create plenty of dimples. Add rosemary to the dimples, sprinkle with a little extra salt and then flick water over the surface of your dough with your fingertips. Adding extra moisture will give a softer crust, so if you want a very crispy top omit this step along with the steam.
Place the focaccia in the oven, adding water into the hot tray to create steam, closing the door as quickly as possible to trap the steam in, and reduce the oven temperature to 225°C fan/ 245°C convection for 20 minutes.
Remove the tray with water and bake for another 5 minutes* till the crust is golden.
Remove from the oven, and allow to cool on a wire rack.
Wild Garlic Sourdough Focaccia
*if baking a thicker focaccia you may need an extra 5-10 minutes to fully cook the dough.
If you’ve been on Instagram for just a minute you will probably have seen these trending pizza sandwiches. They’re delicious. I highly recommend you make these! I’ve used my sourdough pizza base recipe, and then any surplus dough I used to make extra pizzas for easy mid-week dinners!
Serves 3
Ingredients
Half batch of sourdough pizza base, divided into 3 small balls, rested for 30 minutes before cooking (or make a full batch and use any leftover dough for pizzas)
Preheat the oven to maximum temperature with your pizza stone and allow to fully heat.
Use a little rice flour and shape the dough into a disk in the same way you would for a pizza. Brush half the surface with 1 tsp of the olive oil, and fold the unbrushed side over the top. Transfer to the pizza stone to cook for 6-8 minutes till golden and crispy.
Once cooked, generously spread the wild garlic pesto on the inside of the pizza dough, and fill with rocket, tomatoes, burrata and basil leaves.
Easy to make sourdough pizza bases which are almost foolproof. You will need a minimum of 4 hours to make the bases, but in cooler temperatures it may take a little longer. Alternatively you can make the dough over a longer period of time in increase the flavour complexity of the base by allowing a longer fermentation. You can choose what you prefer, I tend to go for a medium fermentation of between 6-8 hours to get the texture and flavour I personally enjoy for my pizzas.
Makes 3 pizzas
Ingredients
Starter
15g starter, refreshed 10-12 hours prior to use
25g strong wholemeal flour
25g strong white flour
For the dough
100g strong wholemeal flour
400g strong white flour
8g salt
Method
The night before making pizzas, mix the starter, flours and 50ml filtered water together in a jar. Leave for 10-12 hours at room temperature.
The next day, mix the two flours in a large flat bottomed dish.
Measure 300ml tepid water (25°C) and add 100g starter refreshed the night before. Mix till homogenous and add to the flour, mixing well.
Leave covered with a tea towel for 30 minutes.
Measure 75ml tepid water and add the salt, mixing till dissolved.
Add to the autolysed mixture and mix till evenly distributed.
Cover and leave for 45 minutes.
Complete 1 coil fold, cover, and rest for 45 minutes
Repeat 3 more coil folds 45 minutes apart.
After resting for 45 minutes after the fourth coil fold, tip the dough out onto the work surface and dust liberally with a 50:50 mixture of rice flour and white flour.
Divide the dough into 3 equal portions and flip each portion so it is flour side down.
Working with one piece at a time, fold the corners into the centre, trying to incorporate as little flour as possible whilst creating tention in the skin. Use a dough scraper to help. Repeat with the remaining dough.
Place the dough balls on the dusted work surface and cover with a clean tea towel and leave to rest for 30 minutes.
Sourdough. Risen with wild yeast, which come from Bert who lives in my fridge. Something so simple it is literally flour, water and salt. That’s it. It’s as simple as that, yet can be transformed into the most delicious bread. My recipe takes around 36 hours, and while it’s got only a few steps which require a lot of attention, it is well worth the wait. I always make 2 loaves, one to eat fresh on the day, and one sliced and frozen ready for eating later in the week.
If you haven’t got a starter, there’s no reason you can’t make one and have it ready to bake with in a week. Simply start by mixing 50% wholemeal and 50% white plain flour together. Take a handful and mix it with lukewarm water and leave in a cool area for a few days. Once you see bubbles forming, start to feed you starter by discarding about 80%, and adding 1:1 water and 50/50 flour blend to make a thick batter. Repeat this process ever day till it predictively rises and falls between feeds.
Makes 2 small loves, 1 large loaf, 3 pizza bases, or 1 large focaccia
Recipe
15g starter
25g wholemeal flour
25g plain flour + extra for dusting
100g strong wholemeal flour
400g strong white flour
8g salt
Seeds (optional)
Rice flour
Ice cubes
Method
Start the night before you plan to make the dough. Take 15g of your starter culture, add 50ml lukewarm water, 25g wholemeal flour and 25g plain white flour and mix well. Leave covered overnight at room temperature for around 10 hours. This is your leaven.
The next morning, mix the strong flours together in a large container. Measure 300ml of 25°C water, add 100g of leaven and mix. Pour over the flour and mix till a stiff dough forms. Cover and leave to rest for 30-45 minutes.
Measure 50ml of 25°C water and add 8g of salt. Stir to dissolve and pour over the dough. Mix in, scrunching and breaking the dough up. Once fully mixed cover and rest for 45-60 minutes.
Dipping your hands in water to prevent the dough from sticking to you, perform a coil turn. Start by folding the top half of the dough under itself. Repeat for the bottom half of the dough. Turn the container 90° and repeat the process, folding the top half of the dough underneath itself and the bottom half of the dough underneath itself. This is one coil foil. Cover and leave for 45-60 minutes.
Repeat the process 3 more times. If you wish to add anything to the dough, do it before performing the second coil fold.
After a 60 minute rest after the 4th coil fold, use a dough spatula to pull the dough out onto the work surface and dust with a 50/50 mixture of plain flour and rice flour. If making 2 loaves, cut the dough into two and flip so the floured side is not on the bottom. Build tension in the dough by folding the edges into the centre of the dough, trying to incorporate as little flour as possible. Flip the ball over, and, using one hand and the dough spatula, work in a series of turns and pulls to create tension on the surface of the ball. Leave to rest on the worktop covered in a tea towel for 30 minutes.
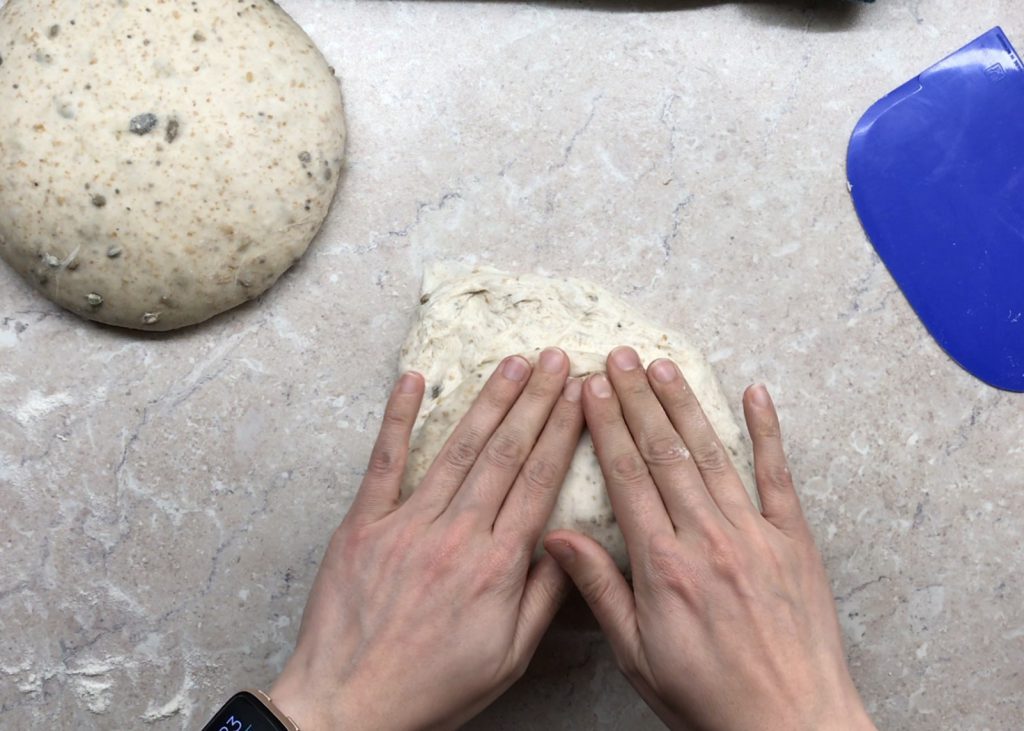
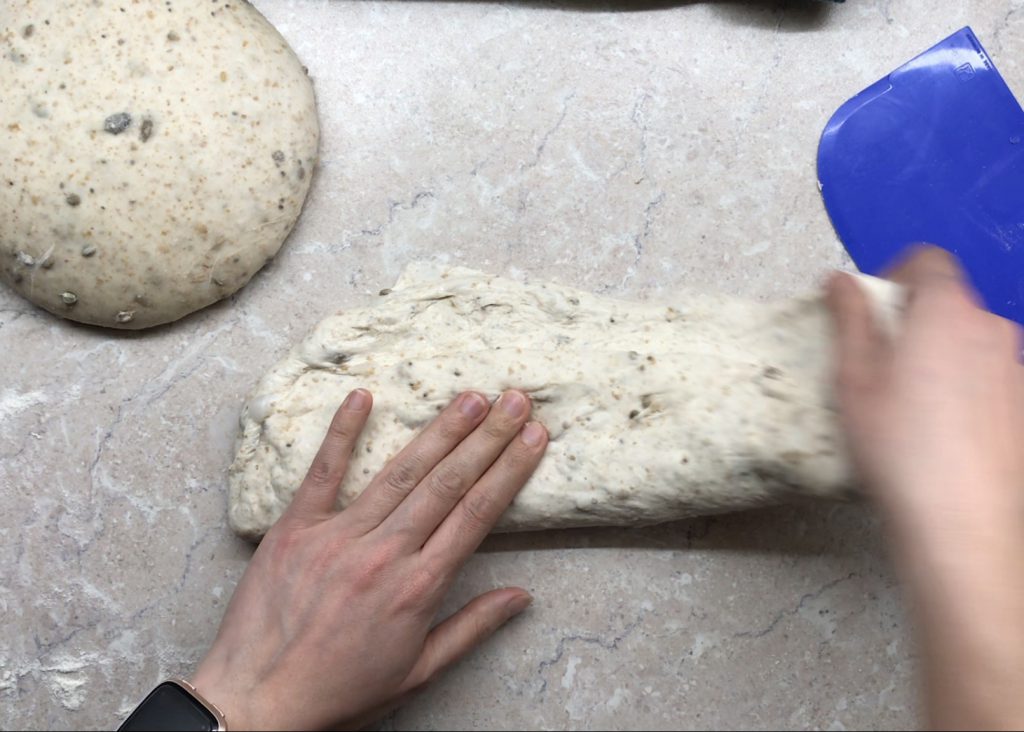
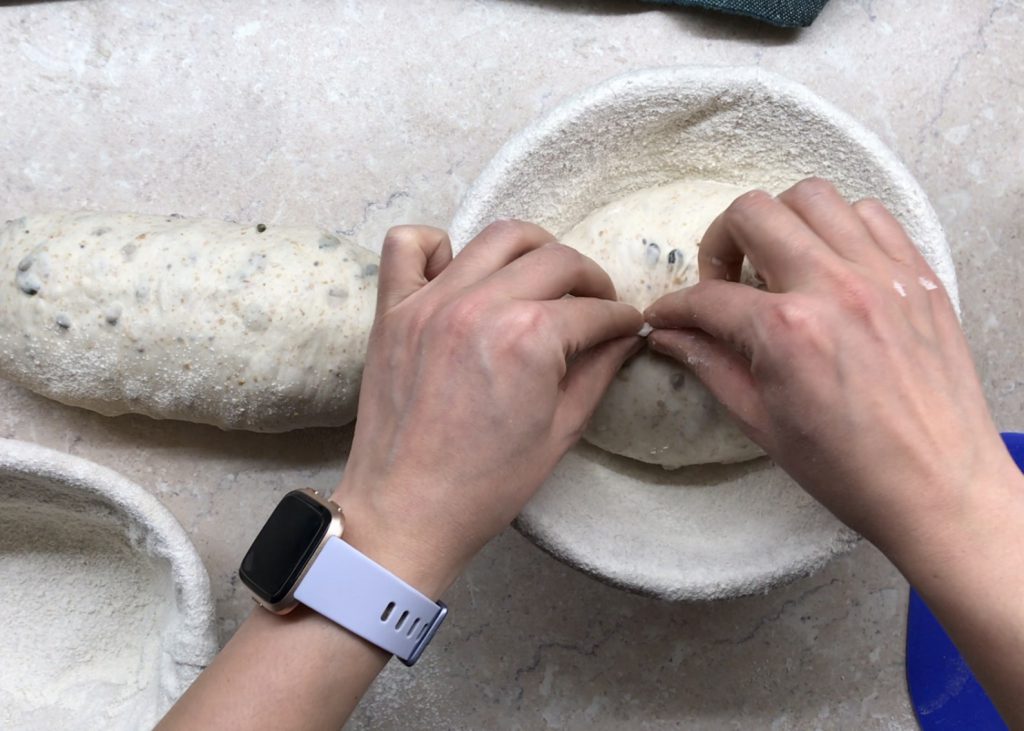
Lift each ball off keeping the round shape, flipping it do the underside is now the top. Take care not to knock out air, gently stretch the dough out, folding the bottom half almost to the top. Stretch the sides out, folding the right side into the centre followed by the left side. Finally, take the top, stretch out and fold up and over, and roll the whole ball away so the seams are on the bottom. Round the corners by cupping your hands around and gently pulling to create tension over the surface. Leave to rest for 1 minutes.
Dust a proving basket and transfer the shaped dough seam side up, pinching to maintain tension. Cover and leave to rise overnight in the fridge.
The next day, preheat the oven to maximum with a cast iron Dutch oven inside. Allow to reach temperature and leave for a further 20 minutes.
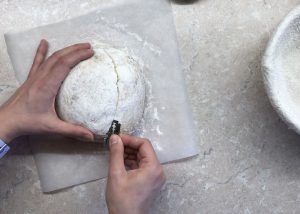
Remove the dough from the oven and cut a piece of baking parchment larger than your dough. Uncover the dough, place the parchment over the top and gently invert the dough out onto the work surface on the parchment. Dust off any excess flour, and make a deep, yet shallow angled cut across the surface of the bread. This cut will allow for “oven spring”. An unscored loaf will be stunted and may burst.
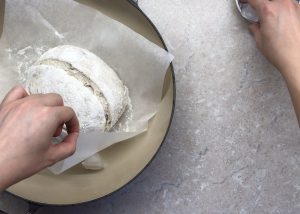
Moving as quickly and safely as possible, remove the bottom pan of the Dutch oven from the oven, leaving the lid in the oven, and place the dough and parchment into the pan. Add a few ice cubes to the pan under the parchment and immediately return to the oven, close the lid to trap the steam, shut the oven door and drop the oven temperature to 230°C and bake for 20 minutes.
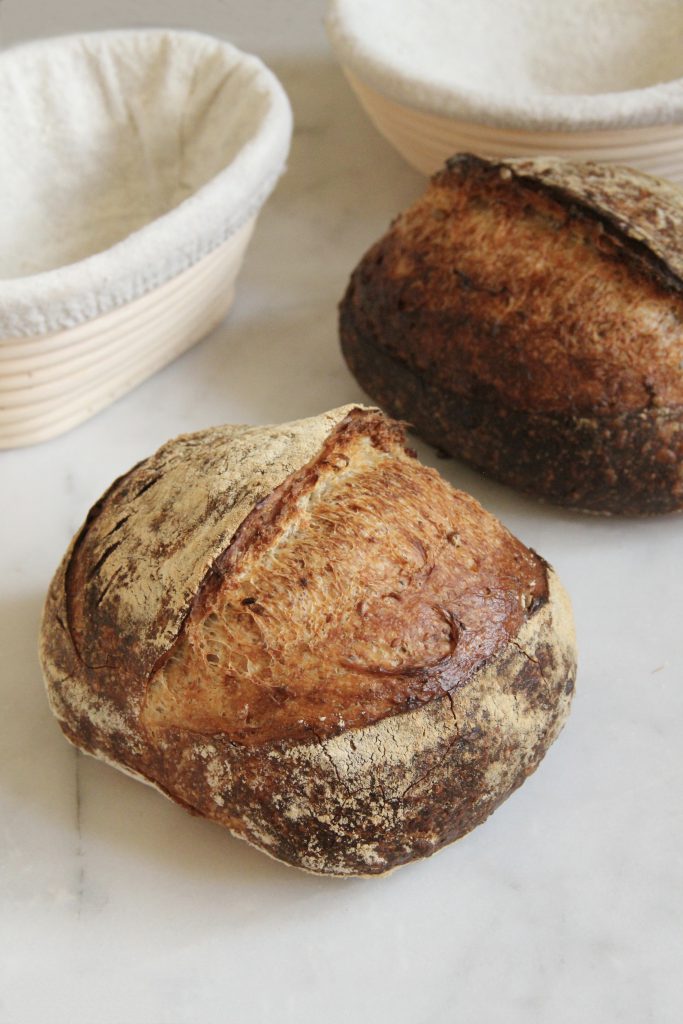
After 20 minutes, remove the lid and bake for a further 20 minutes till the crust is dark and crispy. Remove and allow to cool on a wire rack. Listen to your bread sing from the oven as the crust cools and crackles.
Once cooled slightly, slice and dip into balsamic vinegar and extra virgin olive oil.